Tag: Baking Recipe

  • Creamy, Cheesy, Classic: How to Make Old-Fashioned Macaroni and Cheese

    Creamy, Cheesy, Classic: How to Make Old-Fashioned Macaroni and Cheese

    Few comfort foods are as universally beloved as old-fashioned macaroni and cheese.

    With tender pasta enveloped in a rich, creamy cheese sauce and a golden, slightly crunchy topping, it’s the kind of dish that evokes childhood memories and satisfies every craving for warmth and indulgence.

    While boxed mac and cheese has its place, nothing beats the real deal—made from scratch with love, simple ingredients, and a focus on creamy, cheesy perfection.

    Here’s your ultimate guide to making old-fashioned macaroni and cheese, step by step.
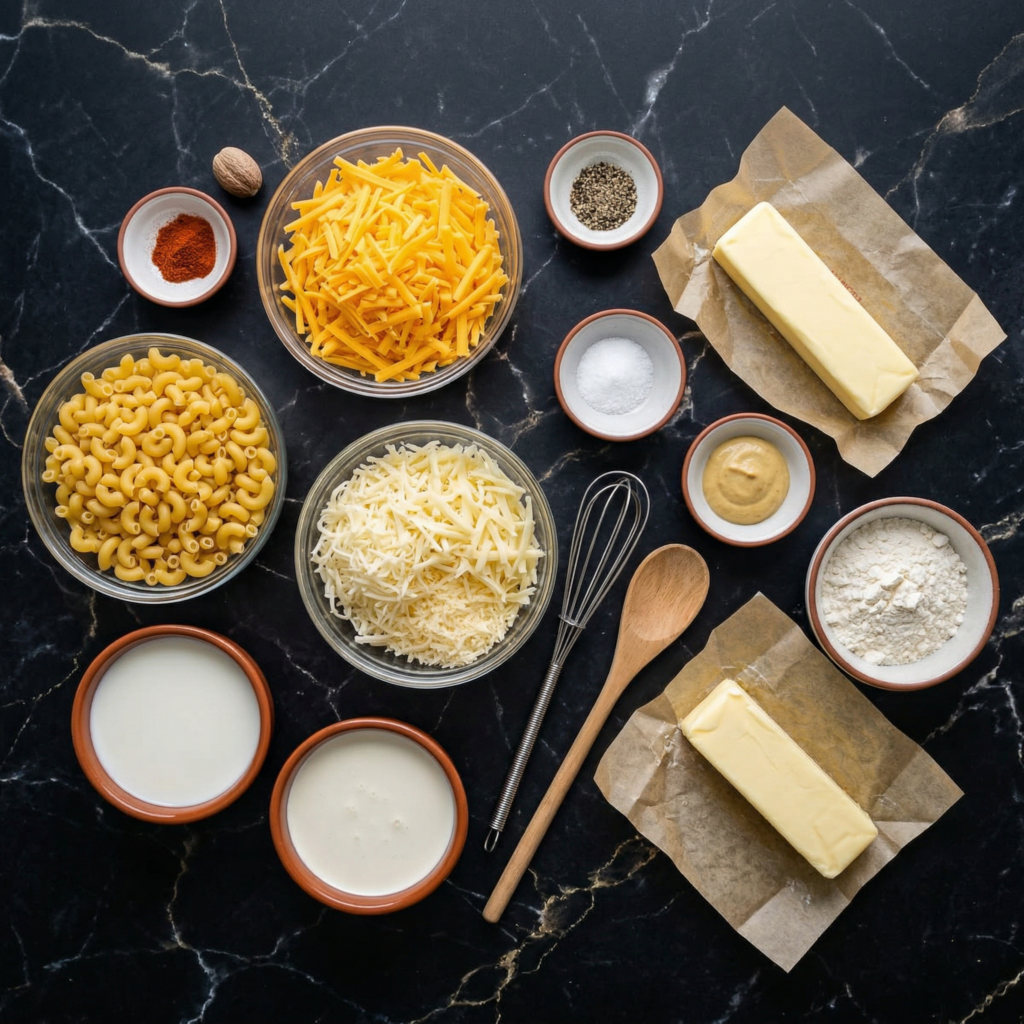

    Ingredients You’ll Need

    Gather your ingredients ahead of time for a smooth cooking process.

    For the pasta:

    • 12 oz elbow macaroni (or any small pasta shape)
    • 1 teaspoon salt (for the boiling water)

    For the cheese sauce:

    • 4 tablespoons unsalted butter
    • 4 tablespoons all-purpose flour
    • 3 cups milk (whole milk preferred)
    • 1 teaspoon Dijon mustard (optional, for depth)
    • ½ teaspoon salt
    • ¼ teaspoon black pepper
    • ¼ teaspoon paprika (optional, for color and subtle flavor)
    • 2 cups sharp cheddar cheese, shredded
    • 1 cup Gruyère or Monterey Jack cheese, shredded (optional for creaminess)

    For the topping:

    • ½ cup breadcrumbs (plain or panko)
    • 2 tablespoons unsalted butter, melted
    • 2 tablespoons Parmesan cheese, grated
    • Pinch of paprika for color (optional)

    Step 1: Preheat the Oven

    Preheat your oven to 350°F (175°C).

    Greasing a 9×13-inch baking dish or lightly spraying it with nonstick cooking spray will prevent sticking and make cleanup easier.


    Step 2: Cook the Pasta

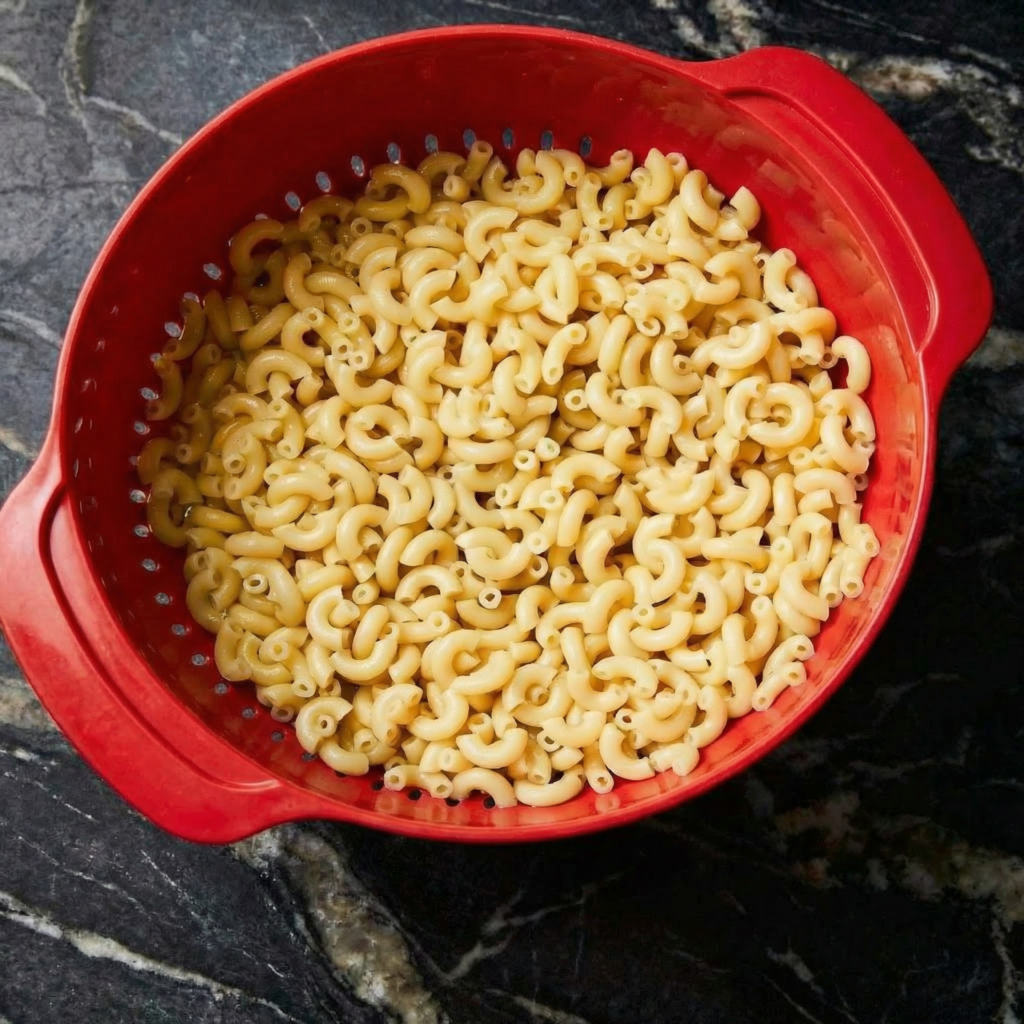
    Bring a large pot of salted water to a boil.

    Add the macaroni and cook according to package instructions until just al dente.

    Remember, the pasta will continue to cook slightly in the oven, so avoid overcooking.

    Drain the pasta and set aside.

    Step 3: Make the Cheese Sauce

    In a medium saucepan over medium heat, melt the butter until fully melted and slightly foamy.

    Sprinkle in the flour, whisking constantly to form a smooth roux.

    Cook for 1–2 minutes to remove the raw flour taste.

    Gradually add the milk, whisking continuously to prevent lumps.

    Bring the mixture to a gentle simmer until it thickens, about 3–5 minutes.

    Stir in the Dijon mustard, salt, black pepper, and paprika.

    Remove the sauce from the heat and stir in the shredded cheeses until smooth and fully melted.

    Taste and adjust seasoning if needed.

    The cheese sauce should be creamy, rich, and slightly thickened.


    Step 4: Combine Pasta and Cheese Sauce

    Add the drained pasta to the cheese sauce, stirring until every piece is coated evenly.

    Pour the cheesy macaroni mixture into the prepared baking dish, spreading it out evenly.


    Step 5: Prepare the Topping

    In a small bowl, combine the breadcrumbs, melted butter, Parmesan cheese, and a pinch of paprika.

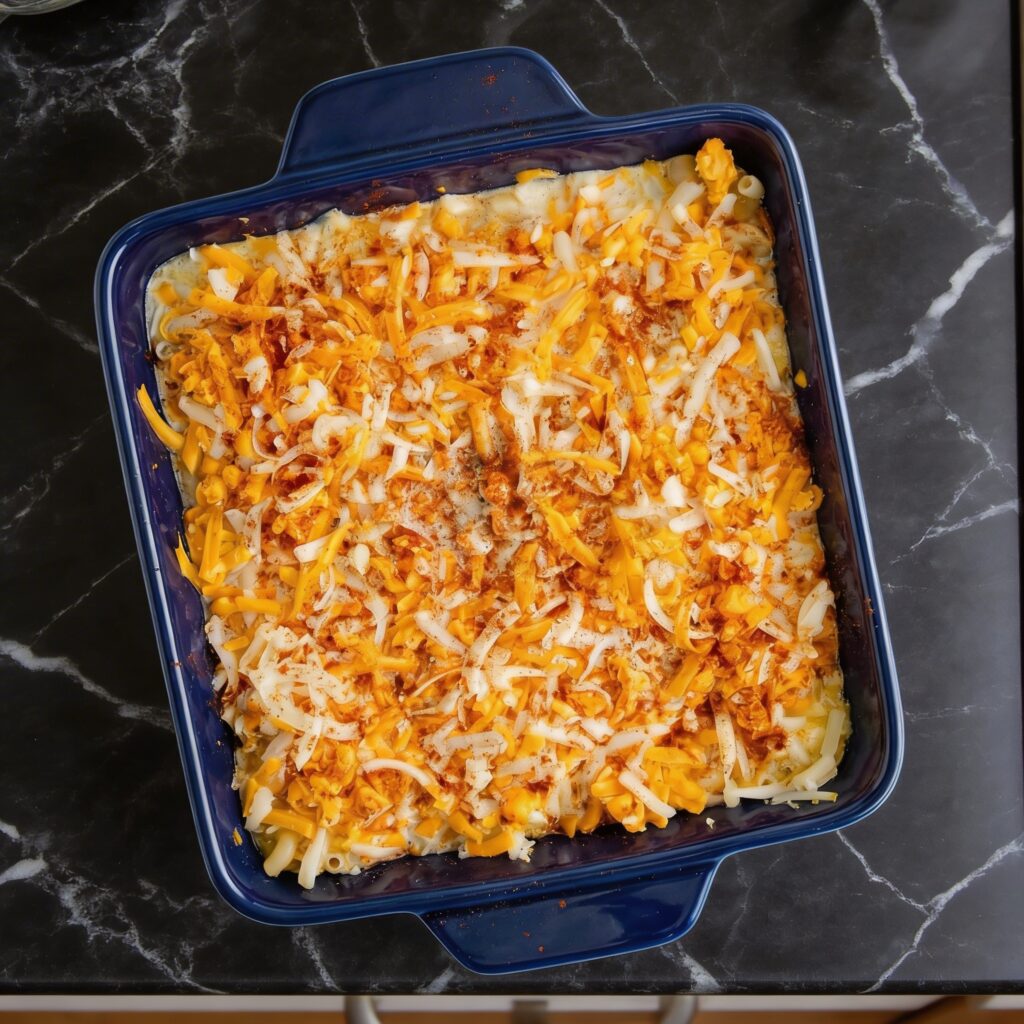
    Mix until the crumbs are evenly coated. Sprinkle the breadcrumb mixture evenly over the macaroni and cheese.

    This topping will give your dish that golden, crunchy texture that contrasts beautifully with the creamy pasta underneath.

    Step 6: Bake the Macaroni and Cheese

    Place the baking dish in the preheated oven and bake for 25–30 minutes, or until the top is golden brown and crispy and the cheese sauce is bubbling around the edges.

    For an extra-crispy topping, broil for the last 2–3 minutes, watching closely to prevent burning.


    Step 7: Cool Slightly and Serve

    Remove the macaroni and cheese from the oven and let it cool for 5 minutes before serving.

    This allows the cheese sauce to set slightly, making it easier to scoop perfect portions.


    Pro Tips for Perfect Old-Fashioned Macaroni and Cheese

    1. Use sharp cheddar – The bold flavor balances the creaminess perfectly.
    2. Don’t overcook pasta – Al dente pasta absorbs flavors without becoming mushy.
    3. Make a roux carefully – Cooking the butter and flour removes the raw taste and ensures a silky sauce.
    4. Add a little extra cheese to the sauce – This ensures maximum creaminess and flavor.
    5. Top with panko breadcrumbs – Panko gives a superior crunch compared to regular breadcrumbs.

    Variations to Try

    • Extra Cheesy Mac & Cheese: Mix in extra cheddar or add cream cheese for richness.
    • Bacon Mac & Cheese: Stir in crispy bacon bits before baking for a smoky flavor.
    • Spicy Mac & Cheese: Add a pinch of cayenne pepper or diced jalapeños to the cheese sauce.
    • Veggie Mac & Cheese: Fold in cooked broccoli, peas, or roasted red peppers for added nutrition and color.

    Wrapping Up

    Old-fashioned macaroni and cheese is more than just a meal—it’s nostalgia in a dish.

    The creamy cheese sauce, tender pasta, and golden breadcrumb topping create a perfect combination of flavors and textures that will satisfy kids and adults alike.

    Unlike boxed versions, homemade mac and cheese allows you to control the ingredients, the cheese blend, and the richness, making every bite a decadent treat.

    Whether served as a main course for dinner, a side dish for a holiday meal, or a comfort-food indulgence on a cozy night in, old-fashioned macaroni and cheese never fails to impress.

    With these step-by-step instructions, you can make a perfectly creamy, golden, cheesy casserole that will have everyone asking for seconds.

    So grab your cheese, pasta, and butter, and get ready to enjoy the ultimate in creamy, cheesy, golden-baked comfort food.

    There’s nothing quite like homemade mac and cheese straight from the oven—a classic dish done right.

  • Comfort in a Crust: How to Make Classic Chicken Pot Pie

    Comfort in a Crust: How to Make Classic Chicken Pot Pie

    Few dishes evoke the warmth and nostalgia of home quite like chicken pot pie.

    With tender chunks of chicken, hearty vegetables, and a creamy, savory sauce nestled under a golden, flaky crust, it’s the ultimate comfort food.

    Whether you’re cooking for your family or preparing a meal to impress guests, making chicken pot pie from scratch is easier than it seems—and the results are far superior to store-bought versions.

    Follow this step-by-step guide, and you’ll create a pot pie that’s rich, flavorful, and utterly satisfying.


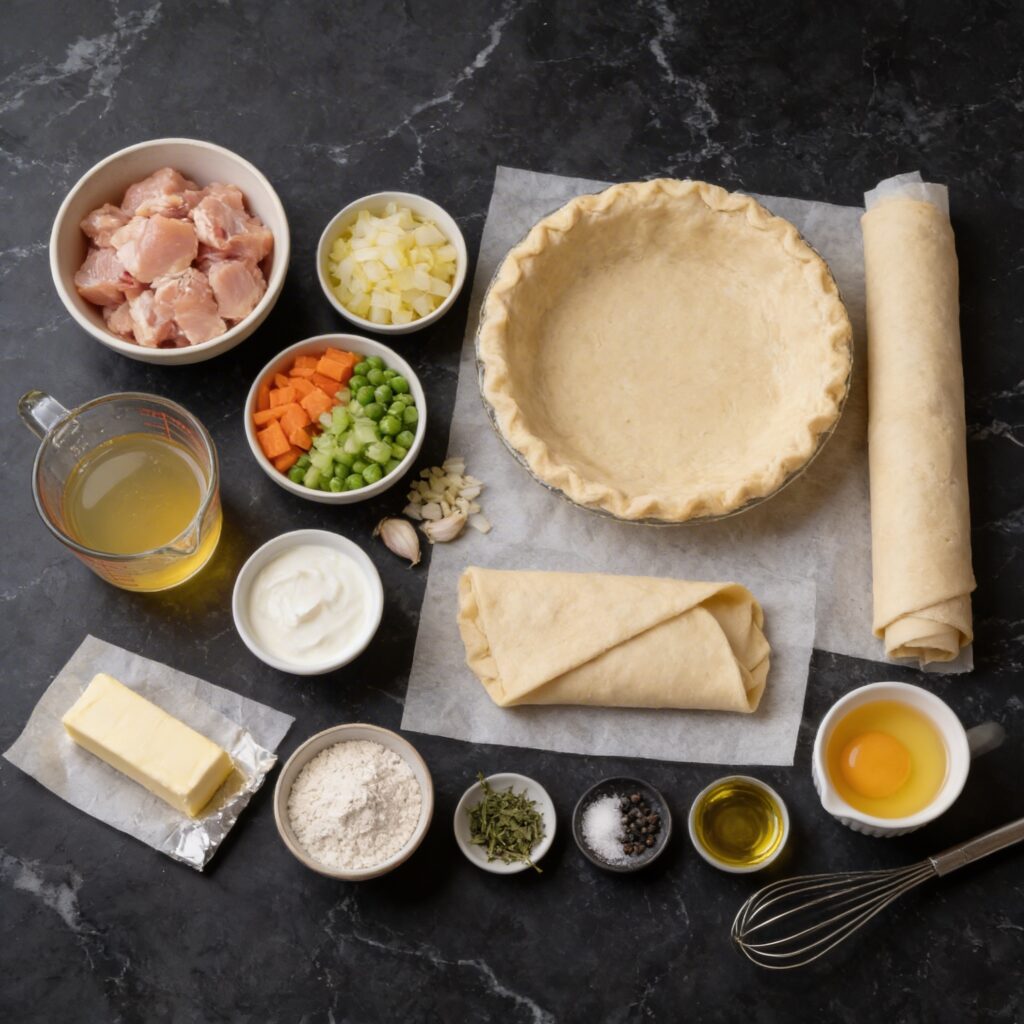
    Ingredients You’ll Need

    Gather all ingredients before starting to make the process smooth and stress-free.

    For the filling:

    • 2 tablespoons unsalted butter
    • 1 small onion, finely chopped
    • 2 cloves garlic, minced
    • 2 medium carrots, diced
    • 2 celery stalks, diced
    • 1 cup frozen peas
    • 2 cups cooked chicken, shredded or diced (rotisserie chicken works great)
    • ¼ cup all-purpose flour
    • 2 cups chicken broth
    • 1 cup whole milk or heavy cream
    • 1 teaspoon dried thyme
    • ½ teaspoon salt
    • ¼ teaspoon black pepper

    For the crust:

    • 1 package (2 sheets) refrigerated pie crusts, or homemade pie dough
    • 1 egg, beaten (for egg wash)

    Optional garnish: Fresh parsley, chopped


    Step 1: Preheat the Oven

    Preheat your oven to 400°F (200°C).

    Grease a 9-inch pie dish with butter or nonstick cooking spray to prevent sticking. If using a deep-dish pie pan, you may need to adjust cooking time slightly.


    Step 2: Cook the Vegetables

    In a large skillet over medium heat, melt the butter.

    Add the onion, carrots, and celery, cooking for about 5–6 minutes until the vegetables are tender but not mushy.

    Add the garlic and cook for another 30 seconds, until fragrant.


    Step 3: Make the Creamy Filling

    Sprinkle the flour over the cooked vegetables and stir well to coat. Cook for 1–2 minutes to eliminate the raw flour taste.

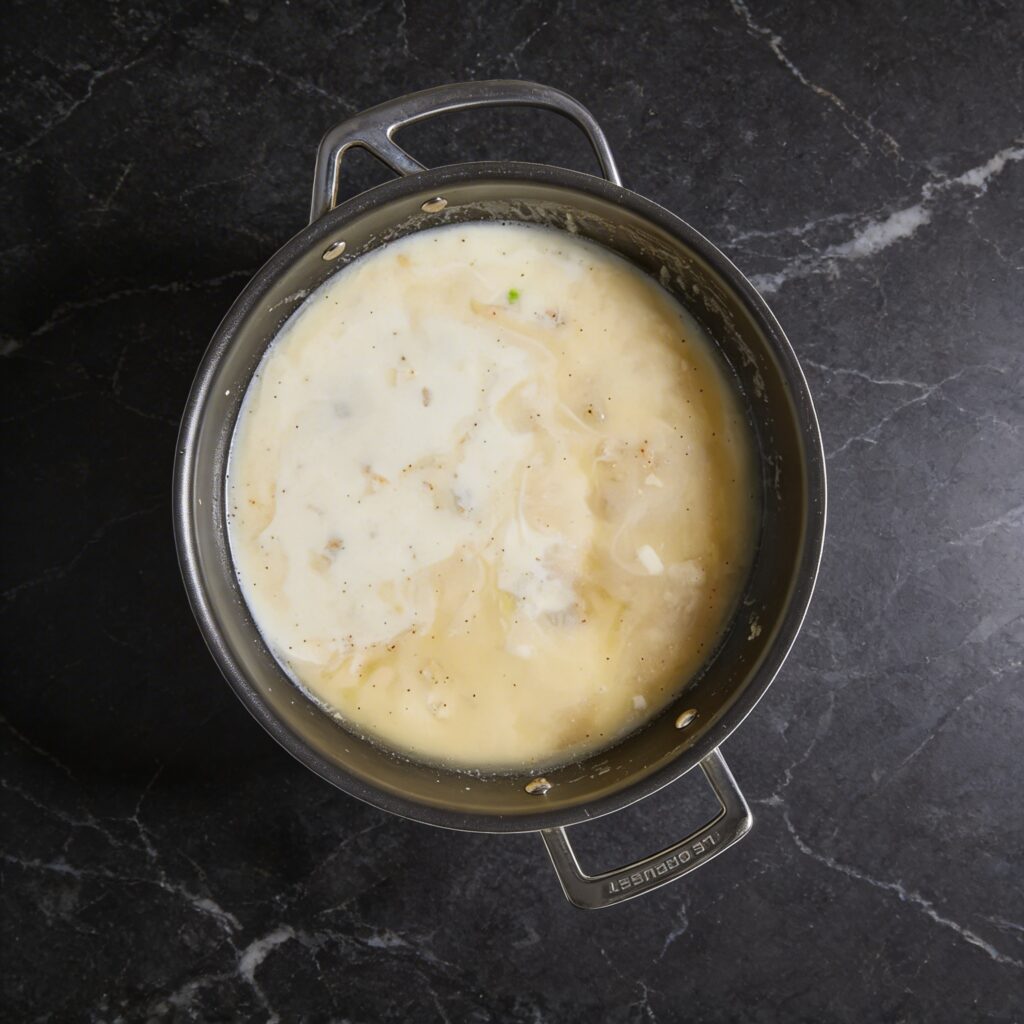
    Gradually add the chicken broth while stirring constantly to prevent lumps. Bring the mixture to a simmer until it thickens slightly.

    Add the milk or cream, dried thyme, salt, and black pepper, stirring until the sauce is smooth and creamy. Stir in the shredded chicken and frozen peas.

    Simmer for 2–3 minutes, then remove from heat.

    The filling should be thick enough to hold together but still saucy enough to coat the vegetables and chicken.


    Step 4: Prepare the Pie Crust

    Roll out one sheet of pie crust and fit it into the bottom of the greased pie dish.

    Make sure the crust covers the bottom and sides evenly.

    Pour the chicken and vegetable filling into the crust, spreading it evenly.

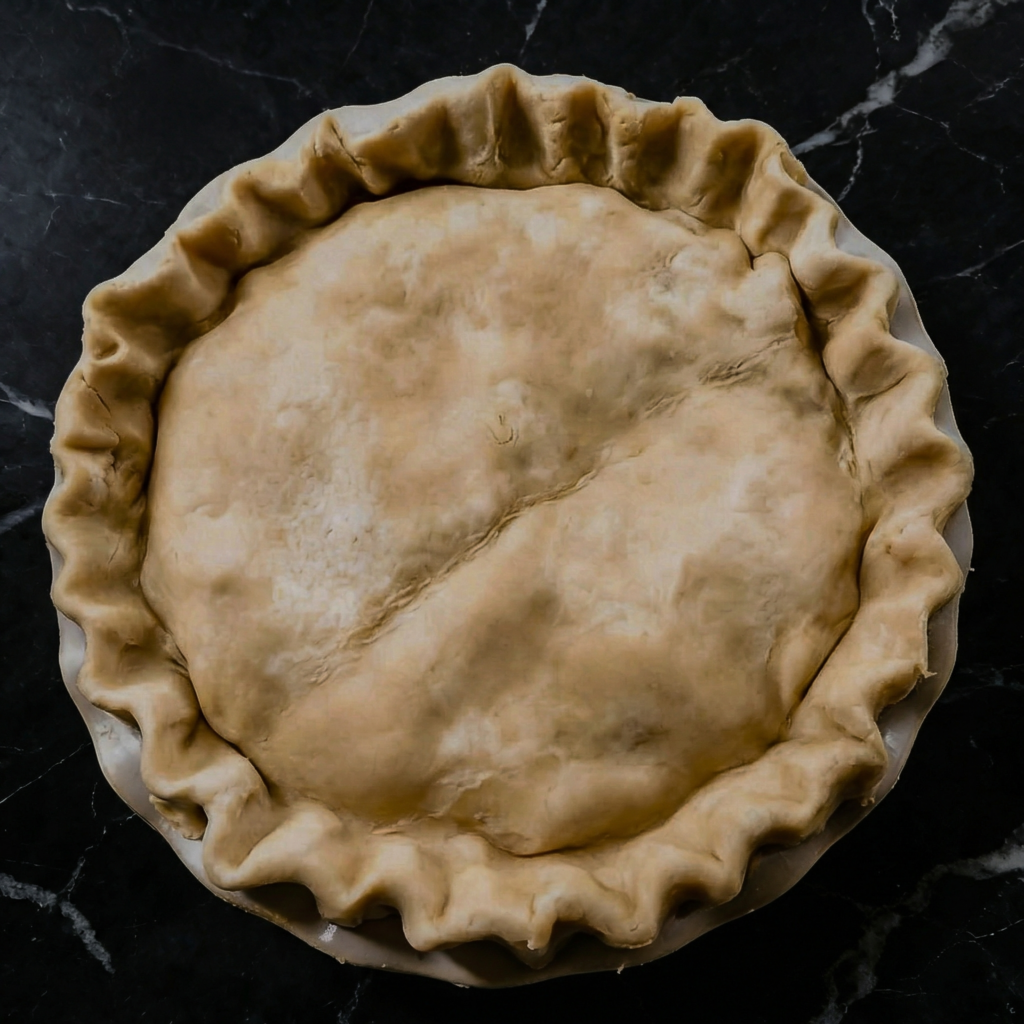
    Roll out the second pie crust and place it over the filling.

    Trim any excess dough around the edges and crimp the edges together with a fork or your fingers to seal the pie.

    Cut a few small slits in the top crust to allow steam to escape during baking.


    Step 5: Apply Egg Wash

    Brush the top crust with the beaten egg.

    This will give your pie a beautiful golden-brown finish.

    You can also sprinkle a little salt or freshly cracked black pepper on top for extra flavor.


    Step 6: Bake the Chicken Pot Pie

    Place the pie in the preheated oven and bake for 30–40 minutes, or until the crust is golden brown and the filling is bubbling through the vents.

    If the crust begins to brown too quickly, cover the edges with foil to prevent burning.


    Step 7: Cool Slightly and Serve

    Remove the pie from the oven and let it cool for 5–10 minutes before slicing.

    This resting time allows the filling to set slightly, making it easier to serve without spilling.

    Garnish with fresh parsley if desired.


    Step 8: Slice and Enjoy

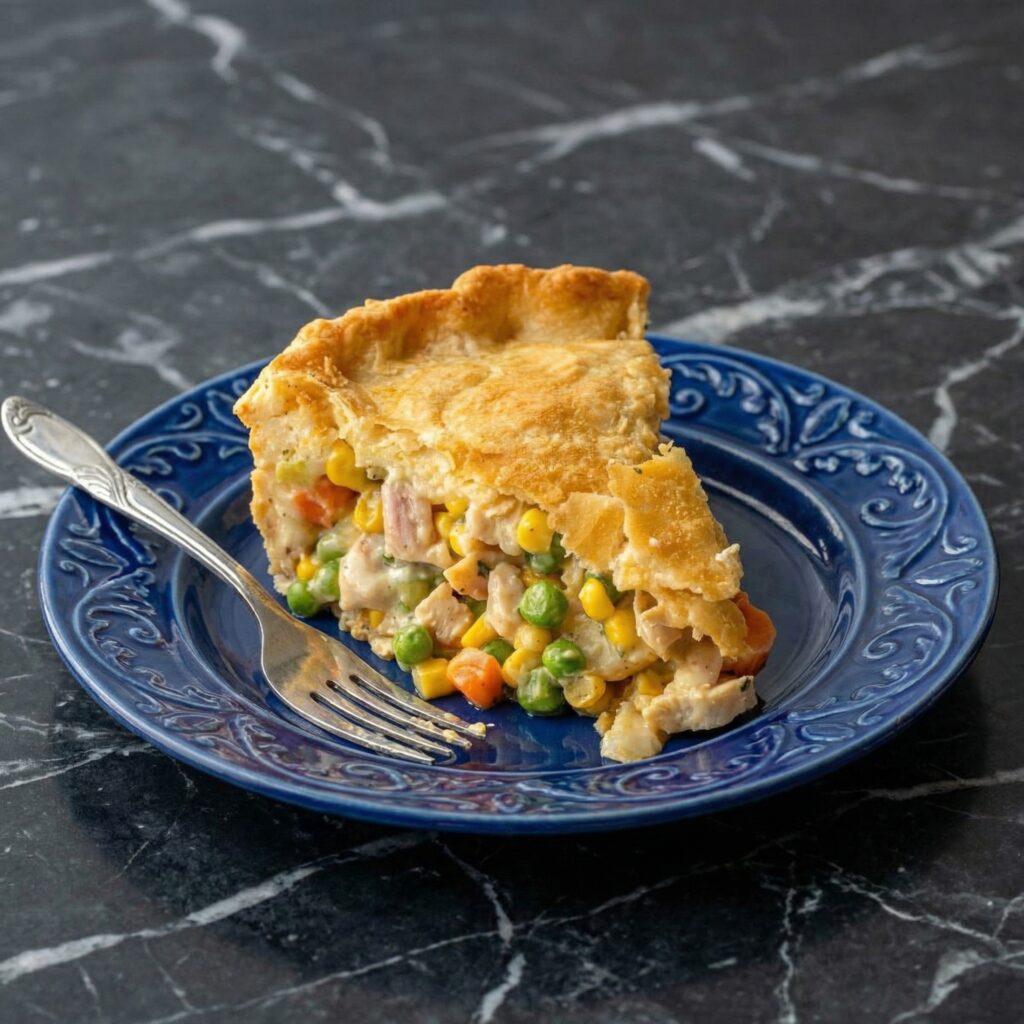
    Use a sharp knife to cut the pie into wedges.

    Each slice should reveal a creamy, savory filling encased in a flaky, golden crust.

    Serve warm with a side salad or steamed vegetables for a complete meal.


    Pro Tips for Perfect Chicken Pot Pie

    1. Use cooked chicken – Rotisserie chicken or leftover roasted chicken works perfectly.
    2. Don’t overcook vegetables – Slightly tender vegetables hold up well in the creamy filling.
    3. Thicken properly – Make sure your filling isn’t too runny, or the pie may become soggy.
    4. Egg wash matters – Brushing the crust with egg gives a shiny, golden finish.
    5. Vent the top crust – Small slits allow steam to escape and prevent a soggy top.

    Variations to Try

    • Cheesy Chicken Pot Pie: Add ½ cup shredded cheddar or Gruyère to the filling for extra richness.
    • Herb-Infused: Mix in fresh thyme, rosemary, or parsley for a fragrant flavor boost.
    • Vegetarian Version: Replace chicken with mushrooms, cauliflower, and other hearty vegetables.
    • Mini Pot Pies: Use muffin tins or small ramekins for individual servings—perfect for parties.

    Wrapping Up

    Chicken pot pie is the ultimate comfort food: creamy, savory, and enveloped in a golden, flaky crust.

    Making it from scratch allows you to control the flavors, textures, and quality of ingredients, resulting in a meal that’s far superior to frozen or store-bought options.

    Whether for a cozy weeknight dinner or a special family gathering, this recipe delivers a hearty, satisfying dish that pleases everyone at the table.

    The combination of tender chicken, vegetables, creamy sauce, and buttery crust is timeless, making chicken pot pie a staple for any comfort-food lover.

    With this guide, you can confidently prepare a pot pie that’s perfectly balanced—rich and indulgent, yet homey and comforting.

    Serve it with a simple salad or steamed veggies, and enjoy the ultimate in warm, cheesy, savory satisfaction. Chicken pot pie isn’t just a meal—it’s a hug in a dish.