Tag: artisan bread baking

  • Swirled with Sweet Spice: The Ultimate Cinnamon Quick Bread You’ll Make Again and Again

    Swirled with Sweet Spice: The Ultimate Cinnamon Quick Bread You’ll Make Again and Again

    There’s something timeless about the warm aroma of cinnamon drifting through your kitchen.

    Cinnamon quick bread is soft, tender, and beautifully swirled with sweet spice—perfect for breakfast, brunch, or an afternoon treat with coffee. Best of all, since it’s a quick bread, there’s no yeast and no rising time required.

    Just mix, swirl, bake, and enjoy. This step-by-step guide will show you exactly how to create a moist, bakery-style cinnamon quick bread with a rich cinnamon sugar ribbon in every slice.
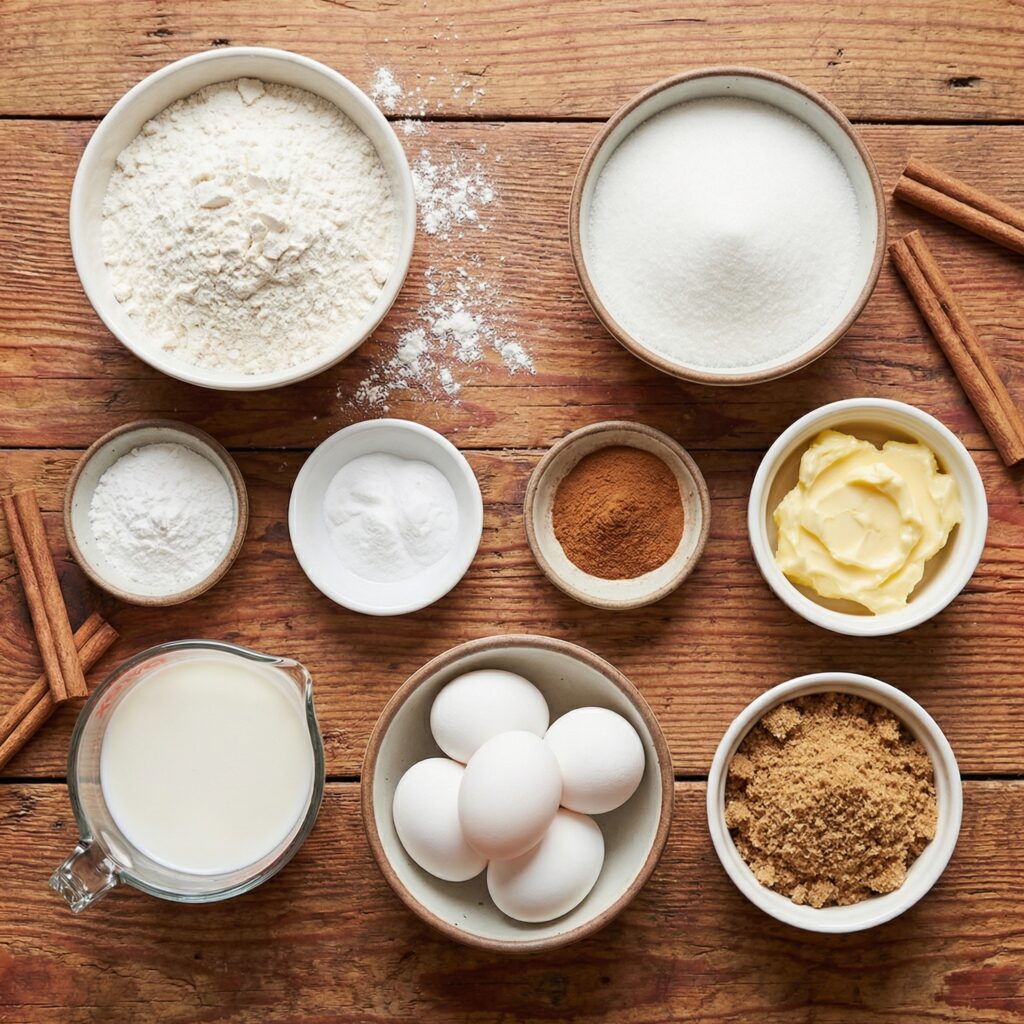

    Ingredients You’ll Need

    For the Bread Batter:

    • 2 cups (250g) all-purpose flour
    • 1 cup (200g) granulated sugar
    • 1 teaspoon baking soda
    • ½ teaspoon baking powder
    • ½ teaspoon salt
    • 1 teaspoon ground cinnamon
    • 2 large eggs
    • 1 cup (240ml) buttermilk (or milk + 1 tablespoon vinegar)
    • ½ cup (120ml) vegetable oil or melted butter
    • 1 teaspoon vanilla extract

    For the Cinnamon Swirl:

    • ⅓ cup (65g) brown sugar
    • 1 tablespoon ground cinnamon
    • 1 tablespoon melted butter

    Optional Glaze:

    • ½ cup powdered sugar
    • 1–2 tablespoons milk
    • ¼ teaspoon vanilla extract

    Step 1: Preheat and Prepare Your Pan

    Preheat your oven to 350°F (175°C). Lightly grease a standard 9×5-inch loaf pan with butter or nonstick spray.

    For easy removal, you can also line the pan with parchment paper, leaving an overhang on the sides.

    Preparing the pan properly ensures your bread releases cleanly after baking.


    Step 2: Mix the Dry Ingredients

    In a large mixing bowl, whisk together the flour, sugar, baking soda, baking powder, salt, and cinnamon.

    Mixing the dry ingredients first ensures even distribution of the leavening agents and spice, giving the bread a consistent texture and flavor throughout.


    Step 3: Combine the Wet Ingredients

    In a separate bowl, whisk together the eggs, buttermilk, oil (or melted butter), and vanilla extract until smooth.

    The buttermilk adds moisture and a slight tang, while the oil keeps the bread soft and tender for days.


    Step 4: Combine Wet and Dry Mixtures

    Pour the wet ingredients into the bowl of dry ingredients. Using a spatula or wooden spoon, gently stir until just combined.

    Be careful not to overmix—this can develop too much gluten and make the bread dense. The batter should be smooth but slightly thick, with no visible streaks of flour.


    Step 5: Prepare the Cinnamon Swirl

    In a small bowl, mix together the brown sugar, ground cinnamon, and melted butter until combined.

    This mixture will create the sweet, gooey ribbon that makes cinnamon quick bread so irresistible.


    Step 6: Layer and Swirl

    Pour half of the batter into the prepared loaf pan and spread evenly. Sprinkle half of the cinnamon swirl mixture over the batter.

    Add the remaining batter on top and gently smooth it out. Sprinkle the rest of the cinnamon mixture over the top layer. Using a knife or skewer, gently swirl the cinnamon sugar into the batter with a few figure-eight motions. Avoid over-swirling—you want distinct ribbons of cinnamon throughout the bread.


    Step 7: Bake to Golden Perfection

    Place the loaf pan in the preheated oven and bake for 50–60 minutes, or until a toothpick inserted into the center comes out clean or with just a few moist crumbs.

    If the top begins to brown too quickly, loosely tent the bread with aluminum foil during the last 10–15 minutes of baking.


    Step 8: Cool Before Removing

    Once baked, remove the bread from the oven and let it cool in the pan for 10–15 minutes.

    Then carefully transfer it to a wire rack to cool completely. Cooling allows the crumb to set and prevents the bread from becoming gummy when sliced.


    Step 9: Add the Optional Glaze

    For an extra touch of sweetness, whisk together powdered sugar, milk, and vanilla extract until smooth.

    Drizzle the glaze over the cooled bread, allowing it to cascade down the sides. Let it set for 10–15 minutes before slicing.


    Step 10: Slice and Serve

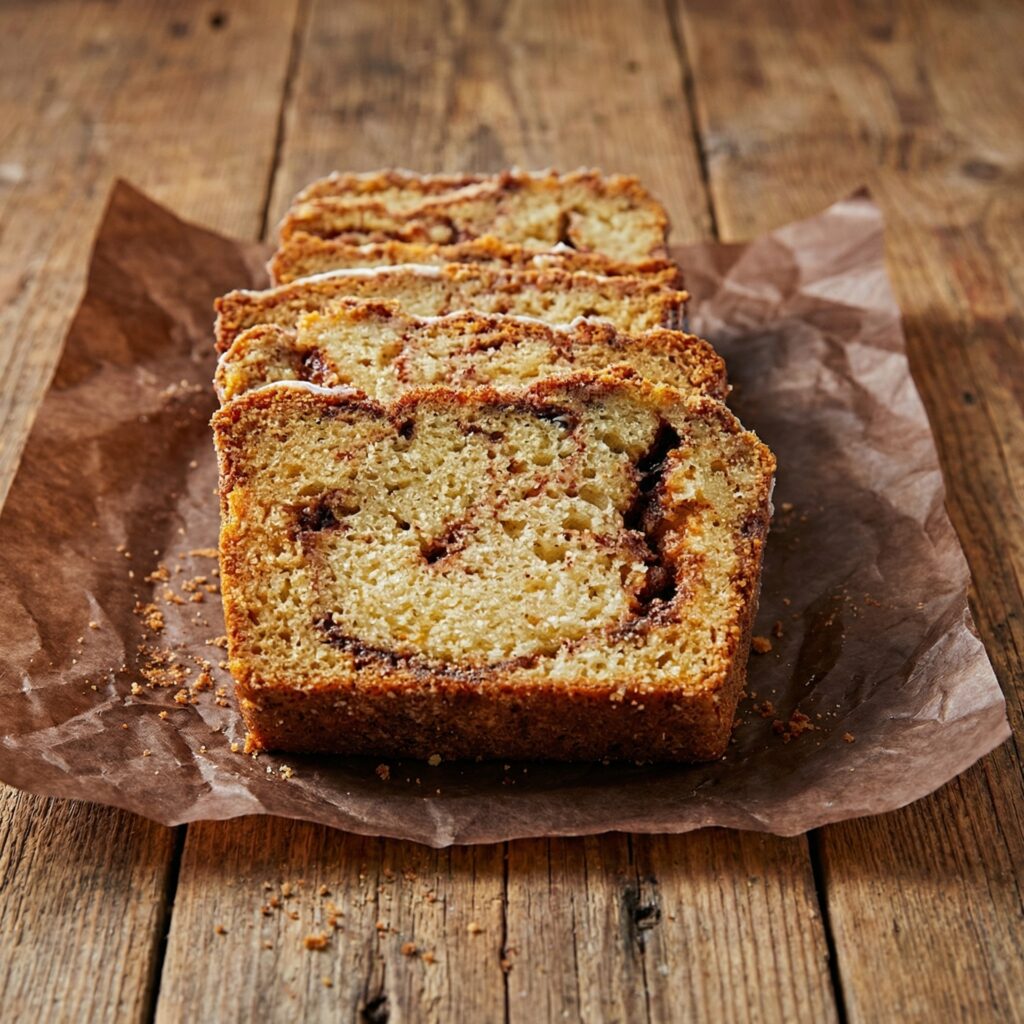
    Use a sharp serrated knife to slice the bread. Each slice should reveal beautiful swirls of cinnamon sugar running throughout the soft, tender crumb.

    Serve warm with butter, alongside coffee or tea, or as a comforting afternoon snack.

    Tips for the Best Cinnamon Quick Bread

    1. Don’t overmix the batter – Stir just until combined to keep the bread tender.
    2. Use room-temperature ingredients – They incorporate more smoothly into the batter.
    3. Measure flour correctly – Spoon it into the measuring cup and level it off to avoid dense bread.
    4. Let it cool fully before slicing – This ensures clean slices and proper texture.
    5. Customize it – Add chopped nuts, raisins, or a streusel topping for extra texture.

    Storage and Freezing

    • Store cinnamon quick bread in an airtight container at room temperature for up to 3 days.
    • Refrigerate for up to 5 days if glazed.
    • Freeze slices individually wrapped for up to 3 months. Thaw at room temperature or warm gently in the microwave.
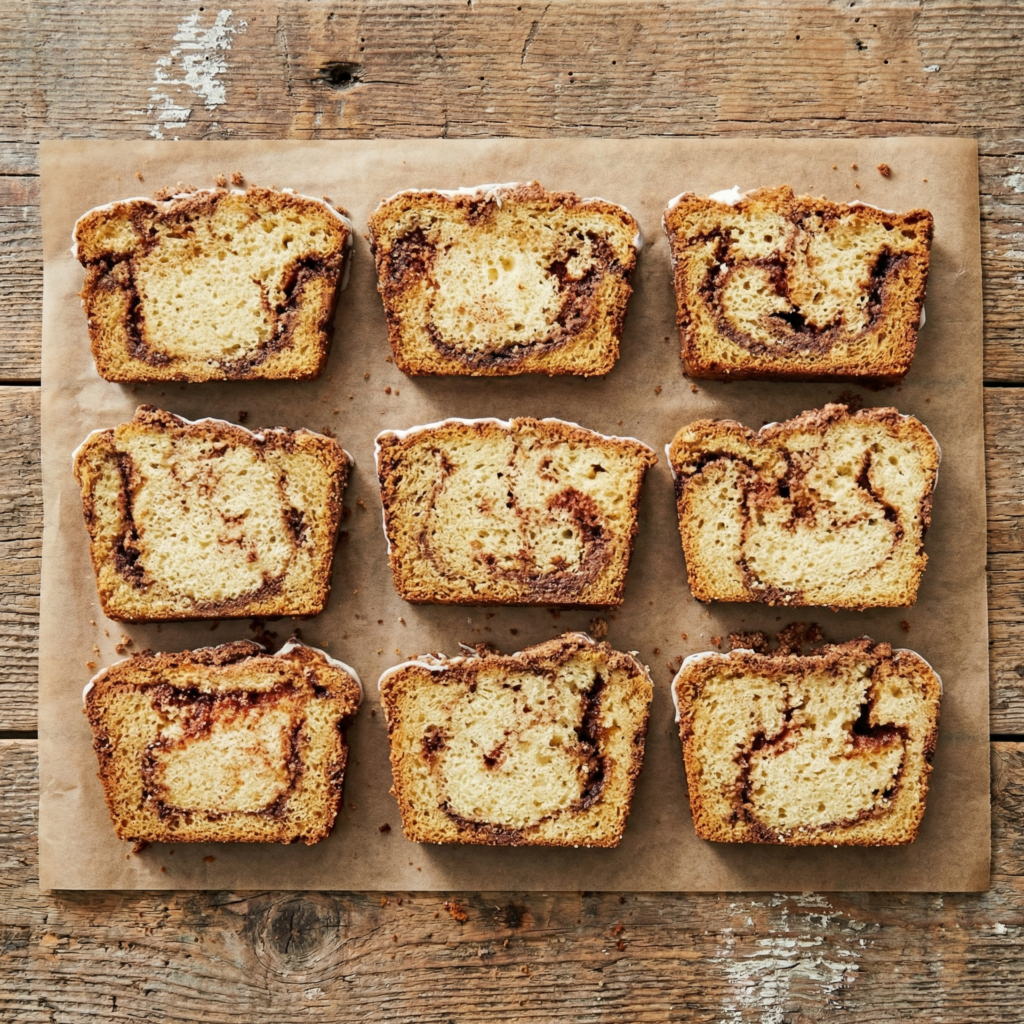
    Cinnamon quick bread is the kind of recipe you’ll turn to again and again. It’s simple enough for beginner bakers yet impressive enough to share with friends and family. The soft crumb, sweet cinnamon swirl, and optional glaze create a comforting loaf that feels both nostalgic and indulgent.

    With minimal prep and everyday ingredients, you can fill your kitchen with the warm scent of cinnamon and enjoy a homemade treat that tastes like it came straight from a bakery. One slice is never enough—and luckily, this recipe makes it easy to bake another loaf whenever the craving strikes.

  • Artisan French Baguettes

    Artisan French Baguettes

    Master the art of traditional bread baking with these authentic Artisan French Baguettes. This recipe guides you through the precise techniques—from developing gluten through folds to creating steam in your home oven—required to achieve the iconic crisp, deeply golden crust and the soft, hole-filled crumb of a true Parisian bakery baguette.

    With patience and attention to detail, you’ll transform flour, water, yeast, and salt into a loaf that crackles when squeezed and smells like a professional boulangerie.

    The Science of Crust and Crumb

    The perfection of a baguette lies in the meticulous management of fermentation and oven environment. The extended, cool fermentation (often 18-24 hours) allows wild yeast and bacteria to develop complex flavors and acids that strengthen the gluten network.

    This creates the structure needed to trap gas and form the irregular, open crumb. The iconic crust is a product of two factors: surface gelatinization and steam. Scoring the dough just before baking controls where it expands, preventing random tearing. Introducing steam in the oven’s first minutes keeps the dough surface moist and elastic, allowing for maximum “oven spring” (rapid expansion) before the crust sets.

    As the steam evaporates, the starches on the surface gelatinize and then dry into a crisp, glassy, blistered shell—the hallmark of a perfectly baked baguette.

    Ingredients

    For the Dough:

    • 500g (about 4 cups) bread flour (high protein, 12-13%)
    • 360g (about 1 ½ cups) cool water (72°F/22°C)
    • 10g (2 teaspoons) fine sea salt
    • 2g (½ teaspoon) instant yeast (or 3g/1 teaspoon active dry yeast)

    For Baking:

    • Rice flour or semolina, for dusting
    • Ice cubes or water for steam

    Instructions

    1. Autolyse & Initial Mix: In a large bowl, combine the bread flour and water. Mix with a spatula or your hands until no dry flour remains. Cover and let rest (autolyse) for 30 minutes. This allows the flour to fully hydrate and gluten strands to begin forming naturally.

    2. Incorporate Yeast & Salt: Sprinkle the yeast and salt evenly over the dough. Use wet hands to pinch and fold the dough for 2-3 minutes until the yeast and salt are fully incorporated and the dough becomes smoother.

    3. Bulk Fermentation with Folds: Cover the bowl and let the dough rise at cool room temperature (68-72°F/20-22°C) for 12-14 hours, or until nearly doubled and bubbly. During the first 2 hours, perform a series of 4 “stretch and folds,” one every 30 minutes.

    To do this, wet your hand, grab one side of the dough, stretch it up, and fold it over the center. Repeat on all four sides. This builds strength without kneading.

    4. Divide, Pre-shape, & Rest: Gently turn the dough out onto a lightly floured surface. Divide into 3 equal pieces (~290g each). Handle gently to preserve gas bubbles. Pre-shape each piece into a loose rectangle, then cover with a damp cloth and let rest for 30 minutes (bench rest).

    5. Shape the Baguettes: Working with one piece at a time, gently flatten into a rectangle. Fold the top third down to the center and seal with the heel of your hand. Fold the bottom third up to the center and seal.

    Then, starting from the top, roll the dough into a tight cylinder, sealing the seam with your palm. Roll gently to elongate to about 14-16 inches. Place seam-side up into a well-floured couche (linen cloth) or a baguette pan, creating ridges between loaves to support their shape.

    6. Final Proof: Cover the shaped baguettes and let proof at room temperature for 60-90 minutes, until puffy and increased in size by about 50%. The dough should spring back slowly when gently pressed.

    7. Score & Bake with Steam: Preheat your oven with a baking stone or steel to 475°F (245°C) for at least 45 minutes. Place a metal pan on the bottom rack. Carefully transfer the proofed baguettes onto a piece of parchment on a peel or inverted baking sheet.

    Using a razor blade (lame) held at a 30-degree angle, make 4-5 swift, confident diagonal slashes along each loaf. Slide the parchment with the baguettes onto the hot stone. Immediately throw a handful of ice cubes into the preheated pan below to create steam.

    Bake for 20-25 minutes until deeply golden brown and crisp. For extra crispness, turn off the oven and leave the door ajar for 5 minutes at the end.

    8. Cool Completely: Transfer the baked baguettes to a wire rack. Let cool completely for at least 1 hour before slicing. The interior is still setting; cutting too soon releases steam and makes the crumb gummy.

    Pro-Tips for Bakery-Quality Baguettes

    • Use a Scale: Precision with hydration (72%) is critical for texture. Volume measurements are unreliable.
    • Bread Flour is Essential: Its high protein content develops the strong gluten network needed for an open crumb.
    • Handle Gently: Preserve those precious gas bubbles during shaping to achieve the irregular holes.
    • Create a Steamy Oven: Steam is non-negotiable for crust development. Ice cubes, a spray bottle, or pouring boiling water into the preheated pan all work.
    • Sharp Scoring Tool: A razor blade (lame) cuts cleanly without dragging the dough. Dull knives tear the surface.
    • Listen for the Crackle: A perfectly baked baguette will audibly crackle as it cools—this is the crust contracting and is a sign of success.
    • Storage: Baguettes are best the day they are baked. To recrisp, spritz with water and bake at 400°F (200°C) for 5-8 minutes.

    This Artisan French Baguette recipe rewards patience with extraordinary results.