Tag: appetizer recipe

  • Perfect Onion Rings (Crispy, Golden, Irresistible)

    Perfect Onion Rings (Crispy, Golden, Irresistible)

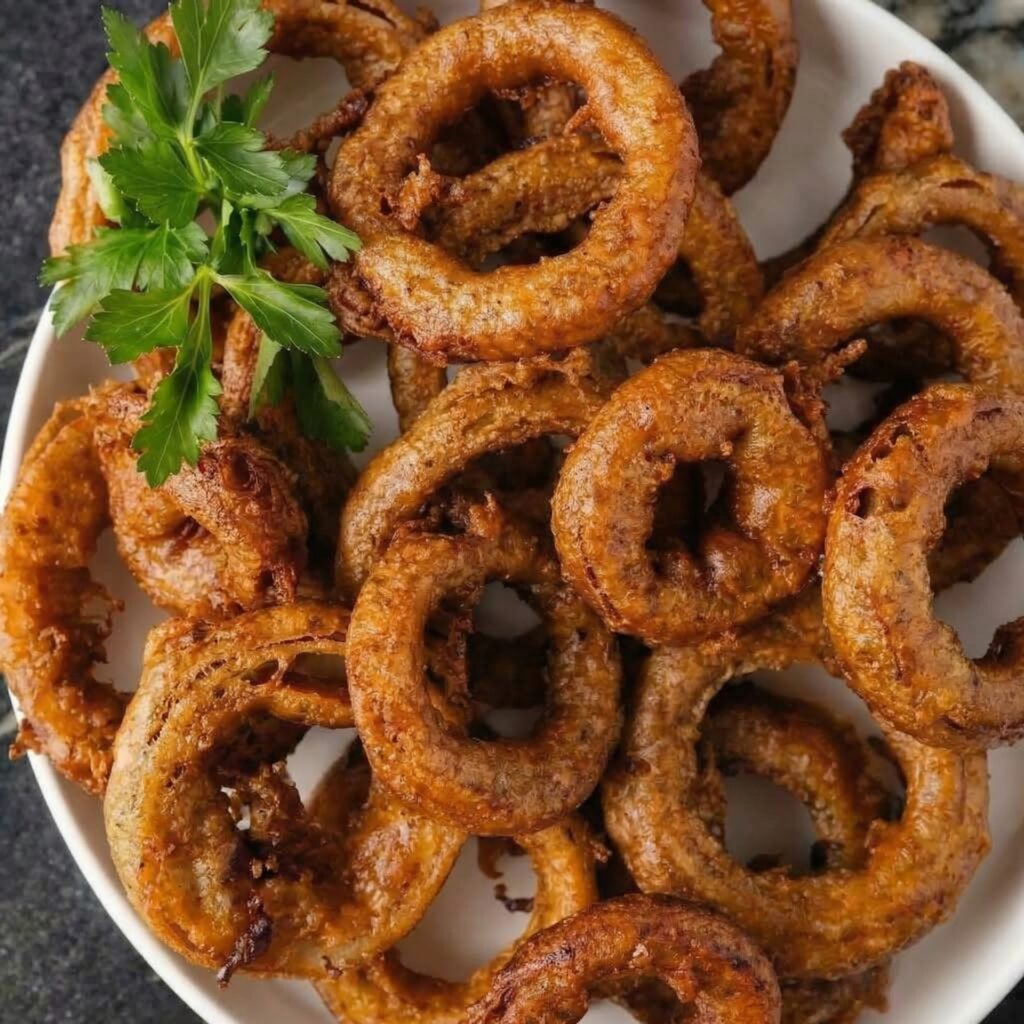
    Great onion rings are a thing of beauty—a thick, sweet onion slice encased in a light, crispy, craggy coating that shatters when you bite into it. Not those sad, soggy, or greasy imitations. These are the real deal: beer-battered for maximum crunch, seasoned to perfection, and fried until golden brown.

    Whether you’re serving them alongside a burger, as an appetizer with dipping sauces, or just because you deserve something delicious, these onion rings deliver. The secret is in the batter—cold beer, the right flour ratio, and a little cornstarch for extra crispiness. Get ready for the best onion rings of your life.

    Ingredients
    For the Onions:

    • 2 large sweet onions (Vidalia or Walla Walla), sliced into ½-inch thick rounds
    • 2 cups cold buttermilk or ice water (for soaking)

    For the Beer Batter:

    • 1 ½ cups (190g) all-purpose flour
    • ½ cup (65g) cornstarch
    • 1 teaspoon baking powder
    • 1 teaspoon salt
    • ½ teaspoon black pepper
    • ½ teaspoon paprika (optional)
    • ¼ teaspoon cayenne pepper (optional, for heat)
    • 1 ½ cups (360ml) cold beer (lager or pilsner works best)

    For the Seasoned Flour Dredge:

    • 1 cup (125g) all-purpose flour
    • 1 teaspoon salt
    • ½ teaspoon black pepper
    • ½ teaspoon paprika

    For Frying:

    • Vegetable or peanut oil, for frying

    For Serving:

    • Ranch dressing, chipotle mayo, or your favorite dipping sauce
    • Fresh parsley, chopped (for garnish)

    Instructions

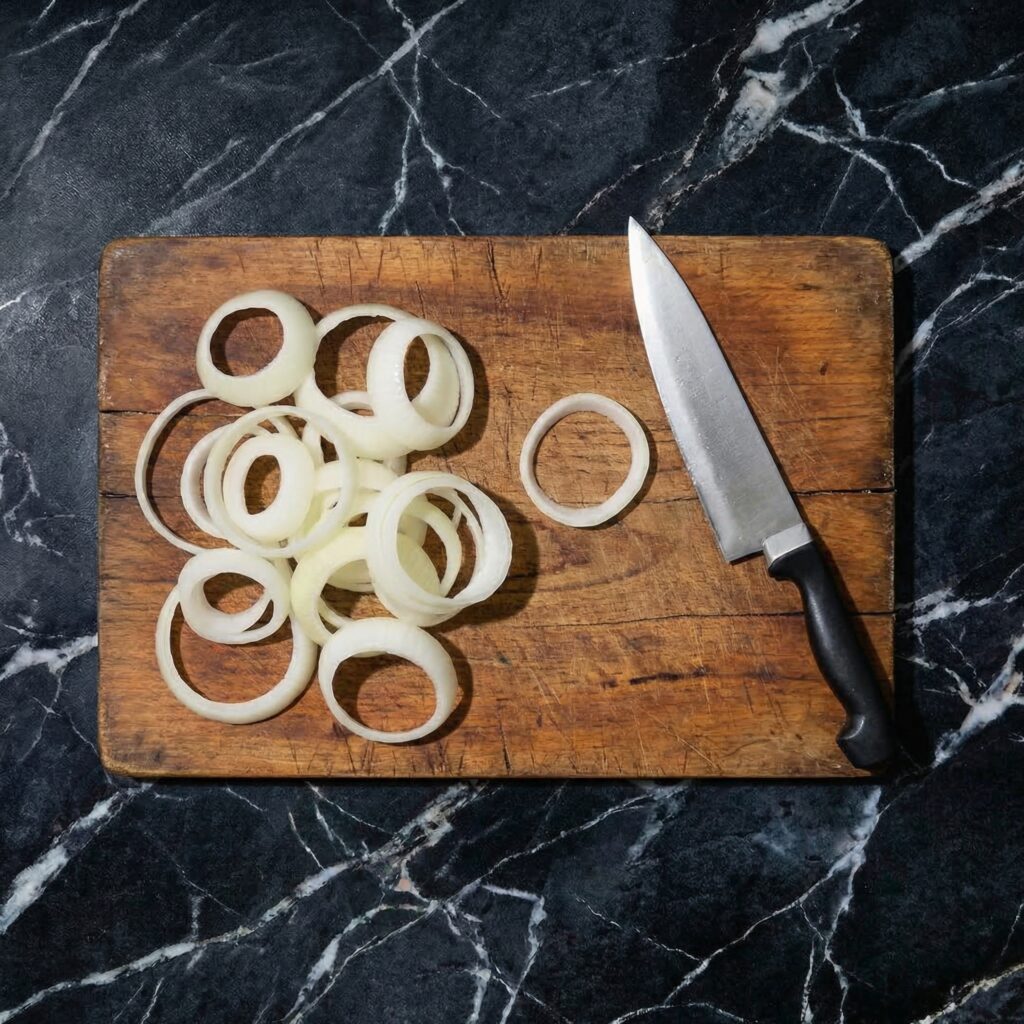
    1. Prep the Onions: Slice the onions into ½-inch thick rounds. Separate the slices into individual rings, reserving the smallest inner rings for another use (or double up for mini rings). Place the rings in a bowl and cover with cold buttermilk or ice water. Refrigerate for at least 30 minutes, up to 2 hours. This reduces the onion’s sharpness and helps the batter adhere.
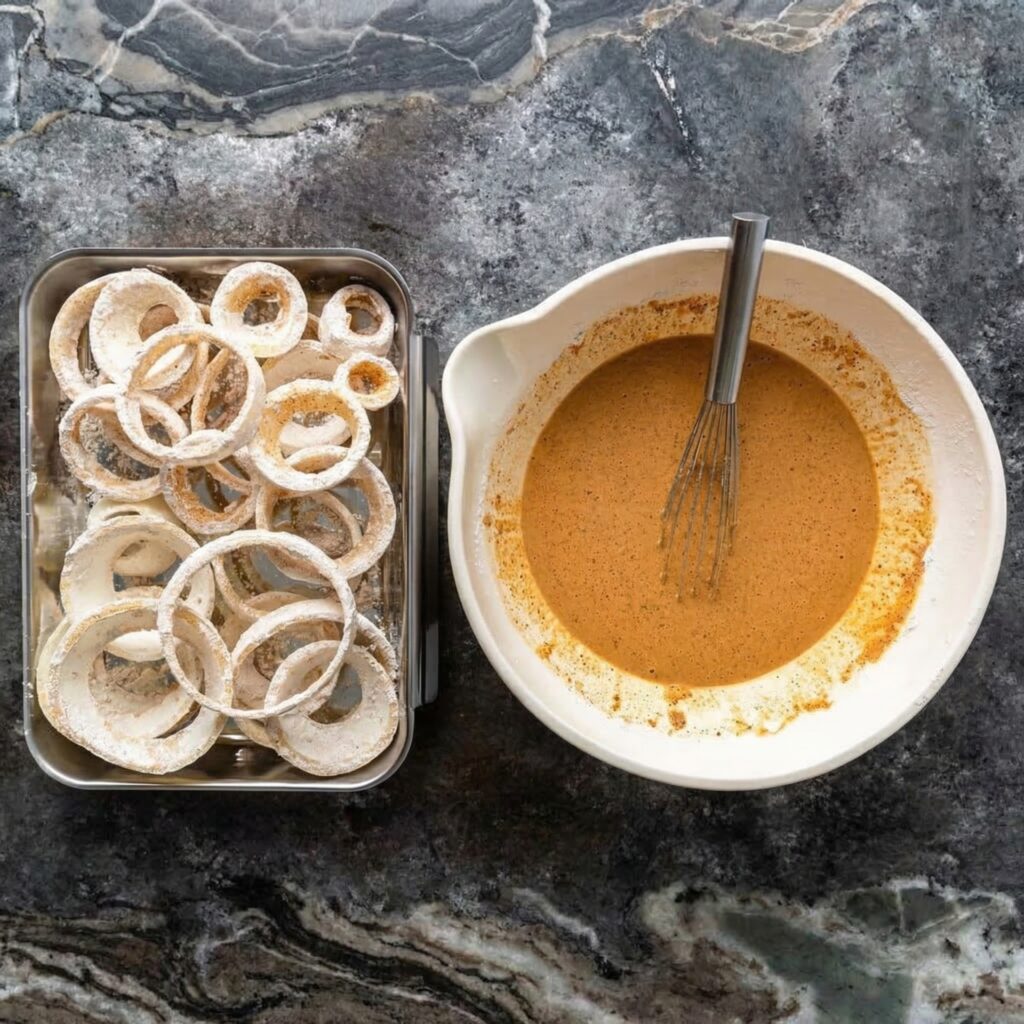
    2. Make the Seasoned Flour Dredge: In a shallow dish, combine the 1 cup flour, salt, pepper, and paprika. Mix well.

    3. Make the Beer Batter: In a large bowl, whisk together the 1½ cups flour, cornstarch, baking powder, salt, pepper, paprika, and cayenne. Gradually whisk in the cold beer until the batter is smooth and the consistency of thin pancake batter. Don’t overmix—a few lumps are okay. Keep the batter cold (set the bowl in an ice bath if needed).
    4. Heat the Oil: In a heavy-bottomed pot or deep fryer, heat about 3 inches of oil to 375°F (190°C). Use a thermometer to maintain temperature.

    5. Drain the Onions: Drain the onion rings and pat them thoroughly dry with paper towels. Moisture is the enemy of crispy coating.

    6. Dredge in Seasoned Flour: Working in batches, toss the onion rings in the seasoned flour mixture, shaking off any excess. This helps the batter adhere.

    7. Dip in Beer Batter: Using tongs or your fingers, dip each floured ring into the beer batter, allowing excess to drip off.

    8. Fry: Carefully lower the battered rings into the hot oil. Fry in small batches to avoid overcrowding, which lowers oil temperature. Cook for 2-3 minutes, turning once, until golden brown and crispy.

    9. Drain: Remove with a slotted spoon or spider strainer and drain on a wire rack (not paper towels—they’ll get soggy). Immediately sprinkle with a little salt while hot.

    10. Keep Warm: Keep finished rings in a warm oven (200°F) while frying remaining batches.

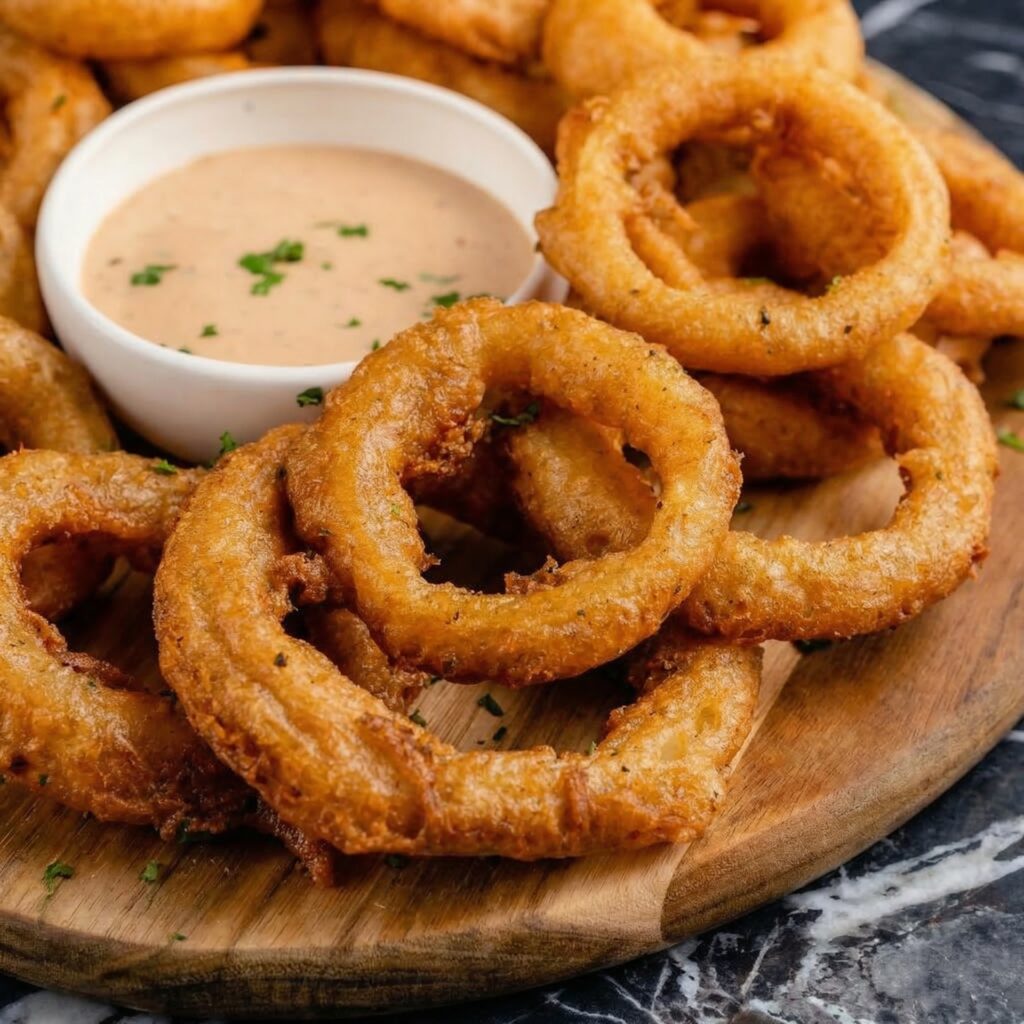
    11. Serve: Arrange on a platter, garnish with fresh parsley, and serve immediately with your favorite dipping sauces.

    Pro-Tips for Onion Ring Perfection

    • Keep the Batter Cold: Cold batter hitting hot oil creates the crispiest crust. Set the batter bowl in an ice bath if your kitchen is warm.
    • Dry the Onions Thoroughly: Any moisture will cause the batter to slide off. Pat them completely dry after soaking.
    • Use Sweet Onions: Vidalia or Walla Walla onions are milder and sweeter, perfect for onion rings.
    • Don’t Overcrowd the Fryer: Too many rings at once lowers oil temperature, resulting in greasy, soggy rings. Fry in small batches.
    • Double Dredge for Extra Crunch: For an even crunchier coating, dip the floured rings back in the buttermilk, then in flour again before the beer batter.
    • Drain on a Rack: Paper towels trap steam and make the coating soggy. A wire rack keeps them crispy.
    • Serve Immediately: Onion rings are best fresh and hot. Have your dipping sauces ready.

    These Perfect Onion Rings are crispy, golden, and absolutely irresistible.
  • Ultimate Mozzarella Sticks (Crispy, Cheesy, Stretchy)

    Ultimate Mozzarella Sticks (Crispy, Cheesy, Stretchy)

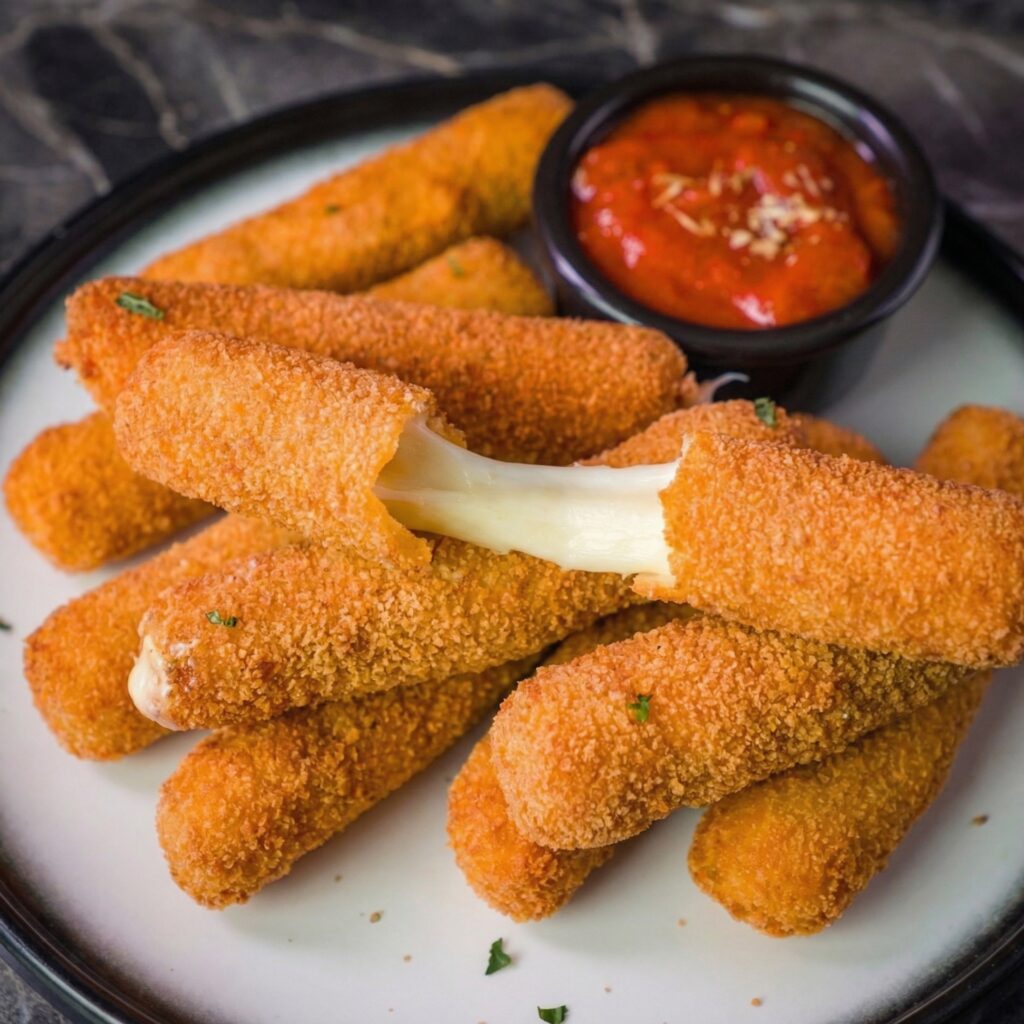
    Let’s be honest—mozzarella sticks are the appetizer everyone fights over. That moment when you pull one apart and the cheese stretches for what seems like forever, the crispy, seasoned coating giving way to hot, melty, glorious cheese inside. Making them at home is easier than you think, and the result is so much better than anything from the freezer aisle.

    The secret is a triple-coating process that creates an extra-crunchy shell that won’t leak, and freezing the sticks long enough that the cheese stays inside while it melts. Serve them with warm marinara, and you’ve got pure magic.

    Ingredients

    For the Mozzarella Sticks (makes about 16-20 sticks):

    • 1 lb (450g) block of low-moisture mozzarella cheese
    • 1 cup (125g) all-purpose flour
    • 2 teaspoons salt, divided
    • 1 teaspoon black pepper
    • 3 large eggs
    • 2 tablespoons water or milk
    • 2 cups (200g) Italian-seasoned breadcrumbs (or plain breadcrumbs mixed with 1 tsp Italian seasoning)
    • ½ cup (50g) grated Parmesan cheese
    • Vegetable or peanut oil, for frying

    For Serving:

    • 2 cups marinara sauce, warmed
    • Fresh basil leaves, for garnish
    • Additional grated Parmesan

    Instructions

    1. Cut the Cheese: Cut the mozzarella block into sticks about ½ inch thick and 3-4 inches long. You should get about 16-20 sticks depending on the size of the block.

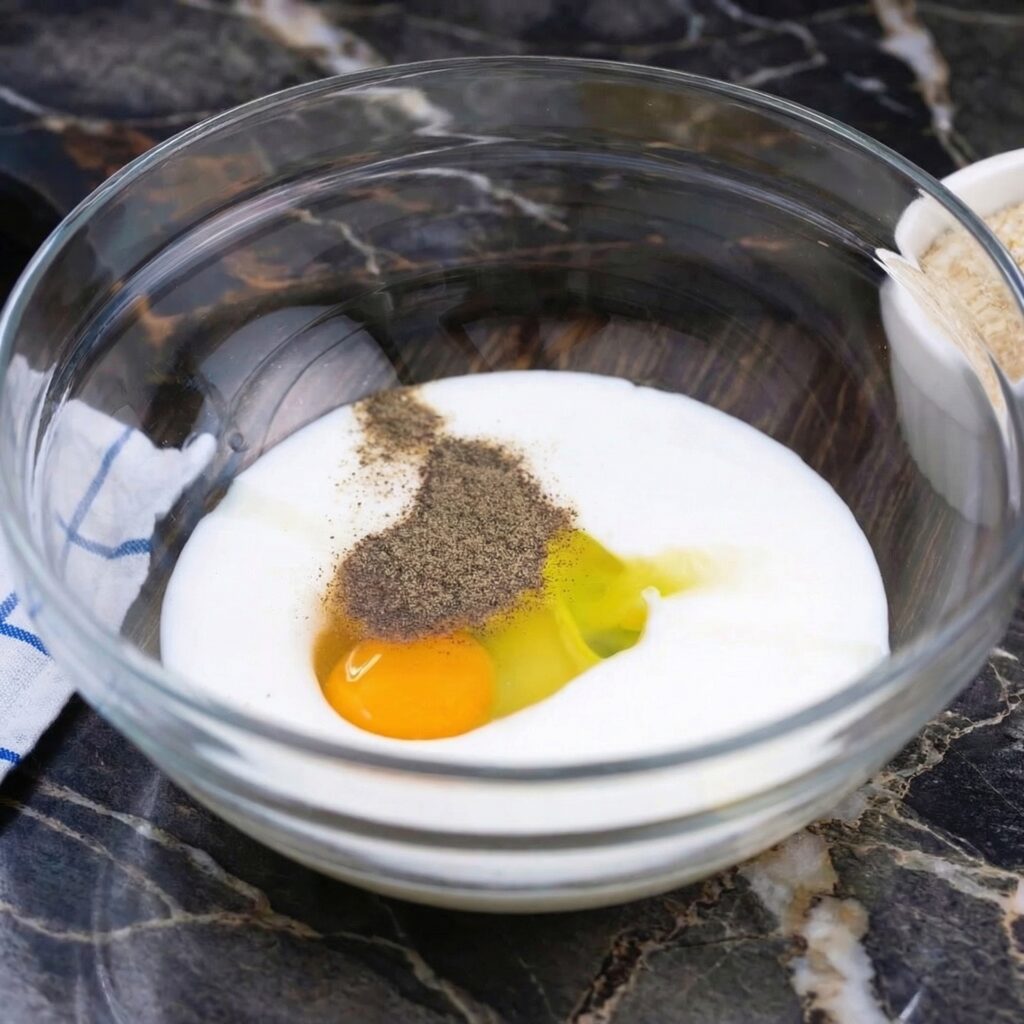
    2. Set Up Your Dredging Station: In a shallow dish, combine the flour with 1 teaspoon salt and ½ teaspoon pepper. In a second shallow dish, beat the eggs with the water or milk. In a third shallow dish, combine the breadcrumbs, grated Parmesan, remaining 1 teaspoon salt, and ½ teaspoon pepper.

    3. First Dredge: Working in batches, dredge each mozzarella stick in the flour mixture, shaking off excess. Dip in the egg mixture, allowing excess to drip off. Roll in the breadcrumb mixture, pressing gently to adhere.

    4. Second Dredge (for extra crunch): For a thicker, extra-crispy coating, repeat the process: dip back into the egg mixture, then back into the breadcrumb mixture for a second coating. Press firmly to ensure the breadcrumbs stick.

    5. Freeze: Place the coated sticks on a parchment-lined baking sheet in a single layer, making sure they’re not touching. Freeze for at least 2 hours, preferably 3-4 hours, until completely solid. This step is essential—do not skip!

    6. Heat the Oil: In a heavy-bottomed pot or deep fryer, heat about 3 inches of oil to 350°F (175°C). Use a thermometer to maintain temperature.

    7. Fry in Batches: Working in small batches to avoid overcrowding, carefully add frozen mozzarella sticks to the hot oil. Fry for 2-3 minutes, turning occasionally, until golden brown and crispy. Do not overcook or the cheese will burst.

    8. Drain: Remove with a slotted spoon or spider strainer and drain on a wire rack (not paper towels—they’ll get soggy). Immediately sprinkle with a little salt while hot.

    9. Keep Warm: Keep finished sticks in a warm oven (200°F) while frying remaining batches.

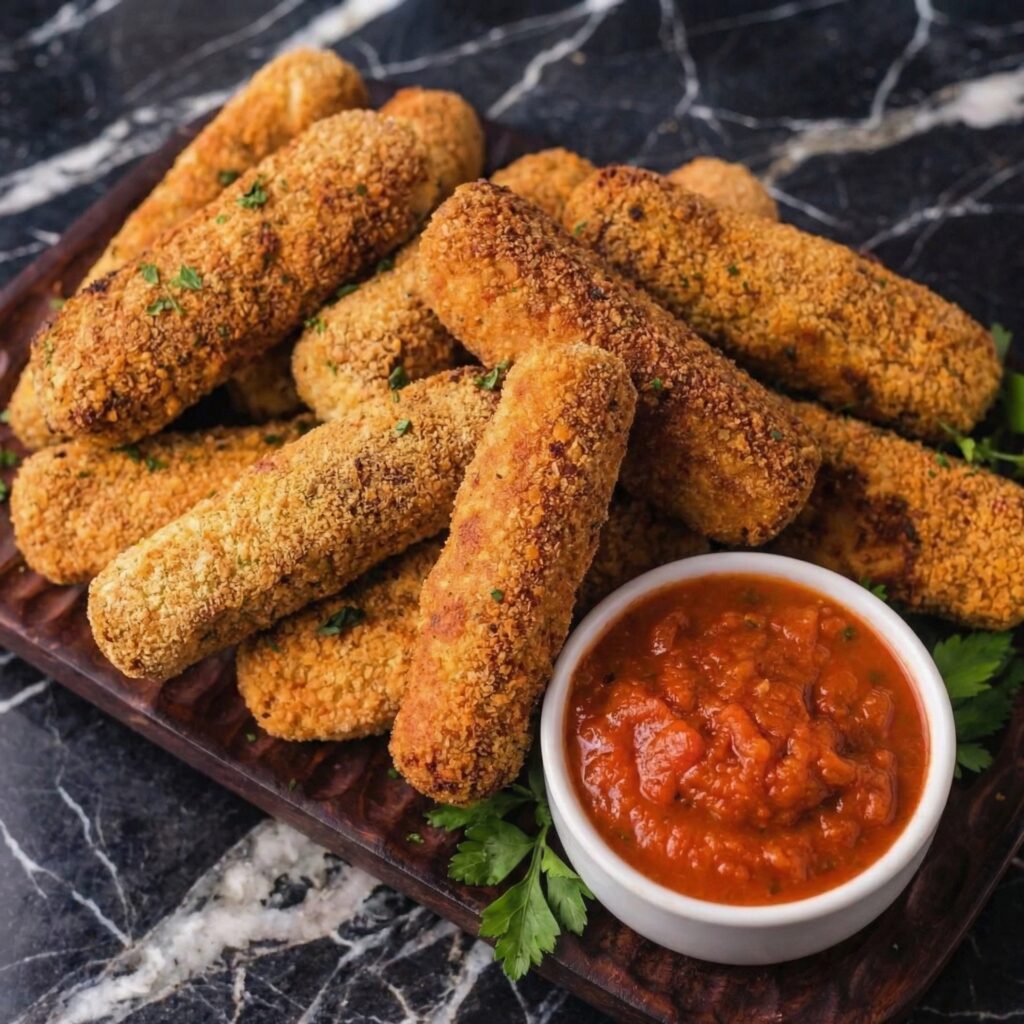
    10. Serve: Arrange on a platter with warm marinara sauce for dipping. Garnish with fresh basil and additional Parmesan. Serve immediately—the cheese stretch is waiting!

    Pro-Tips for Mozzarella Stick Perfection

    • Use Low-Moisture Mozzarella: Fresh mozzarella contains too much water and will leak everywhere. Use the block-style low-moisture mozzarella.
    • Freeze Solid: This is non-negotiable. Frozen cheese ensures the coating crisps before the cheese melts.
    • Double Coat for Extra Crunch: The second coating creates a thicker, more durable crust that’s less likely to leak.
    • Don’t Overcrowd the Fryer: Too many sticks at once lowers oil temperature, resulting in greasy, soggy coatings.
    • Fry from Frozen: Never thaw—they go straight from freezer to fryer.
    • Watch the Clock: Overcooking causes the cheese to burst. As soon as they’re golden, they’re done.
    • Serve Immediately: Mozzarella sticks wait for no one. The cheese stretch is best right out of the fryer.
    • Spice It Up: Add red pepper flakes to the breadcrumbs for heat, or try different herbs.

    These Ultimate Mozzarella Sticks are crispy, cheesy, and absolutely stretchy perfection.