
If you’re craving something bold, comforting, and bursting with tropical flavor—but don’t want a long grocery list—this 5-Ingredient Pineapple Pork with Coconut Rice is your new go-to dinner.
It’s sweet, savory, slightly tangy, and perfectly creamy all at once. Juicy pork simmers in pineapple until caramelized and tender, then gets spooned over fluffy coconut rice that soaks up every drop of flavor.
Best of all? You only need five core ingredients to make it happen.
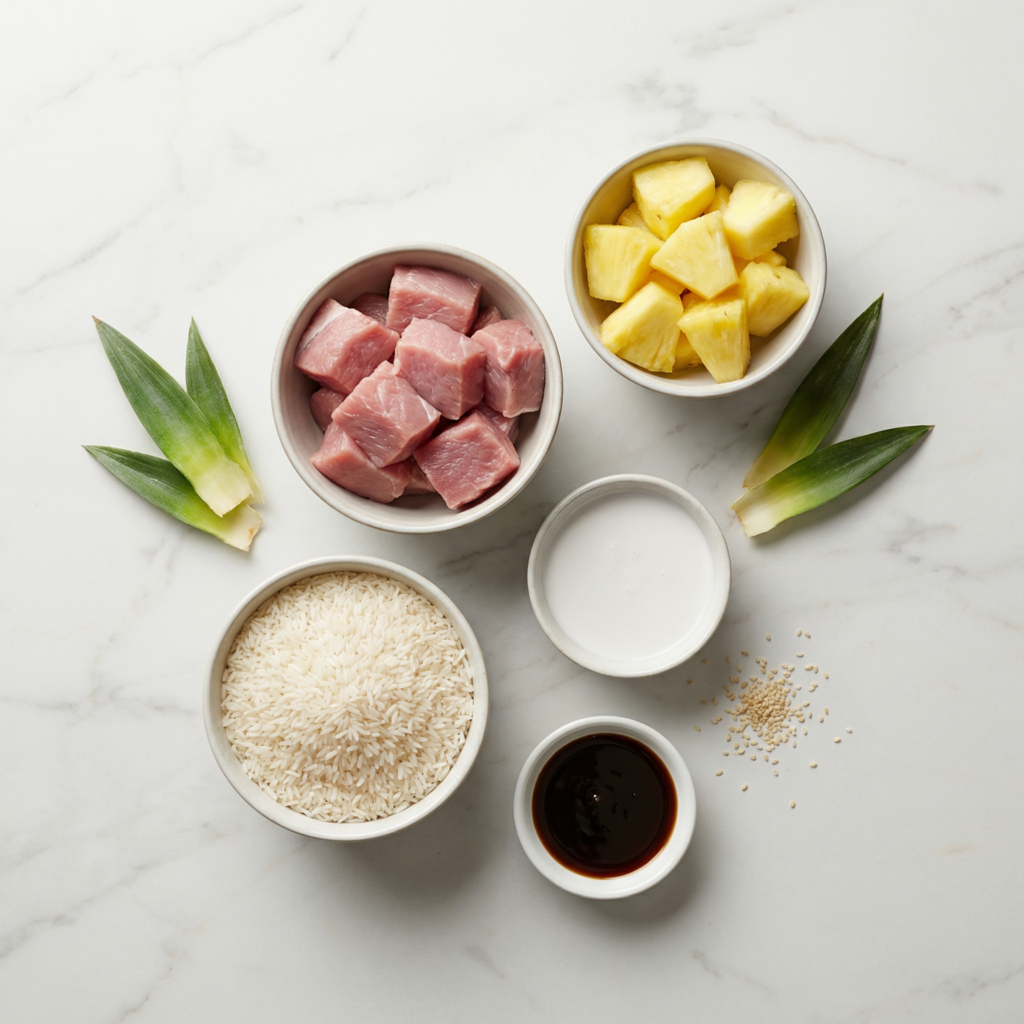
The 5 Simple Ingredients
- 1½ pounds pork tenderloin (or pork shoulder, sliced thin)
- 1 (20 oz) can pineapple chunks (with juice)
- 1 cup soy sauce
- 1 (13.5 oz) can full-fat coconut milk
- 1½ cups jasmine rice
That’s it. No complicated sauces, no specialty items—just pantry staples working together beautifully.
Why This Recipe Works
The magic lies in contrast:
- Salty soy sauce balances sweet pineapple
- Rich coconut milk softens and rounds out bold flavors
- Jasmine rice absorbs everything for a complete, satisfying dish
With minimal ingredients, technique matters most. Let’s walk through it step by step.
Step 1: Rinse and Start the Coconut Rice
Begin with the rice so it’s ready when the pork finishes.
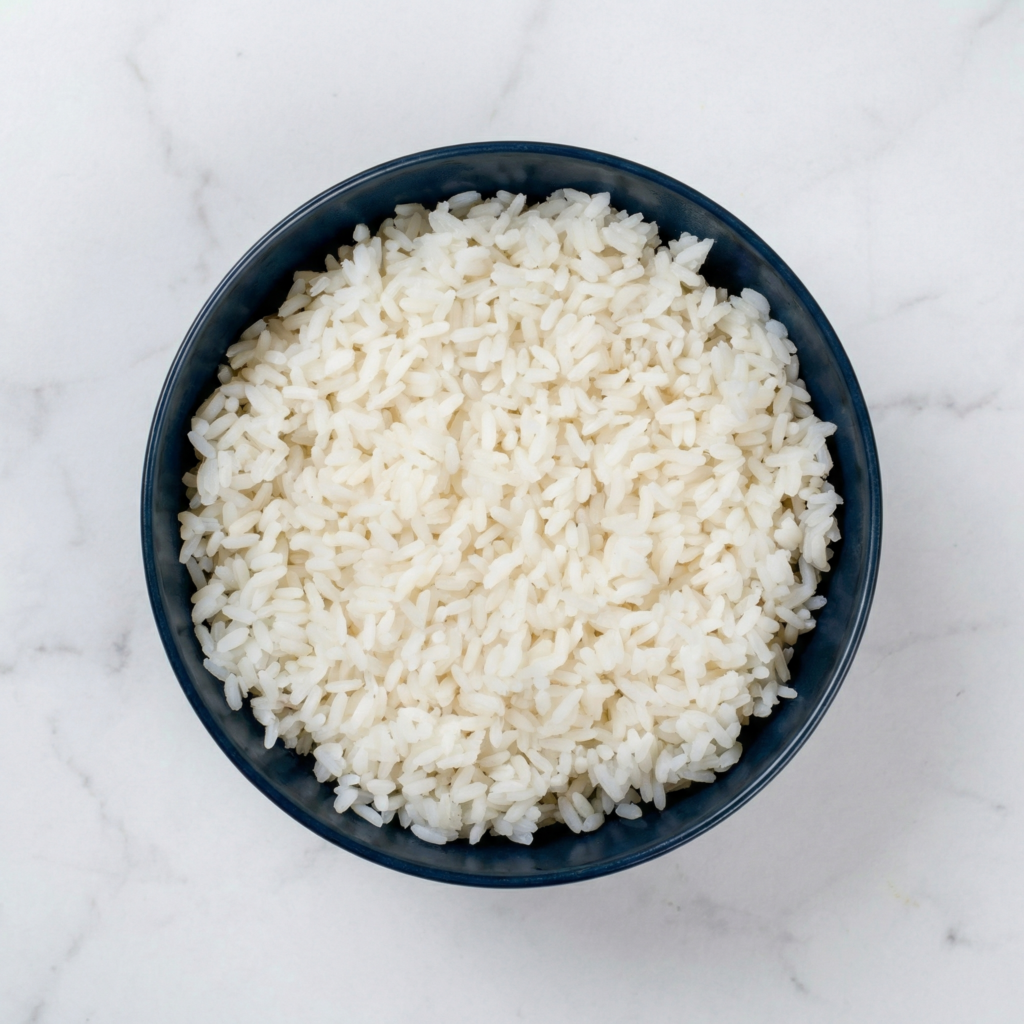
Rinse 1½ cups jasmine rice under cold water until the water runs mostly clear. This removes excess starch and keeps the rice fluffy instead of sticky.
In a medium saucepan, combine:
- Rinsed rice
- 1 can coconut milk
- ½ cup water (to balance thickness)
Bring to a gentle boil over medium heat. Once bubbling, reduce to low, cover, and simmer for 15–18 minutes.
Do not lift the lid while it cooks—steam is essential for even cooking.
When finished, remove from heat and let sit covered for 5–10 minutes. Fluff with a fork before serving.
Step 2: Prepare the Pork
While the rice cooks, slice the pork into thin strips or bite-sized chunks. Thin slicing helps it cook quickly and evenly.
If using pork tenderloin, trim any silver skin before slicing. If using pork shoulder, cut against the grain for tenderness.
Pat the pork dry with paper towels. This helps it brown better in the pan.
Step 3: Sear the Pork
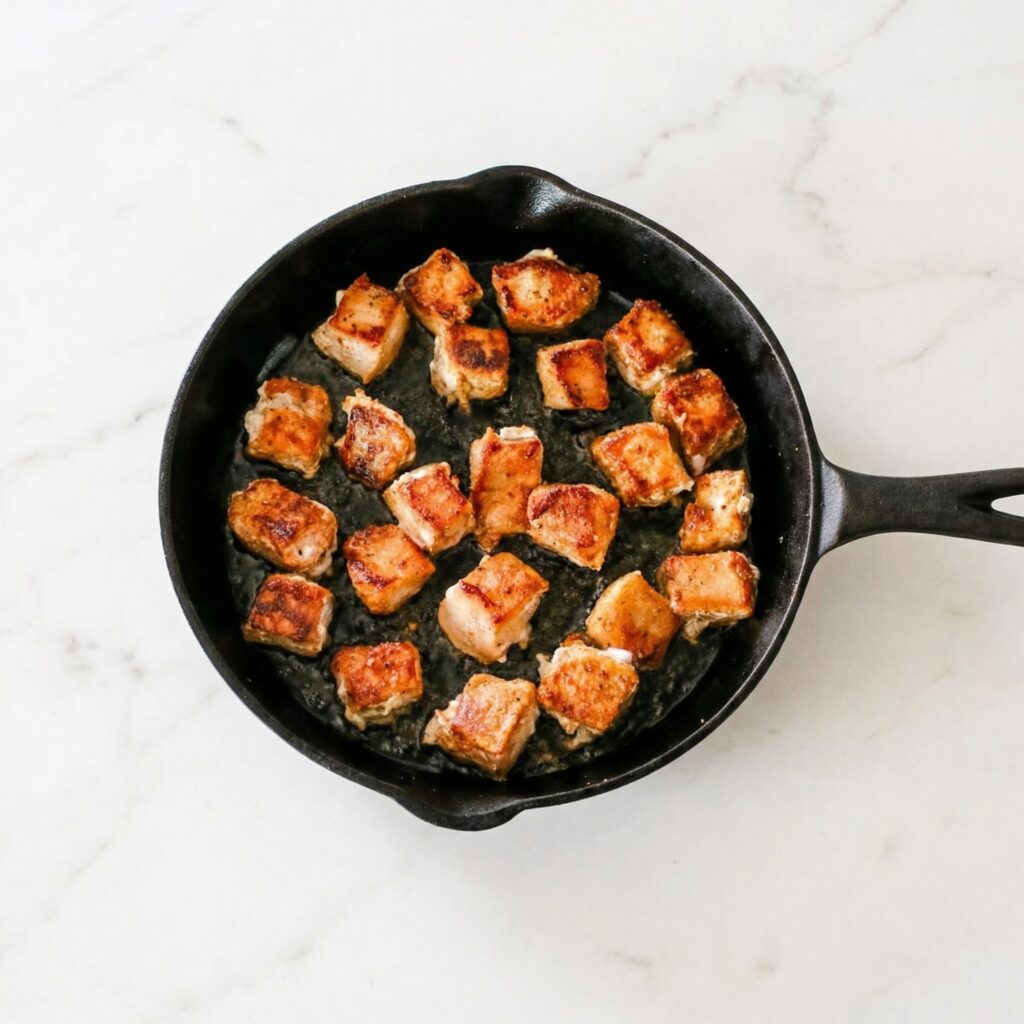
Heat a large skillet over medium-high heat. You don’t need extra oil if using well-marbled pork, but you can add a light drizzle if desired.
Add the pork in a single layer. Avoid overcrowding—cook in batches if necessary.
Let it sear undisturbed for 2–3 minutes to develop color. Then stir and cook another 2–3 minutes until browned on most sides.
This browning step builds flavor and prevents the dish from tasting flat.
Step 4: Add Pineapple and Soy Sauce
Once the pork is nicely browned, pour in:
- The entire can of pineapple chunks (juice included)
- 1 cup soy sauce
Stir to combine and bring to a simmer.
The pineapple juice and soy sauce create a sweet-savory glaze that thickens as it reduces. The pineapple also begins to caramelize slightly, adding depth and brightness.
Step 5: Simmer Until Tender and Glossy
Reduce heat to medium-low and let the mixture simmer uncovered for 10–15 minutes.
During this time:
- The sauce reduces and thickens
- The pork becomes tender
- The pineapple softens and intensifies in flavor
Stir occasionally to prevent sticking.
If the sauce thickens too quickly, add a splash of water. You’re looking for a glossy, slightly syrupy consistency that coats the pork.
Step 6: Taste and Adjust
Because soy sauce brands vary in saltiness, give it a quick taste. The pineapple should balance the salt with sweetness.
If it tastes too salty, add a spoonful of pineapple juice or a splash of water. If you prefer it deeper and saltier, let it reduce another minute or two.
This simple balance step ensures restaurant-quality flavor.
Step 7: Assemble the Dish
Spoon a generous portion of coconut rice into bowls.
Top with the pineapple pork mixture, making sure to drizzle some of that glossy sauce over the rice.
The creamy coconut rice absorbs the sweet-savory glaze, creating the perfect bite every time.
Texture and Flavor Notes
This dish delivers:
- Tender, juicy pork
- Sweet bursts of caramelized pineapple
- Savory umami depth from soy sauce
- Creamy, fragrant coconut rice
The flavors are bold but balanced, making it feel both comforting and exciting.
Tips for Success
Use full-fat coconut milk. Light coconut milk won’t give the same creamy texture.
Don’t skip browning the pork. That golden crust adds essential depth.
Let the sauce reduce. Thin sauce won’t cling to the meat or rice properly.
Slice against the grain. This keeps the pork tender.
Optional Add-Ins (If You Want to Go Beyond 5 Ingredients)
While this recipe shines as-is, you can elevate it with:
- A squeeze of lime
- Fresh cilantro
- Red pepper flakes for heat
- Green onions for crunch
But even without extras, it stands beautifully on its own.
Storage and Reheating
Store leftovers in an airtight container in the refrigerator for up to 3 days.
Reheat gently in a skillet over medium-low heat with a splash of water to loosen the sauce. The microwave works too—just cover to retain moisture.
This dish reheats surprisingly well and makes excellent next-day lunches.
Why You’ll Make This Again
This 5-Ingredient Pineapple Pork with Coconut Rice proves that you don’t need a complicated ingredient list to create bold, satisfying meals. It’s weeknight-friendly, budget-conscious, and feels like a mini tropical escape in a bowl.
The contrast between creamy rice and glossy sweet-savory pork makes every bite layered and exciting. It’s comforting enough for family dinner yet impressive enough to serve guests.
When you want something flavorful, simple, and deeply satisfying, this recipe delivers—no extra fuss required.
One skillet. One saucepan. Five ingredients. Big flavor.


