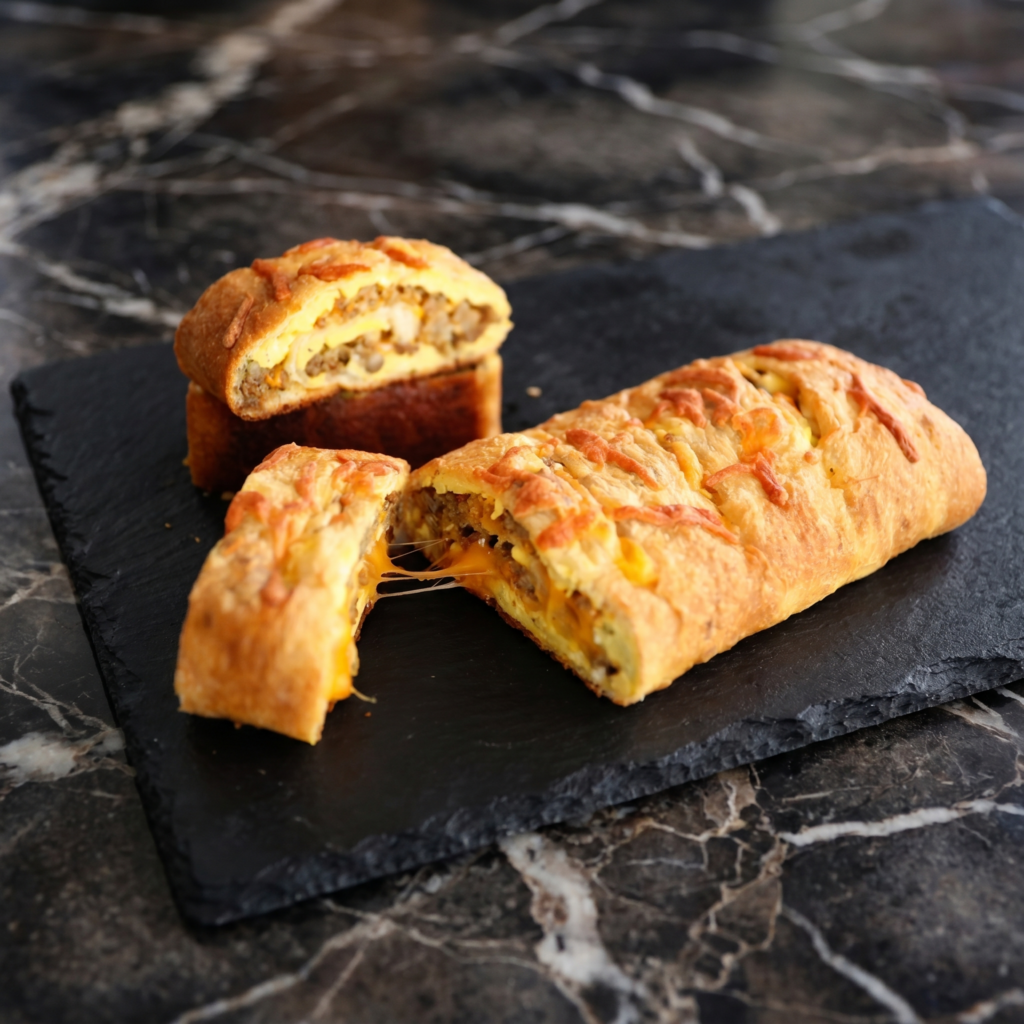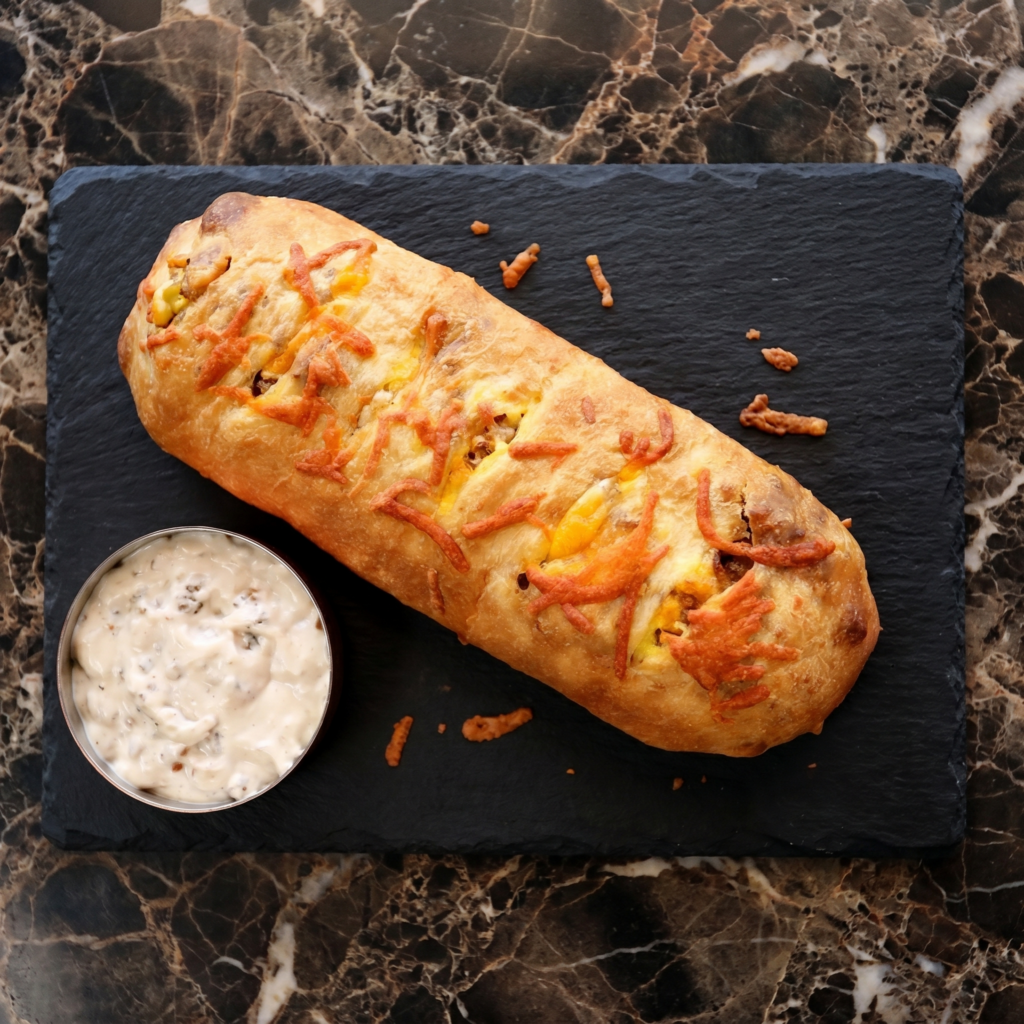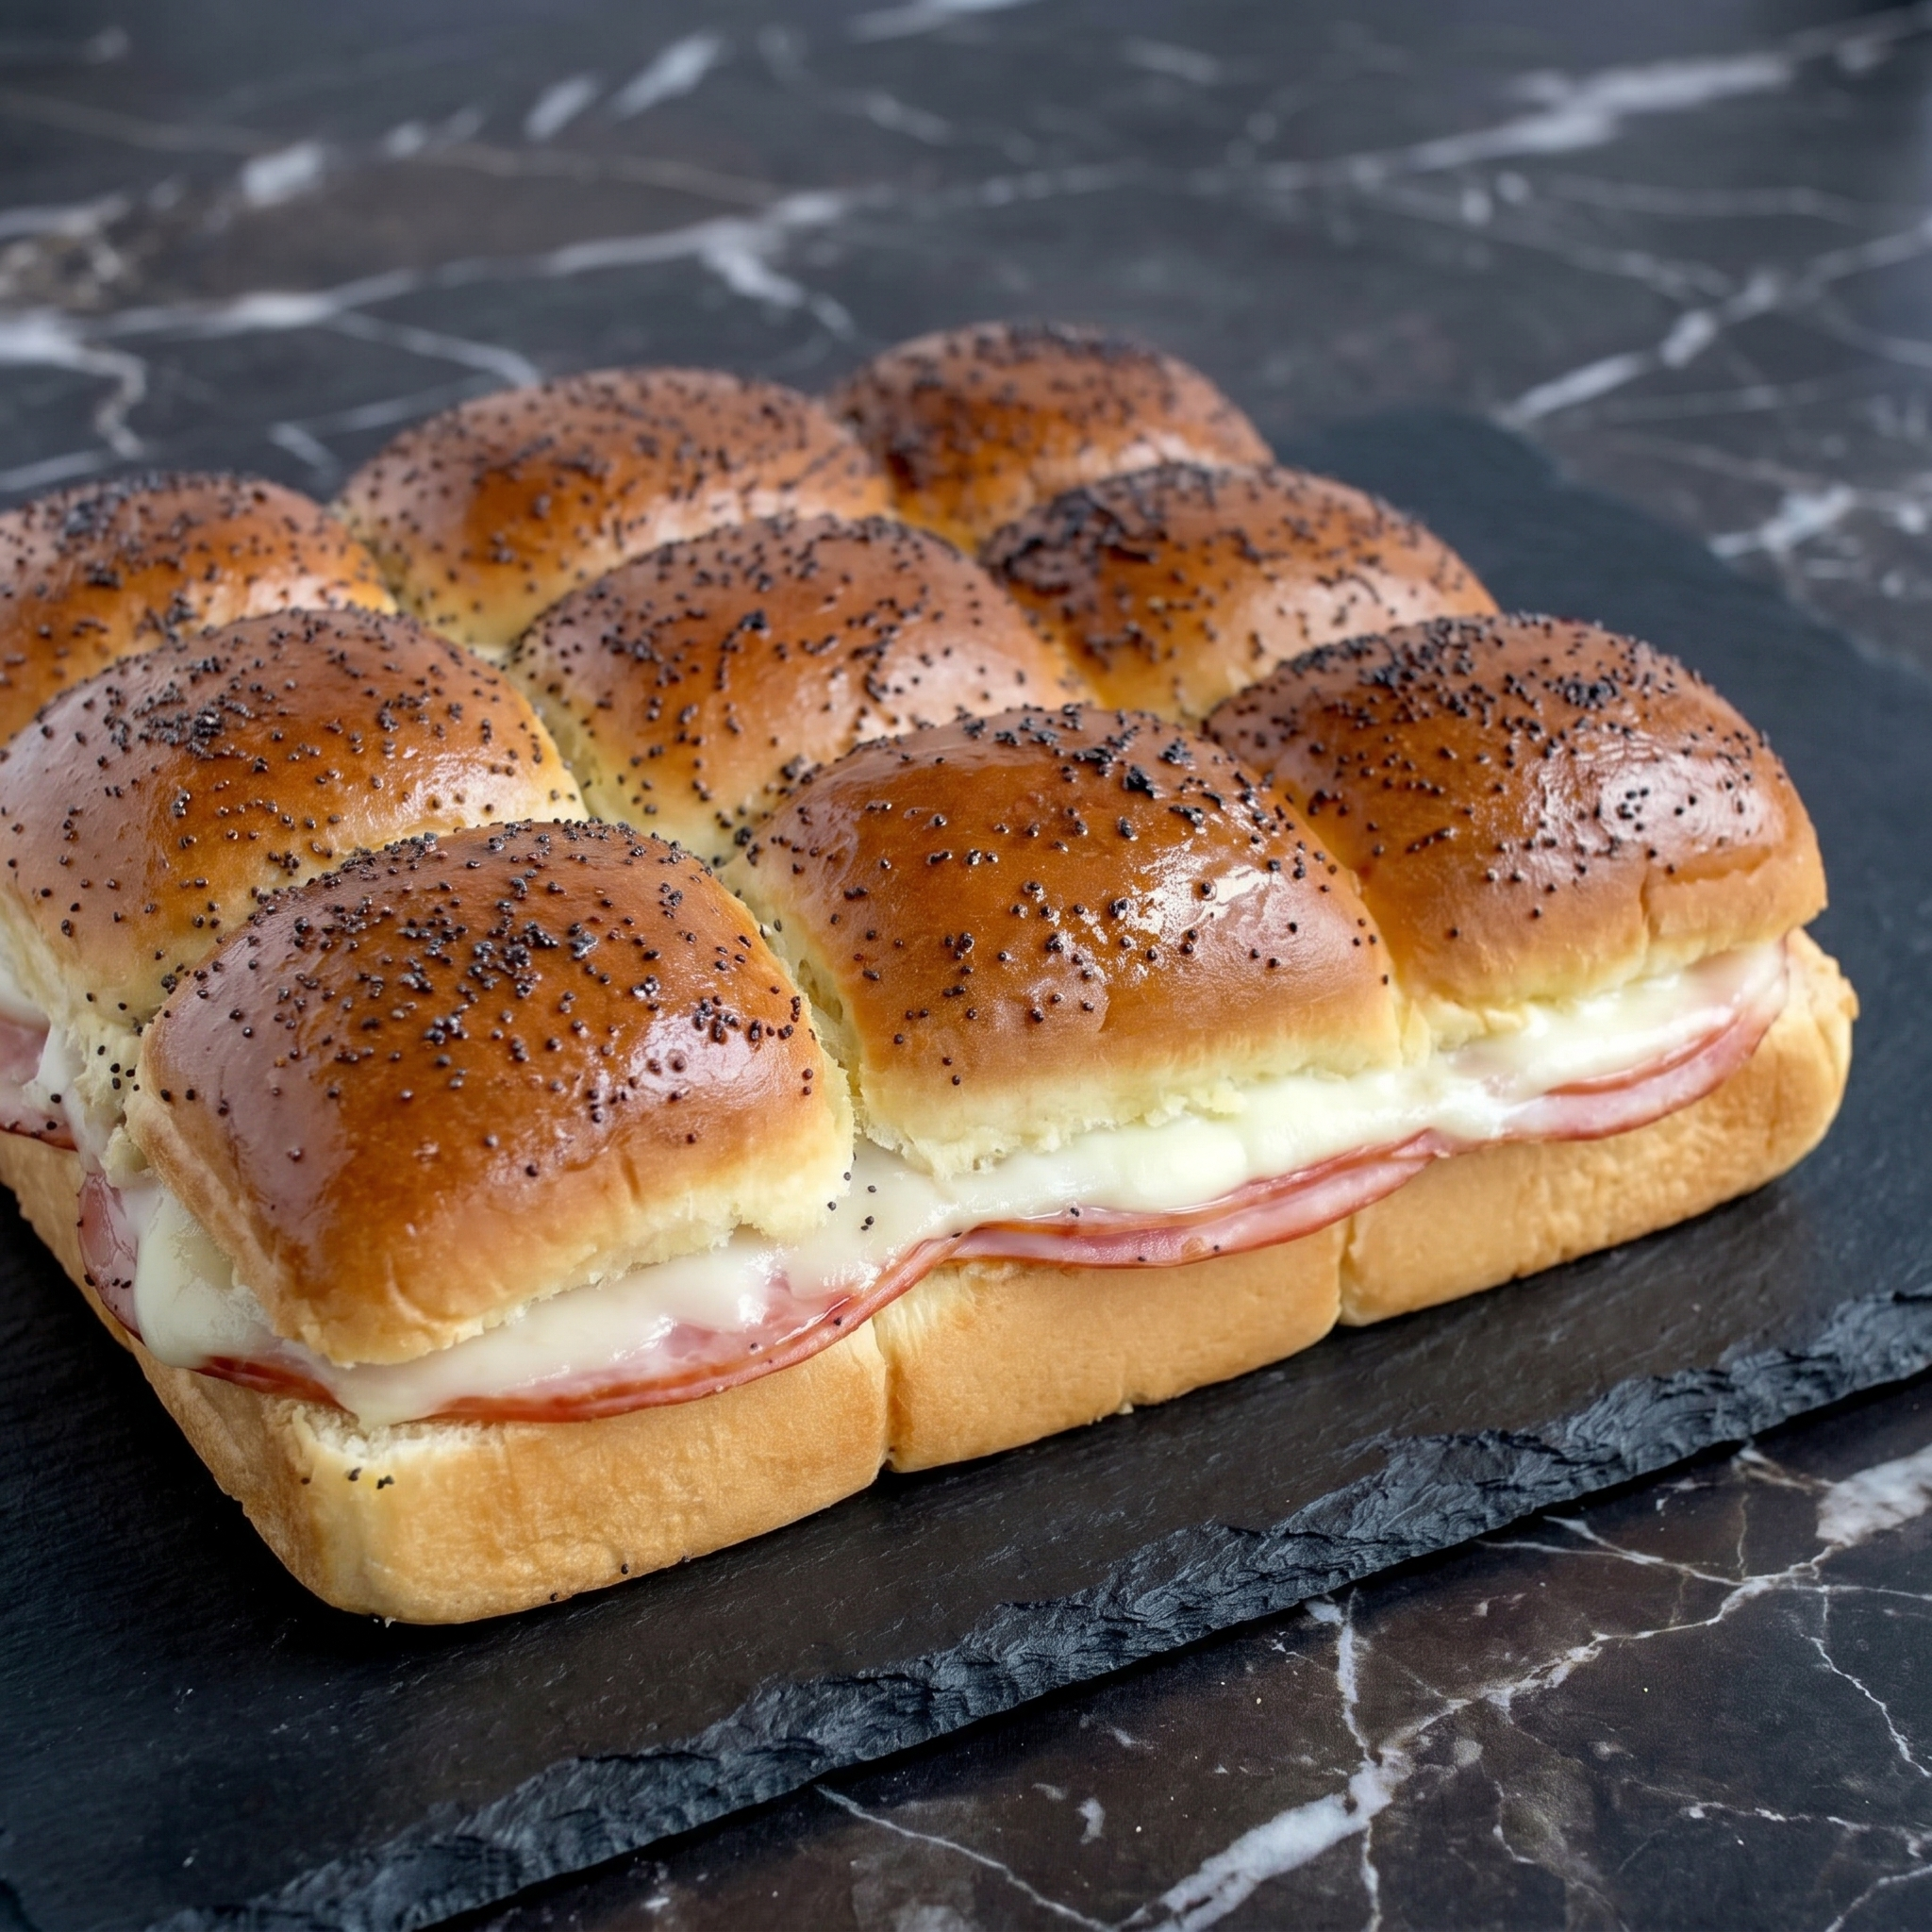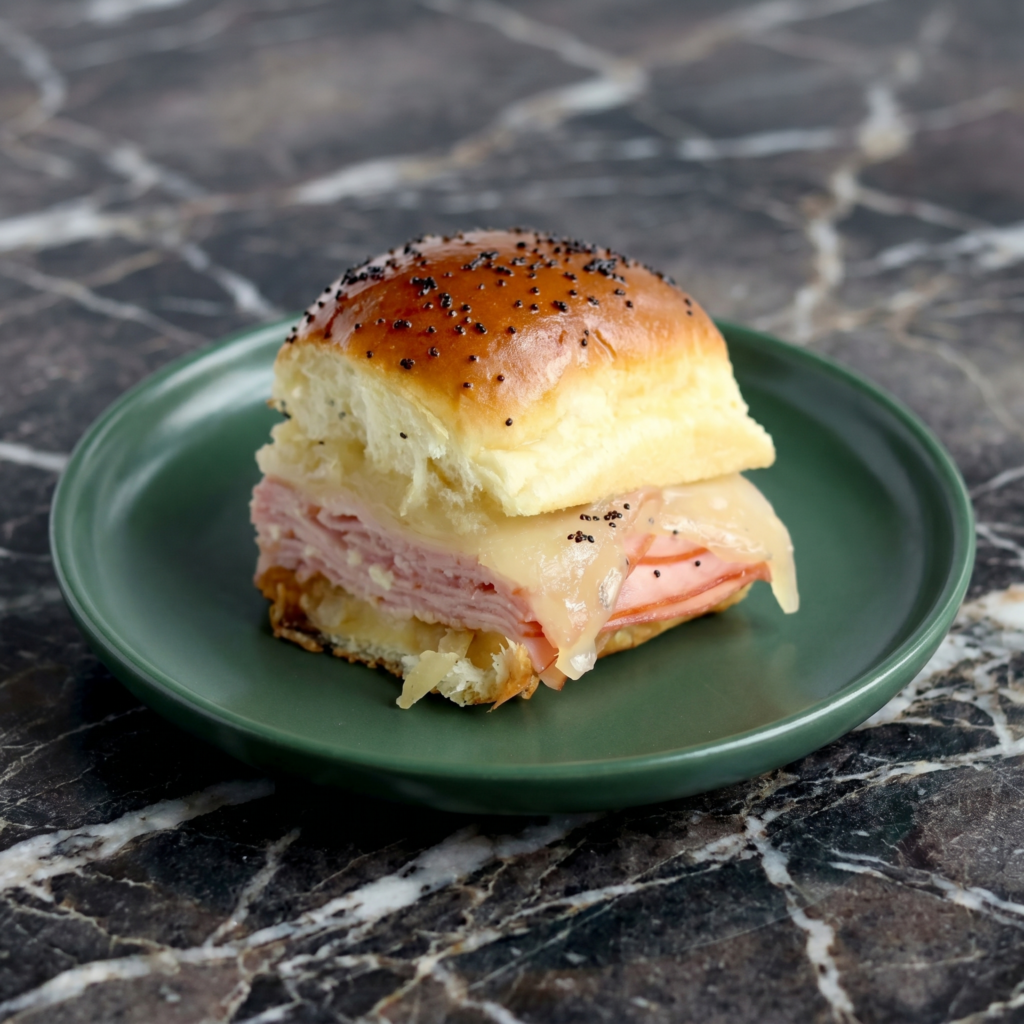
Corn fritters are the perfect crispy-sweet snack. Golden brown outside. Bursts of sweet corn inside. Pan-fried in minutes. Dip in sour cream or sriracha mayo. Dangerously addictive.
Twenty minutes. Corn fritters. Let’s go.
Ingredients
Makes 10-12 fritters (serves 4).
2 cups corn kernels (fresh, frozen, or 1 can drained)
½ cup all-purpose flour
¼ cup cornmeal (optional, for extra crunch)
1 tsp baking powder
½ tsp salt
¼ tsp black pepper
¼ tsp paprika (optional)
2 large eggs, beaten
¼ cup milk
2 tbsp oil or butter (for frying)
Optional: 2 tbsp green onions or chives, chopped
For dipping: sour cream, sriracha mayo, or ranch
Step-by-Step Instructions
Step 1: Mix Dry Ingredients
In a bowl, whisk flour, cornmeal (if using), baking powder, salt, pepper, and paprika.
Step 2: Mix Wet Ingredients
In another bowl, whisk eggs and milk.
Step 3: Combine Batter
Pour wet into dry. Stir until just combined (don’t overmix).
Fold in corn and green onions.
Step 4: Pan-Fry Fritters
Heat oil in a large skillet over medium heat.
Scoop 2 tablespoons of batter per fritter into the skillet.
Flatten slightly with a spatula.
Cook 2-3 minutes per side until golden brown and crispy.
Step 5: Serve
Transfer to paper towel to drain. Serve warm with dipping sauce.
Best fresh and crispy. Keeps in fridge for 2 days. Reheat in air fryer or oven at 375°F for 5 minutes (microwave makes them soggy). Not freezer-friendly. Make what you’ll eat.
Potato croquettes are what leftover mashed potatoes dream of becoming. Crispy, golden breadcrumb coating. Warm, creamy potato center. Deep-fried or baked. Pure magic.
Forty minutes. Serve with aioli or marinara. Gone in two.
Ingredients
Makes about 15-20 croquettes.
2 cups cold mashed potatoes leftovers
¼ cup grated Parmesan cheese
¼ cup shredded mozzarella or cheddar (optional)
1 egg yolk
2 tbsp fresh parsley or chives, chopped
¼ tsp salt and pepper
For the Coating:
½ cup all-purpose flour
2 large eggs, beaten
1 cup panko breadcrumbs
Oil for frying (or baking spray for baked version)
Step-by-Step Instructions
Step 1: Make the Potato Mixture
In a bowl, combine cold mashed potatoes, Parmesan, mozzarella (if using), egg yolk, parsley, salt, and pepper. Mix well.
Chill in fridge for 15-30 minutes if mixture is too soft.
Step 2: Shape the Croquettes
Scoop about 2 tablespoons of mixture. Roll into a log or ball shape.
Repeat with remaining mixture.
Step 3: Set Up Breading Station
Bowl 1: Flour.
Bowl 2: Beaten eggs.
Bowl 3: Panko breadcrumbs.
Step 4: Bread the Croquettes
Roll each croquette in flour, then dip in egg, then coat with panko.
Step 5: Cook
For frying: Heat 1 inch of oil to 350°F. Fry croquettes 2-3 minutes until golden brown. Drain on paper towels.
For baking: Bake at 400°F for 15-20 minutes, flipping halfway, until golden and crispy.
Best fresh and crispy. Keeps in fridge for 3 days. Reheat in air fryer or oven at 375°F for 5-7 minutes (microwave makes them soggy). Freeze before frying for up to 2 months—fry from frozen.
Crispy tofu bites are the snack you didn’t know you needed. Golden. Crunchy. Perfectly seasoned. Baked or air-fried. No deep fryer required. Vegan. Gluten-free option.
Twenty-five minutes. Pop them on salads, bowls, or straight into your mouth.
Ingredients
Serves 4.
1 block (14-16 oz) extra-firm tofu
1 tbsp soy sauce or tamari (gluten-free if needed)
1 tbsp oil (avocado or olive)
1 tbsp cornstarch or arrowroot powder (crispy secret!)
½ tsp garlic powder
½ tsp paprika
¼ tsp salt
¼ tsp black pepper
Step-by-Step Instructions
Step 1: Press the Tofu
Wrap tofu in paper towel. Place a heavy object on top for 15 minutes. (Squeeze out as much water as possible.)
Cut into ½-inch cubes.
Step 2: Season the Tofu
In a bowl, gently toss tofu with soy sauce and oil.
Sprinkle with cornstarch, garlic powder, paprika, salt, and pepper. Toss to coat evenly.
Step 3: Cook the Tofu
Oven Method:
Preheat oven to 400°F (200°C). Line baking sheet with parchment.
Spread tofu in a single layer. Bake 20-25 minutes, flipping halfway, until golden and crispy.
Air Fryer Method:
Preheat air fryer to 375°F (190°C). Place tofu in basket.
Air fry 12-15 minutes, shaking halfway, until crispy and golden.
Step 4: Serve
Serve hot with dipping sauce (sweet chili, peanut, or sriracha mayo).
Best fresh and crispy. Keeps in fridge for 4 days. Reheat in air fryer or oven at 375°F for 5-7 minutes (microwave makes them soft). Not freezer-friendly. Make a double batch—they disappear fast.
Keeps in fridge for 4 days. Reheat in microwave or skillet. Freezes well for 3 months. Perfect for quick sides, meal prep, or adding to soups and salads.
Steamed cauliflower is a punishment. Roasted cauliflower is a reward. And cauliflower roasted with brown butter and toasted cumin? That’s a revelation.
Nutty, toasty, deeply savory. Crispy golden edges. Tender, sweet centers. This is the side dish that turns cauliflower haters into cauliflower thieves. One pan. Ten minutes of work. Forever changed.
Ingredients
Serves 4 as a side.
1 large head cauliflower, cut into bite-sized florets
4 tablespoons unsalted butter
1 tablespoon cumin seeds (not ground—seeds are key)
3 cloves garlic, thinly sliced
1 teaspoon salt
½ teaspoon black pepper
Zest of 1 lemon
2 tablespoons fresh parsley or cilantro, chopped
Optional: red pepper flakes, flaky sea salt
Step-by-Step Instructions
Step 1: Prep & Preheat
Preheat oven to 425°F (220°C). Line a baking sheet with parchment.
Step 2: Brown the Butter
In a small saucepan over medium heat, melt butter. Swirl occasionally.
Cook for 3–5 minutes until butter turns golden brown and smells nutty.
Add cumin seeds and garlic. Cook for 30 seconds until fragrant. Remove from heat.
Step 3: Toss & Roast
In a large bowl, toss cauliflower florets with the brown butter mixture, salt, and pepper.
Spread in a single layer on the baking sheet.
Roast for 20–25 minutes, flipping once halfway, until golden brown and crispy on the edges.
Step 4: Finish & Serve
Transfer to a serving bowl. Add lemon zest and fresh parsley.
Sprinkle with flaky salt and red pepper flakes if using.
Banh mi is the world’s greatest sandwich. Crusty baguette. Tangy pickles. Fresh herbs. Spicy mayo. And this version? Crispy, citrusy, lemongrass tofu that steals the show.
It’s vegan. It’s fast. It’s exploding with texture and flavor. Make the pickled veggies ahead or quick-pickle while the tofu cooks. Either way, dinner is 30 minutes away.
Ingredients
Serves 4.
For the Pickled Veggies (Do-Ahead):
1 cup shredded carrots
1 cup shredded daikon radish (or more carrots)
½ cup rice vinegar
½ cup water
2 tablespoons sugar
1 teaspoon salt
For the Lemongrass Tofu:
1 block (14 oz) extra-firm tofu, pressed and sliced into ½-inch slabs
2 stalks lemongrass, white parts only, finely minced
3 cloves garlic, minced
2 tablespoons soy sauce or tamari
1 tablespoon maple syrup or sugar
1 tablespoon sesame oil
1 tablespoon lime juice
1 tablespoon neutral oil (for frying)
For Assembly:
1 French baguette, cut into 4 sections and halved
¼ cup vegan mayo + 1 tbsp sriracha (spicy mayo)
Fresh cilantro sprigs
Fresh jalapeño or cucumber slices (optional)
Step-by-Step Instructions
Step 1: Quick-Pickle the Veggies
Whisk vinegar, water, sugar, and salt until dissolved.
Add carrots and daikon. Set aside for 15 minutes (or up to 1 week in the fridge).
Step 2: Marinate the Tofu
In a bowl, mix lemongrass, garlic, soy sauce, maple syrup, sesame oil, and lime juice.
Coat tofu slabs in the marinade. Let sit for 10 minutes (or longer in the fridge).
Step 3: Cook the Tofu
Heat neutral oil in a nonstick pan over medium-high heat.
Sear tofu for 3–4 minutes per side until golden and crispy.
Pour in remaining marinade. Cook for 1 minute until sticky. Set aside.
Step 4: Make Spicy Mayo
Stir mayo and sriracha together.
Step 5: Assemble the Sandwiches
Toast baguette halves lightly (optional but recommended).
Spread spicy mayo on both sides.
Layer with tofu, pickled veggies, cilantro, and jalapeño if using.
There’s something magical about warm, soft pretzels—the way they smell, the way they taste, the way they pull apart in pillowy, golden bites. These homemade pretzel bites capture all of that magic in a perfectly poppable form.
Made from a simple yeast dough, they’re boiled briefly in a baking soda bath (the secret to that classic pretzel chew and mahogany crust), then baked until golden and brushed with melted butter.
The result? Warm, buttery, salty bites of heaven that are perfect for game day, parties, or any time you’re craving something comforting. Serve them with cheese sauce, spicy mustard, or enjoy them plain—they’ll disappear fast.
Ingredients
For the Pretzel Dough:
1½ cups (360ml) warm water (110°F / 43°C)
1 tablespoon granulated sugar
2¼ teaspoons (1 packet) active dry yeast
4 cups (500g) all-purpose flour, plus more for dusting
1 teaspoon salt
2 tablespoons unsalted butter, melted
For the Baking Soda Bath:
10 cups (2.4L) water
⅔ cup (160g) baking soda
For Finishing:
4 tablespoons unsalted butter, melted
Coarse sea salt or pretzel salt
For Serving (optional):
Cheese sauce
Spicy mustard or honey mustard
Beer cheese dip
Instructions
1. Make the Dough: In a large bowl or stand mixer, combine the warm water, sugar, and yeast. Let sit for 5 to 10 minutes until foamy. Add the flour, salt, and melted butter. Mix until a shaggy dough forms.
Knead for 5 to 7 minutes until smooth and elastic. Place in a lightly oiled bowl, cover, and let rise for 1 hour, until doubled in size.
2. Shape the Pretzel Bites: Punch down the dough and turn onto a lightly floured surface. Divide the dough into 8 equal pieces. Roll each piece into a long rope about ½ inch thick. Using a sharp knife or bench scraper, cut the rope into 1-inch pieces to form pretzel bites. Place on a parchment-lined baking sheet.
3. Prepare the Baking Soda Bath: Preheat your oven to 450°F (230°C). Line two baking sheets with parchment paper. In a large pot, bring the 10 cups of water to a boil. Slowly add the baking soda—it will bubble vigorously. Stir to dissolve.
4. Boil the Pretzel Bites: Working in batches, carefully drop the pretzel bites into the boiling baking soda solution. Boil for 20 to 30 seconds, until they float to the surface. Remove with a slotted spoon and place on the prepared baking sheets, spacing them about 1 inch apart.
5. Bake: Sprinkle the boiled pretzel bites with coarse salt. Bake for 10 to 12 minutes, until deep golden brown.
6. Butter and Serve: Remove from the oven and immediately brush with the melted butter. Serve warm with cheese sauce, mustard, or your favorite dip.
These Soft Pretzel Bites are a fun, delicious snack that’s easier to make than you think—perfect for any gathering.
The spicy tuna roll is a sushi bar classic—creamy, spicy, and utterly satisfying. Chunks of fresh sashimi-grade tuna are mixed with spicy mayo and sometimes cucumber or avocado, then rolled up in perfectly seasoned sushi rice and nori.
Each bite offers a contrast of textures: the tender rice, the crisp nori, the creamy, spicy tuna, and the cool crunch of cucumber. Making them at home is easier than you might think, and the result rivals any restaurant.
This guide walks you through everything: selecting the right tuna, making the spicy mayo, preparing the rice, and rolling like a pro.
Ingredients
For the Sushi Rice:
2 cups (360g) short-grain Japanese rice (sushi rice)
2 ¼ cups (540ml) water
⅓ cup (80ml) rice vinegar
3 tablespoons granulated sugar
1 teaspoon salt
For the Spicy Tuna Filling:
8 oz (225g) sashimi-grade tuna
¼ cup (60ml) Japanese mayonnaise (Kewpie preferred)
1-2 tablespoons sriracha or chili garlic sauce (to taste)
1 teaspoon sesame oil
1 teaspoon soy sauce (optional)
2 green onions, thinly sliced
Optional: 2 tablespoons tempura bits (tenkasu) for crunch
For the Rolls:
4 sheets nori (dried seaweed)
½ cucumber, seeded and cut into thin strips
1 avocado, sliced (optional)
Sesame seeds (white or black), for garnish
For Serving:
Soy sauce
Wasabi paste
Pickled ginger (gari)
Extra spicy mayo for drizzling
Equipment:
Bamboo rolling mat (makisu), wrapped in plastic wrap
Sharp knife
Rice paddle
Instructions
1. Cook the Sushi Rice: Rinse the rice in a fine-mesh strainer under cold water until the water runs clear (about 2-3 minutes). Drain well. Combine rice and water in a rice cooker or heavy-bottomed pot. If using a pot, bring to a boil, cover, reduce heat to low, and simmer for 15 minutes. Remove from heat and let steam, covered, for 10 minutes. Do not lift the lid!
2. Season the Rice: While the rice cooks, combine rice vinegar, sugar, and salt in a small saucepan. Warm over low heat, stirring, until sugar and salt dissolve. Do not boil. Transfer the cooked rice to a large bowl or hangiri (wooden sushi tub).
Gradually add the vinegar mixture while gently folding with a rice paddle using a slicing motion. Be gentle—you want to separate the grains, not mash them. Fan the rice as you mix to cool it quickly and give it a glossy sheen. Cover with a damp towel and set aside.
3. Prepare the Tuna: Using a very sharp knife, cut the tuna into small pieces (about ¼-inch chunks). You can chop it finely or leave it slightly chunky—your preference. Place in a bowl.
4. Make the Spicy Mayo Mixture: In a small bowl, combine the Japanese mayonnaise, sriracha, sesame oil, and soy sauce (if using). Mix well. Adjust spice level to your taste.
5. Combine the Tuna Filling: Add the spicy mayo mixture to the chopped tuna, along with the sliced green onions and tempura bits (if using). Fold gently until well combined. Be careful not to mash the tuna—you want distinct pieces. Refrigerate until ready to use.
6. Prep the Vegetables: Cut the cucumber into thin strips, about ¼ inch thick and 3-4 inches long. If using avocado, slice thinly.
7. Set Up Your Rolling Station: Place your bamboo mat on a clean work surface, with the slats running horizontally. Have a small bowl of water with a little vinegar for wetting your hands nearby.
8. Roll the Spicy Tuna Rolls (Inside-Out Style): Place a sheet of nori shiny-side down on the mat. Wet your hands and spread about ¾ cup of sushi rice evenly over the nori, leaving a ½-inch border at the top. Flip the nori over so the rice is now facing down on the mat. This creates an inside-out roll (rice on the outside).
9. Add Fillings: Arrange a line of spicy tuna mixture along the center of the nori, about 1 inch wide. Add cucumber strips alongside.
10. Roll: Lift the bottom edge of the mat with your thumbs, holding the fillings in place with your fingers. Roll the mat over the fillings, tucking the edge of the nori under. Apply even pressure to shape the roll. Continue rolling until the roll is complete. Gently squeeze the mat along the length to firm it up.
11. Slice the Roll: Using a very sharp knife, wipe the blade with a damp cloth. Cut the roll in half, then cut each half into thirds (for 6-8 pieces total). Wipe the knife clean between cuts for clean slices.
12. Garnish and Serve: Arrange the sushi pieces on a platter. Drizzle with extra spicy mayo, sprinkle with sesame seeds, and garnish with additional green onions if desired. Serve immediately with soy sauce, wasabi, and pickled ginger.
Pro-Tips for Perfect Spicy Tuna Rolls
Sashimi-Grade Tuna Is Essential: Always use fish labeled for raw consumption from a trusted source.
Chill the Tuna: Slightly cold tuna is easier to chop cleanly.
Kewpie Mayo Makes a Difference: Japanese mayonnaise is creamier and tangier than American mayo—it’s worth seeking out.
Don’t Overmix: Fold the tuna gently to keep some texture—chunky is good.
Keep Hands Wet: A bowl of vinegar-water prevents rice from sticking to your hands.
Sharp Knife: A dull knife will squish the roll instead of slicing cleanly. Wet the blade between cuts.
Inside-Out vs. Traditional: Spicy tuna rolls are often served as inside-out rolls (rice on the outside). This recipe uses that style, but you can also make traditional nori-on-the-outside rolls.
Get Creative: Add avocado, cream cheese, or mango for fusion variations.
These Homemade Spicy Tuna Rolls will make your sushi night legendary.
In the Philippines, no celebration is complete without a pasta dish—and baked macaroni holds a special place at the table. Unlike its American counterpart, Filipino-style baked mac is a savory-sweet pasta bake loaded with a rich, meaty tomato sauce, ground beef, hotdogs, and a generous topping of melted cheese.
It’s the pasta version of the beloved Filipino spaghetti—sweet, savory, and absolutely comforting. Whether it’s a birthday party, Christmas gathering, or a simple family dinner, this baked macaroni is a guaranteed crowd-pleaser.
The best part? It comes together in a few simple steps and tastes even better the next day. Serve it with sliced bread or enjoy it on its own—this is comfort food at its finest.
Ingredients
For the Meat Sauce:
1 lb (450g) elbow macaroni
2 tablespoons vegetable oil
1 medium onion, finely diced
4 cloves garlic, minced
1 lb (450g) ground beef
4 hotdogs, sliced diagonally
1 can (15 oz / 425g) tomato sauce
1 can (6 oz / 170g) tomato paste
1 cup (240ml) water or beef broth
¼ cup (60g) brown sugar or white sugar (adjust to taste)
1 teaspoon salt
½ teaspoon black pepper
1 teaspoon dried oregano (optional)
1 cup (240ml) heavy cream or evaporated milk
For the Topping:
2 cups (225g) shredded cheese (cheddar, mozzarella, or quickmelt)
½ cup (55g) grated Parmesan cheese (optional)
For Garnish:
Fresh parsley or green onions, chopped
Instructions
1. Cook the Macaroni: Bring a large pot of salted water to a boil. Cook the elbow macaroni according to package directions until al dente. Drain and set aside.
2. Make the Meat Sauce: While the pasta cooks, heat the oil in a large skillet or Dutch oven over medium-high heat. Add the onion and cook for 3 to 4 minutes until softened. Add the garlic and cook for 1 minute until fragrant.
Add the ground beef and cook, breaking it up with a spatula, for 5 to 7 minutes until browned. Add the sliced hotdogs and cook for 2 minutes.
3. Simmer the Sauce: Add the tomato sauce, tomato paste, water, sugar, salt, pepper, and oregano (if using). Stir to combine. Bring to a simmer, then reduce heat to low.
Cover and simmer for 15 to 20 minutes, stirring occasionally, until the sauce has thickened and the flavors have melded. Stir in the heavy cream or evaporated milk and cook for 2 to 3 minutes until heated through.
4. Combine Pasta and Sauce: Add the cooked macaroni to the sauce and stir until evenly coated. Taste and adjust seasoning with additional salt, pepper, or sugar if needed.
5. Assemble the Bake: Preheat your oven to 375°F (190°C). Grease a 9×13-inch baking dish. Transfer the macaroni mixture to the dish, spreading it evenly. Top with shredded cheese, covering the entire surface.
6. Bake: Bake for 15 to 20 minutes, until the cheese is melted, bubbly, and golden brown. For a crispier top, broil for the last 2 to 3 minutes.
7. Rest and Serve: Let the baked macaroni rest for 10 minutes before serving. This allows it to set for easier slicing. Garnish with fresh parsley or green onions. Serve warm.
This Filipino Style Baked Macaroni is the ultimate comfort food—creamy, cheesy, and perfect for sharing.