Author: seasonadmin

  • Homemade Marshmallows (Fluffy, Pillowy, and Worlds Better Than Store-Bought)

    Homemade Marshmallows (Fluffy, Pillowy, and Worlds Better Than Store-Bought)

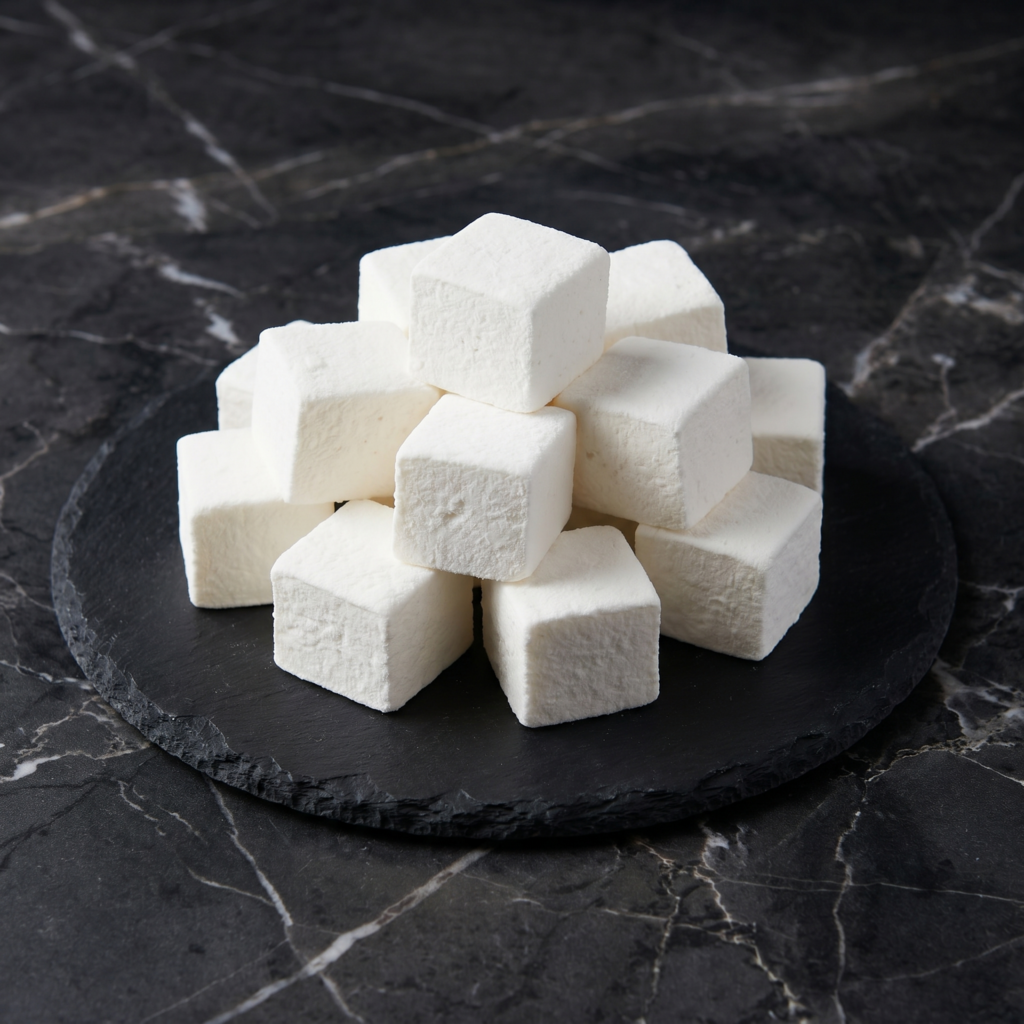
    Let’s be honest: store-bought marshmallows are fine. They’re convenient, they’re there, they do the job in s’mores and hot cocoa. But homemade marshmallows? They’re a whole different universe. Fluffy, pillowy, impossibly soft, and melt-in-your-mouth delicious.

    They’re infused with real vanilla (or honey, or even peppermint) and have a texture that store-bought can only dream of. Toast them over a campfire, float them in hot chocolate, or just eat them by the handful—you won’t be able to stop. Yes, they take a little time and a candy thermometer, but the result is pure magic. Let’s make some clouds.

    Ingredients
    For the Homemade Marshmallows (Makes about 16 large or 36 mini marshmallows):

    • 3 packages (about 21g) unflavored gelatin
    • ½ cup (120ml) cold water (for blooming gelatin)
    • 2 cups (400g) granulated sugar
    • ½ cup (120ml) water (for sugar syrup)
    • ¾ cup (180ml) light corn syrup (or honey for a different flavor)
    • ¼ teaspoon salt
    • 2 teaspoons vanilla extract (or other flavorings)
    • Powdered sugar and cornstarch (for dusting)

    Optional Flavor Variations:

    • Peppermint: 1 teaspoon peppermint extract instead of vanilla
    • Chocolate: ¼ cup cocoa powder sifted into the powdered sugar mixture
    • Strawberry: 2 tablespoons freeze-dried strawberry powder

    Instructions

    1. Prep the Pan: Line an 8×8 or 9×9-inch baking pan with parchment paper, leaving overhang on two sides. Generously dust the bottom and sides with a mixture of half powdered sugar and half cornstarch. This prevents sticking .

    2. Bloom the Gelatin: In the bowl of a stand mixer, sprinkle the gelatin over ½ cup cold water. Let it sit for 10 minutes to soften and bloom .

    3. Make the Sugar Syrup: In a medium saucepan, combine the sugar, ½ cup water, corn syrup, and salt. Stir gently to combine. Bring to a boil over medium-high heat, then stop stirring. Attach a candy thermometer and cook until the syrup reaches 240°F (115°C), the soft-ball stage .

    4. Combine Syrup and Gelatin: With the mixer running on low speed, carefully pour the hot sugar syrup into the bloomed gelatin. It will be very hot—be careful. Once all the syrup is added, gradually increase the speed to high .

    5. Whip: Whip on high speed for 10-15 minutes until the mixture is thick, glossy, white, and holds stiff peaks. It will triple in volume and become like marshmallow fluff. Add the vanilla extract during the last minute of whipping .

    6. Pour into Pan: Quickly scrape the marshmallow mixture into the prepared pan. Use a spatula (lightly oiled or sprayed with non-stick spray) to spread it evenly into the corners and smooth the top .

    7. Dust the Top: Generously dust the top with more powdered sugar-cornstarch mixture. Let it sit uncovered at room temperature for at least 4 hours, preferably overnight, until completely set .

    8. Remove from Pan: Use the parchment overhang to lift the marshmallow block out of the pan. Place on a cutting board dusted with the powdered sugar mixture .

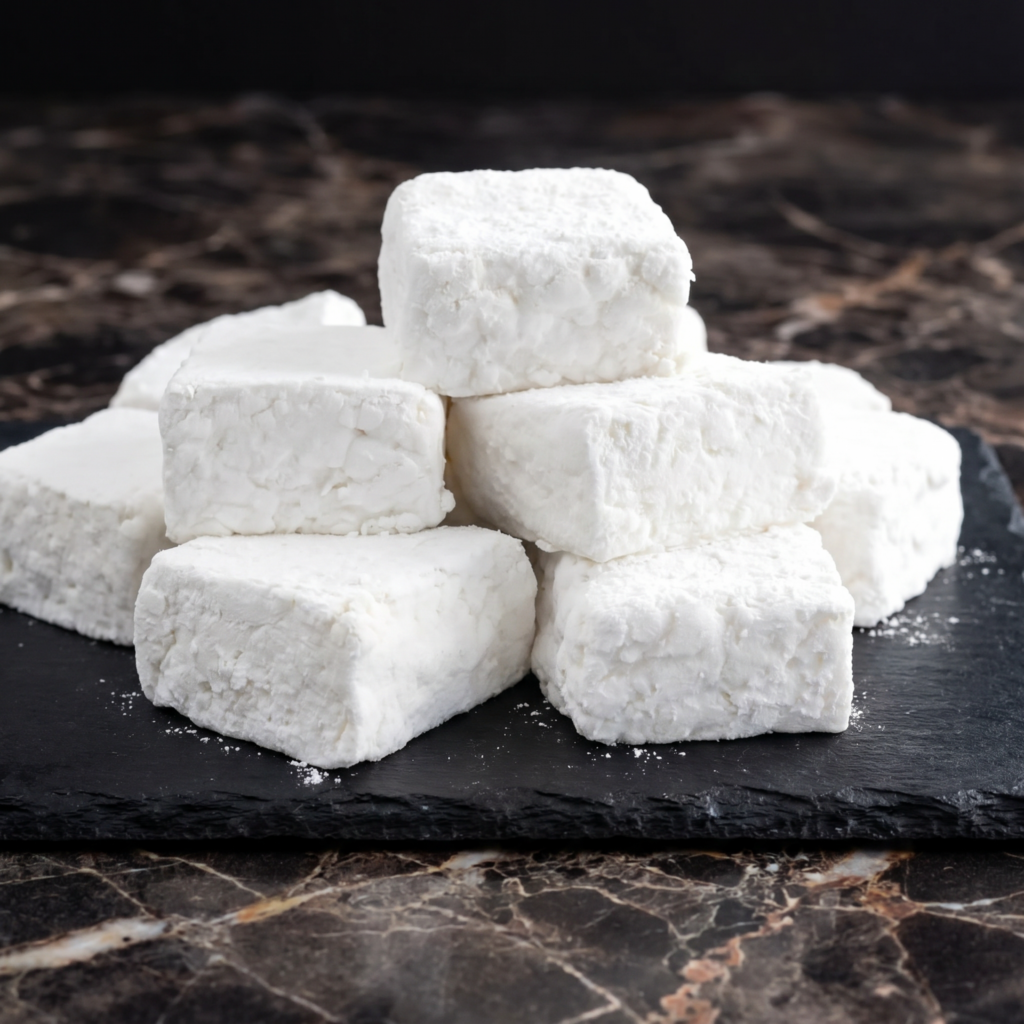
    9. Cut the Marshmallows: Use a sharp knife or pizza cutter dusted with the powdered sugar mixture to cut the marshmallows into squares. Dust the knife between cuts to prevent sticking .

    10. Coat the Cut Sides: Toss the cut marshmallows in more powdered sugar mixture to coat all sides. This prevents them from sticking together .

    11. Dry (Optional): Let the cut marshmallows sit out on a baking sheet for a few hours to dry slightly. This gives them a more “store-bought” texture, but they’re delicious either way .

    12. Store: Store in an airtight container at room temperature for up to 3 weeks .

    Pro-Tips for Marshmallow Greatness

    • Use a Candy Thermometer: Precision is key. A candy thermometer ensures you hit that perfect 240°F .
    • Don’t Rush the Whipping: The mixture needs a full 10-15 minutes to reach the right consistency. Be patient .
    • Work Quickly When Pouring: The marshmallow mixture sets fast. Have your pan ready and work efficiently .
    • Dust Generously: Marshmallows are sticky. Use plenty of powdered sugar-cornstarch mixture to prevent sticking .
    • Customize Your Flavors: Try peppermint, almond, or even a swirl of raspberry puree for endless variations .
  • Cherry Pie Bars (All the Flavor, None of the Fuss)

    Cherry Pie Bars (All the Flavor, None of the Fuss)

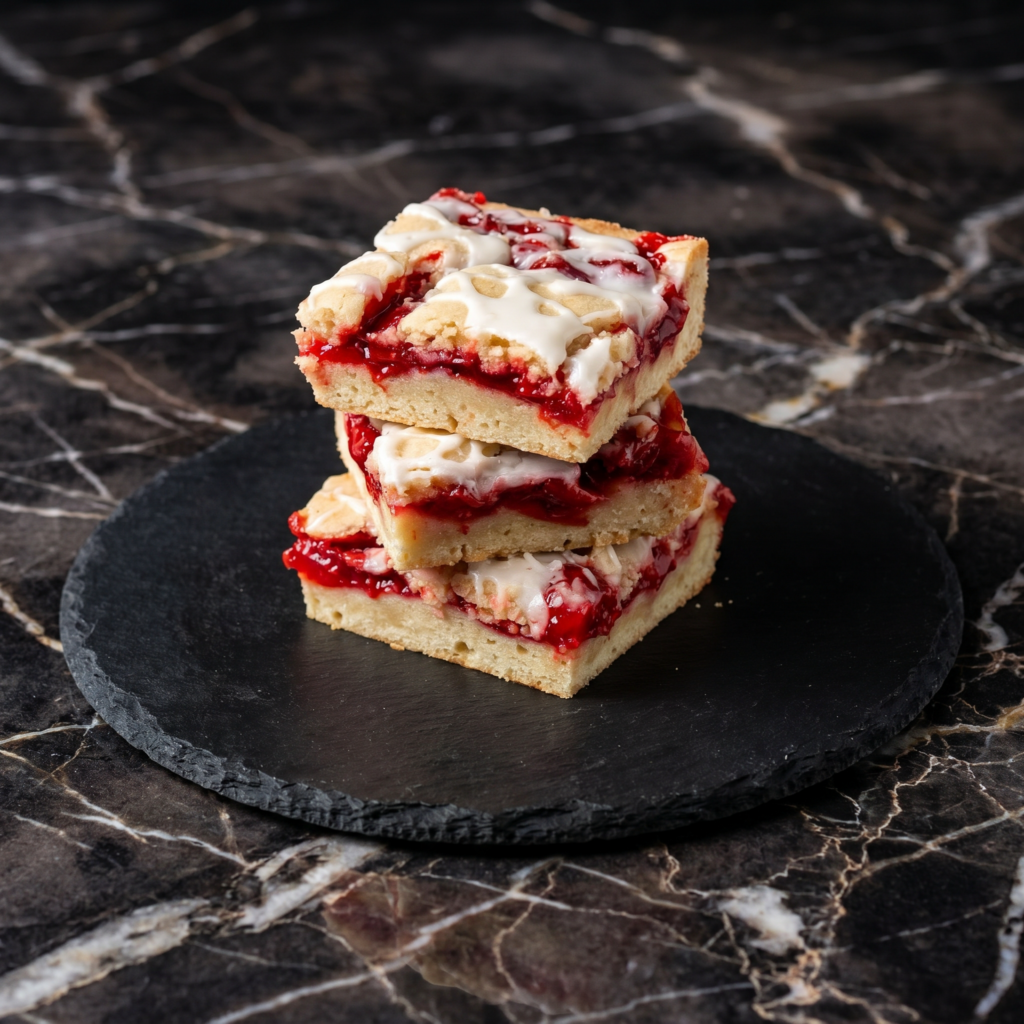
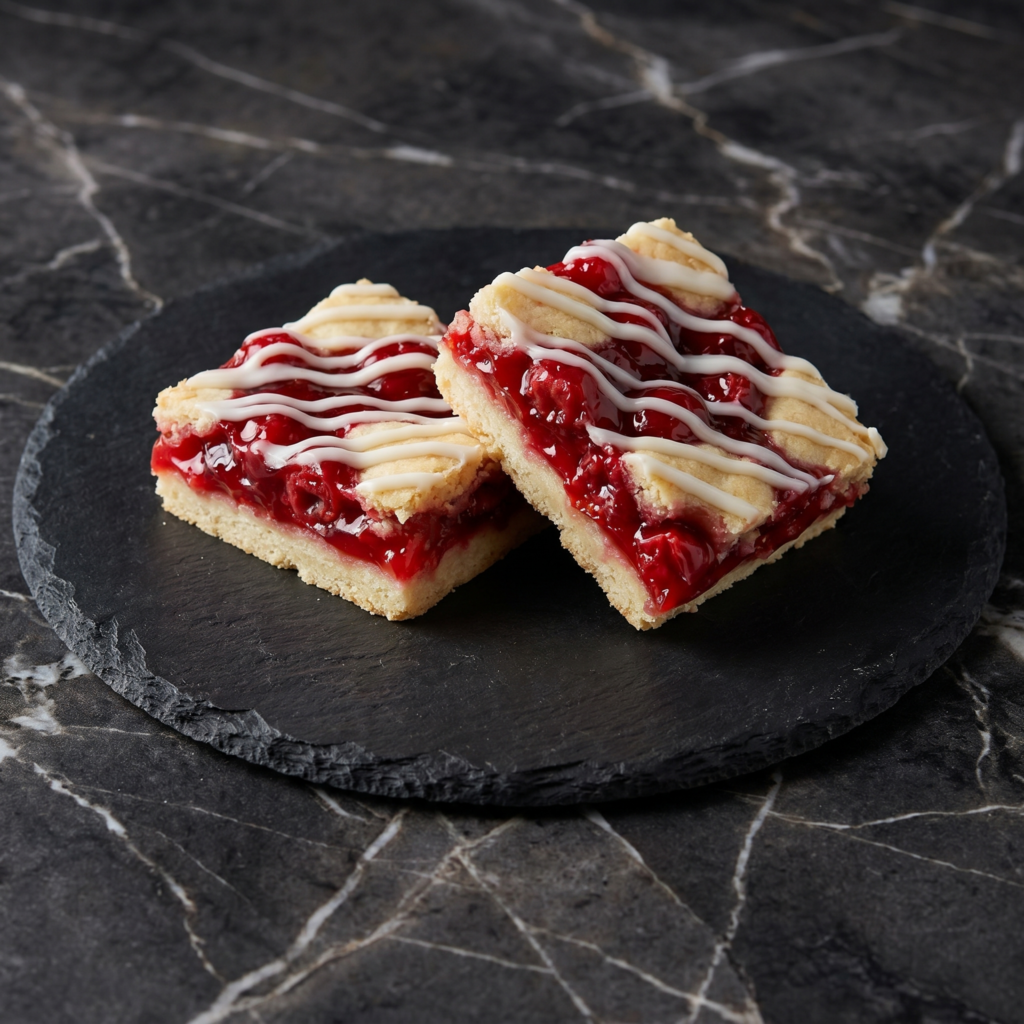
    Pie is wonderful. But let’s be honest: pie can be a project. The rolling, the chilling, the crimping, the fear of a soggy bottom. These Cherry Pie Bars are the answer.

    They have everything you love about cherry pie—that sweet-tart filling, the buttery crust, the crumbly topping—but in an easy, sliceable bar form that comes together in minutes. A buttery shortbread crust, a generous layer of cherry pie filling, and a golden oat crumble topping bake into the most irresistible dessert.

    Serve them warm with vanilla ice cream, pack them for picnics, or just stand at the counter and eat one (or three). No judgment here.

    The Secret to Perfectly Layered Pie Bars

    The key to great cherry pie bars is building the layers correctly. Start with a sturdy shortbread crust that’s pressed firmly into the pan—this creates a solid base that won’t crumble when you cut.

    The cherry filling goes right on top, and here’s the secret: use high-quality cherry pie filling or make your own with fresh or frozen cherries. The filling should be thick, not runny, so it doesn’t soak into the crust.

    The oat topping is the final layer, and the secret there is cold butter, cut into the dry ingredients until you have craggy, buttery clumps. Bake until golden and bubbly, cool completely (this is crucial for clean cuts), and you’ve got bars that taste like pie without the fuss.

    Ingredients

    For the Cherry Pie Bars (Makes 12-16 bars):

    • 2 cups (250g) all-purpose flour
    • ½ cup (100g) granulated sugar
    • ¼ teaspoon salt
    • 1 cup (226g) cold unsalted butter, cut into small cubes
    • 1 teaspoon vanilla extract
    • 1 can (21 oz) cherry pie filling (or about 2 cups homemade cherry filling)

    For the Oat Crumble Topping:

    • 1 cup (125g) all-purpose flour
    • ½ cup (100g) packed brown sugar
    • ½ cup (45g) old-fashioned rolled oats
    • ½ teaspoon cinnamon
    • ¼ teaspoon salt
    • ½ cup (113g) cold unsalted butter, cut into small cubes

    For Serving (Optional):

    • Powdered sugar, for dusting
    • Vanilla ice cream or whipped cream

    Instructions

    1. Preheat and Prep: Preheat your oven to 375°F (190°C). Grease a 9×13-inch baking pan or line it with parchment paper, leaving overhang on the long sides for easy removal.

    2. Make the Crust: In a large bowl, combine the flour, granulated sugar, and salt. Add the cold butter cubes and vanilla extract. Use a pastry blender, fork, or your fingertips to cut the butter into the flour until the mixture resembles coarse crumbs with pea-sized butter pieces. Press the mixture firmly and evenly into the bottom of the prepared pan.

    3. Pre-Bake the Crust: Bake the crust for 15-18 minutes until lightly golden around the edges. Remove from the oven (leave oven on).

    4. Make the Oat Topping: In a separate bowl, combine the flour, brown sugar, oats, cinnamon, and salt. Add the cold butter cubes and cut in until the mixture forms craggy, buttery clumps of various sizes.

    5. Add Cherry Filling: Spread the cherry pie filling evenly over the warm pre-baked crust.

    6. Add Topping: Sprinkle the oat crumble topping evenly over the cherry layer, covering as much as possible.

    7. Bake: Bake for 25-30 minutes until the topping is golden brown and the filling is bubbly around the edges.

    8. Cool Completely: Let the bars cool completely in the pan on a wire rack. This is essential for clean slices—at least 2 hours.

    9. Slice: Once completely cool, use the parchment overhang to lift the bars out of the pan. Place on a cutting board and slice into squares or bars with a sharp knife.

    10. Serve: Dust with powdered sugar if desired and serve. Extra delicious with vanilla ice cream.

    11. Store: Store in an airtight container at room temperature for up to 3 days, or in the refrigerator for up to 5 days.

    Pro-Tips for Cherry Pie Bar Greatness

    • Use Cold Butter: Cold butter is essential for a flaky crust and crumbly topping. If the butter softens, pop the dough in the fridge for 10 minutes.
    • Cool Completely Before Slicing: Warm bars will fall apart. Patience is rewarded with clean, beautiful squares.
    • Make Your Own Filling: For an extra-special treat, make your own cherry filling with fresh or frozen cherries, sugar, and a little cornstarch.
    • Customize the Fruit: Swap cherry for apple, blueberry, peach, or any pie filling you love.
    • Serve Warm with Ice Cream: If you can’t resist warm bars, serve them in bowls with vanilla ice cream—soggy bars don’t matter when they’re à la mode.
  • Chocolate Banana Cake (The Best of Both Worlds)

    Chocolate Banana Cake (The Best of Both Worlds)

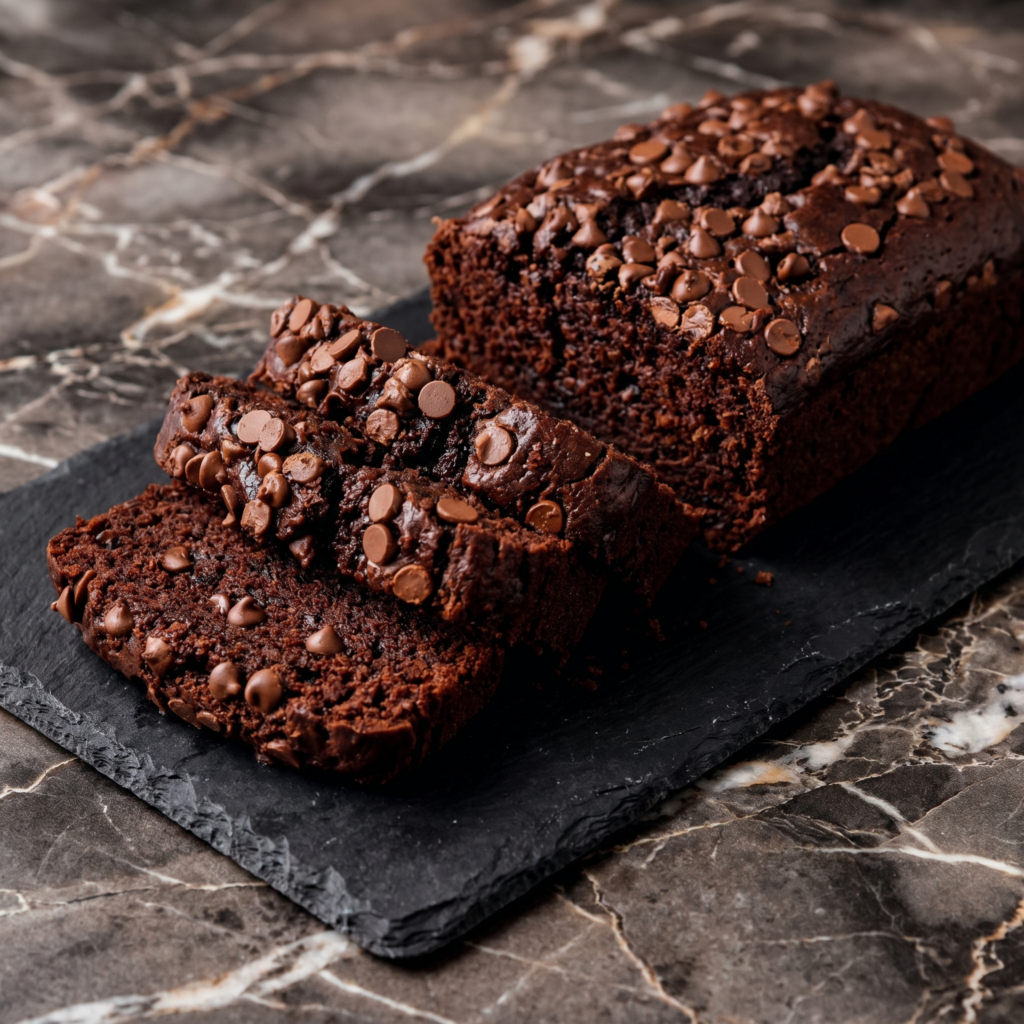
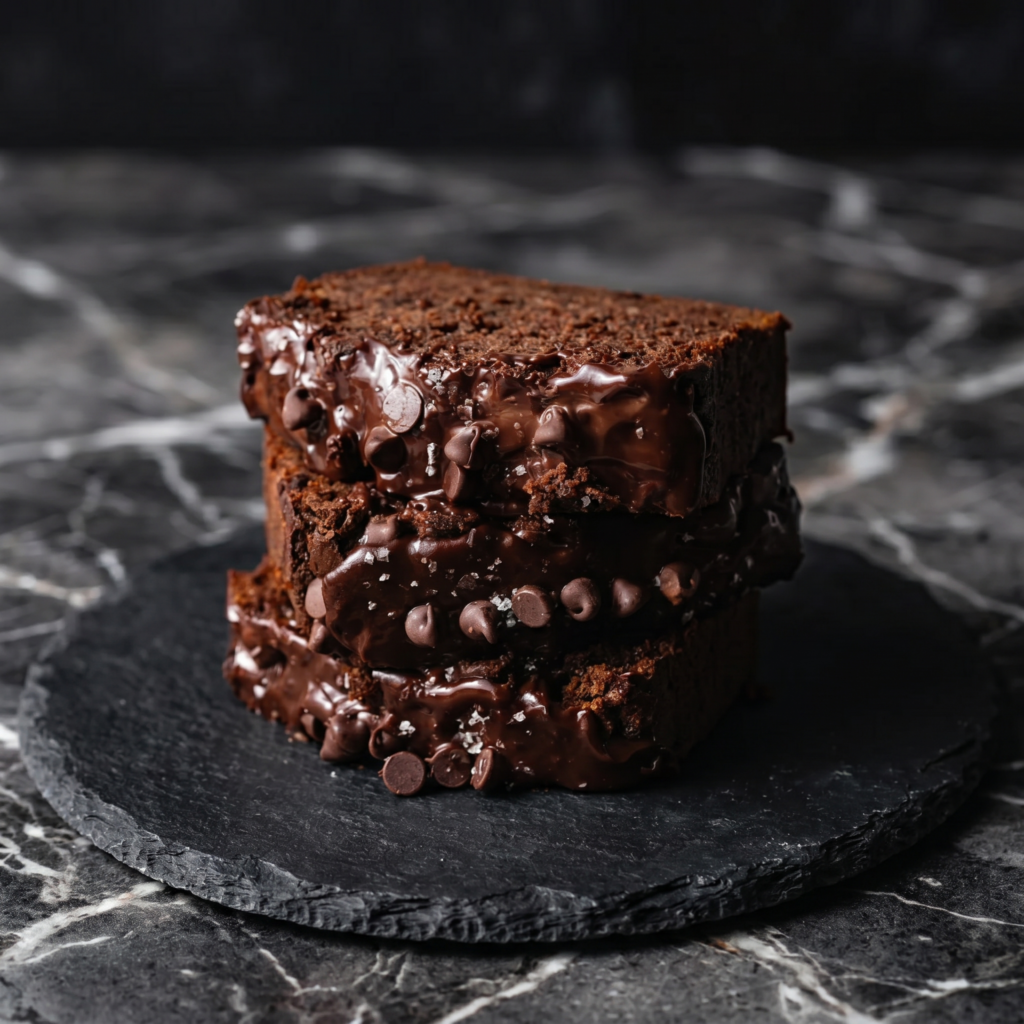
    Let’s be honest: chocolate and banana is one of the greatest flavor duos of all time. The deep, rich intensity of chocolate meets the sweet, mellow, almost caramel-like warmth of ripe bananas. It’s a match made in dessert heaven.

    This Chocolate Banana Cake takes that partnership and builds an entire masterpiece around it. We’re talking about two layers of the most incredibly moist, tender chocolate cake you’ve ever baked—so moist you’ll swear it’s magic. Each bite is infused with real banana flavor, studded with melty chocolate chips, and slathered in a silky, decadent chocolate frosting.

    Topped with a glossy ganache drip, this is the cake that will have people hovering around the kitchen island, waiting for a slice. Spoiler: there will be no leftovers.

    The Secret to an Ultra-Moist Cake That Stays Fresh for Days

    What makes this chocolate banana cake so impossibly moist? Three words: ripe bananas and buttermilk. Very ripe bananas (the ones that are practically black and begging to be used) contain more sugar and moisture than their yellow counterparts. They break down completely in the batter, infusing every crumb with flavor and tenderness.

    The buttermilk adds another layer of moisture while its gentle acidity tenderizes the gluten, ensuring a soft, fine crumb. And here’s the pro trick: using hot coffee in the batter. Coffee doesn’t make the cake taste like coffee; it actually enhances the chocolate flavor, making it deeper and more complex. The result is a cake that stays moist and delicious for days—if it lasts that long.

    Ingredients

    For the Chocolate Banana Cake Layers:

    • 1 ¾ cups (219g) all-purpose flour
    • ¾ cup (65g) unsweetened cocoa powder (natural or Dutch-process)
    • 1 ½ teaspoons baking powder
    • 1 ½ teaspoons baking soda
    • ½ teaspoon salt
    • 1 cup (240ml) buttermilk, at room temperature
    • ½ cup (120ml) hot coffee (or hot water)
    • 1 cup (225g) mashed very ripe bananas (about 2-3 large bananas)
    • 1 teaspoon vanilla extract
    • ½ cup (113g) unsalted butter, softened
    • ½ cup (100g) vegetable oil (or canola oil)
    • 1 ½ cups (300g) granulated sugar
    • ½ cup (100g) light brown sugar, packed
    • 2 large eggs, at room temperature
    • 1 cup (170g) semi-sweet chocolate chips (optional, but highly recommended)

    For the Chocolate Frosting:

    • 1 ½ cups (340g) unsalted butter, slightly softened
    • 4 cups (480g) powdered sugar, sifted
    • ¾ cup (65g) unsweetened cocoa powder, sifted
    • ½ cup (120ml) heavy cream
    • 2 teaspoons vanilla extract
    • ¼ teaspoon salt

    For the Chocolate Ganache Drip:

    • ½ cup (120ml) heavy cream
    • 4 oz (113g) semi-sweet chocolate, finely chopped

    For Garnish (Optional):

    • Fresh banana slices (tossed in lemon juice to prevent browning)
    • Chocolate curls or shavings
    • Light dusting of cocoa powder

    Instructions

    1. Preheat and Prep: Preheat your oven to 350°F (175°C). Grease two 9-inch round cake pans, line the bottoms with parchment paper rounds, and lightly flour the sides. This guarantees your cakes will release perfectly .

    2. Mash Your Bananas: In a small bowl, mash your very ripe bananas with a fork until mostly smooth with a few small lumps remaining. Measure out 1 cup (225g) and set aside. The riper the bananas, the better the flavor .

    3. Combine Dry Ingredients: In a medium bowl, whisk together the flour, cocoa powder, baking powder, baking soda, and salt until well combined. Set aside .

    4. Combine Wet Ingredients: In a separate bowl or large measuring cup, whisk together the buttermilk, hot coffee (or water), mashed bananas, and vanilla extract. The mixture will look a little speckled and slightly curdled—that’s perfectly normal .

    5. Cream Butter, Oil, and Sugars: In a large bowl using a hand mixer or stand mixer with the paddle attachment, beat the softened butter, vegetable oil, granulated sugar, and brown sugar together on medium speed until light and fluffy, about 3-4 minutes. The mixture should look pale and aerated .

    6. Add Eggs: Add the eggs one at a time, beating well after each addition until fully incorporated. Scrape down the sides of the bowl as needed .

    7. Alternate Dry and Wet Ingredients: With the mixer on low speed, add about one-third of the dry ingredients, mixing just until combined. Add half of the wet ingredients, mixing until incorporated. Repeat with another third of the dry, the remaining wet, and finally the last of the dry. Mix just until no streaks of flour remain—do not overmix .

    8. Fold in Chocolate Chips: If using, gently fold the chocolate chips into the batter with a spatula. This adds little melty pockets of chocolate throughout the cake .

    9. Bake the Cake Layers: Divide the batter evenly between the two prepared pans. Bake for 30-35 minutes, or until a toothpick inserted into the center of each layer comes out clean or with a few moist crumbs. Let the cakes cool in the pans for 15 minutes, then carefully turn them out onto a wire rack to cool completely .

    10. Make the Chocolate Frosting: In a large bowl, beat the softened butter on medium speed until creamy and smooth, about 2-3 minutes. Gradually add the sifted powdered sugar and cocoa powder, one cup at a time, beating on low until combined. Add the heavy cream, vanilla extract, and salt. Beat on medium-high speed for 2-3 minutes until the frosting is light, fluffy, and spreadable .

    11. Make the Ganache Drip: Place the chopped chocolate in a small heatproof bowl. Heat the heavy cream in a small saucepan until just simmering (or microwave for 45-60 seconds). Pour the hot cream over the chocolate and let it sit for 2-3 minutes. Gently whisk until smooth and glossy. Let it cool for 10-15 minutes until it thickens slightly but is still pourable .

    12. Assemble and Frost: Place one cooled cake layer on your serving plate. Spread about ¾ cup of frosting evenly over the top. Place the second cake layer on top. Apply a thin crumb coat of frosting all over the cake and refrigerate for 20-30 minutes. Then, apply the final, beautiful layer of frosting, smoothing the sides and top .

    13. Add the Ganache Drip: Pour the slightly cooled ganache into a small piping bottle or zip-top bag with a tiny corner snipped off. Gently pipe drips around the edges of the cake, then fill in the center with the remaining ganache and spread it smooth with an offset spatula .

    14. Garnish and Serve: Garnish with fresh banana slices (tossed in lemon juice to prevent browning), chocolate curls, and a light dusting of cocoa powder. Slice, serve, and prepare for applause .

    Pro-Tips for Chocolate Banana Cake Greatness

    • Use Extremely Ripe Bananas: The blacker, the better. Super-ripe bananas are sweeter, more flavorful, and mash more easily into the batter .
    • Don’t Overmix the Batter: Once you add the flour, mix just until combined. Overmixing develops gluten and can make your cake tough instead of tender .
    • Room Temperature Ingredients: Ensure your butter, eggs, and buttermilk are at room temperature for a smooth, evenly mixed batter .
    • Cool Cakes Completely: Frosting a warm cake is a recipe for disaster. Wait until the layers are completely cool to the touch before assembling .
    • Chill Before Dripping: A chilled cake with a firm crumb coat will hold the ganache drips much better than a room-temperature cake .

  • Baked Sweet Potato Fries (Crispy, Salty, and Actually Healthy)

    Baked Sweet Potato Fries (Crispy, Salty, and Actually Healthy)

    Let’s be honest: sweet potato fries are the best kind of fries. They’re sweet, they’re salty, they’re satisfying, and they feel just a little bit healthier than regular fries. But getting them crispy in the oven can be a challenge—too often they turn out limp and soggy. Not these.

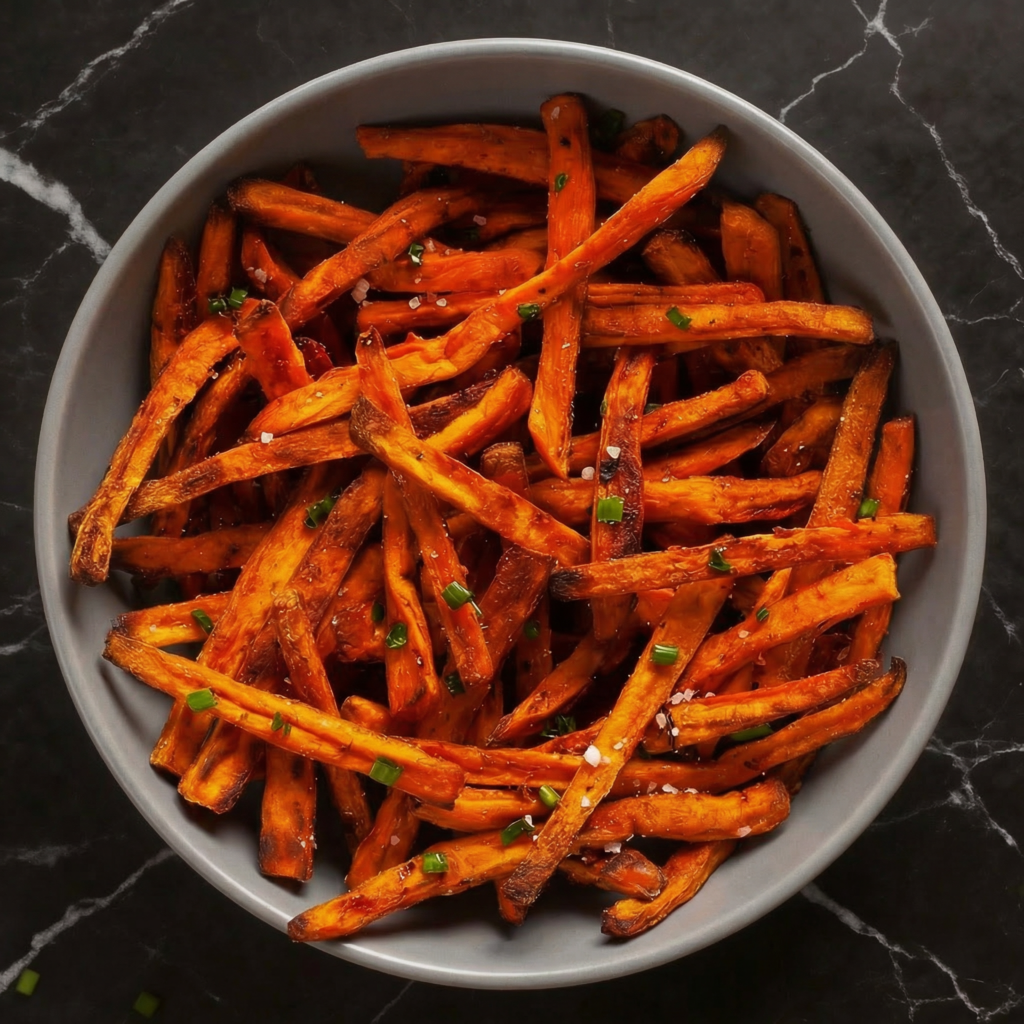
    These baked sweet potato fries are the real deal: crispy on the outside, tender on the inside, and perfectly seasoned with salt, pepper, and a touch of smoked paprika. They’re baked, not fried, so you can feel good about eating a whole batch. Serve them with your favorite dipping sauce and prepare to be amazed. Oven-baked perfection.

    Ingredients

    For the Baked Sweet Potato Fries (Serves 4):

    • 3 large sweet potatoes (about 2 pounds)
    • 2 tablespoons olive oil or avocado oil
    • 1 tablespoon cornstarch (optional, but helps with crispiness)
    • 1 teaspoon smoked paprika
    • ½ teaspoon garlic powder
    • ½ teaspoon salt (plus more for finishing)
    • ¼ teaspoon black pepper
    • Pinch of cayenne pepper (optional, for heat)
    • Fresh parsley, chopped, for garnish

    For Dipping (Choose Your Adventure):

    • Garlic aioli
    • Sriracha mayo
    • Honey mustard
    • Chipotle sauce
    • Plain ketchup (classic!)

    Instructions

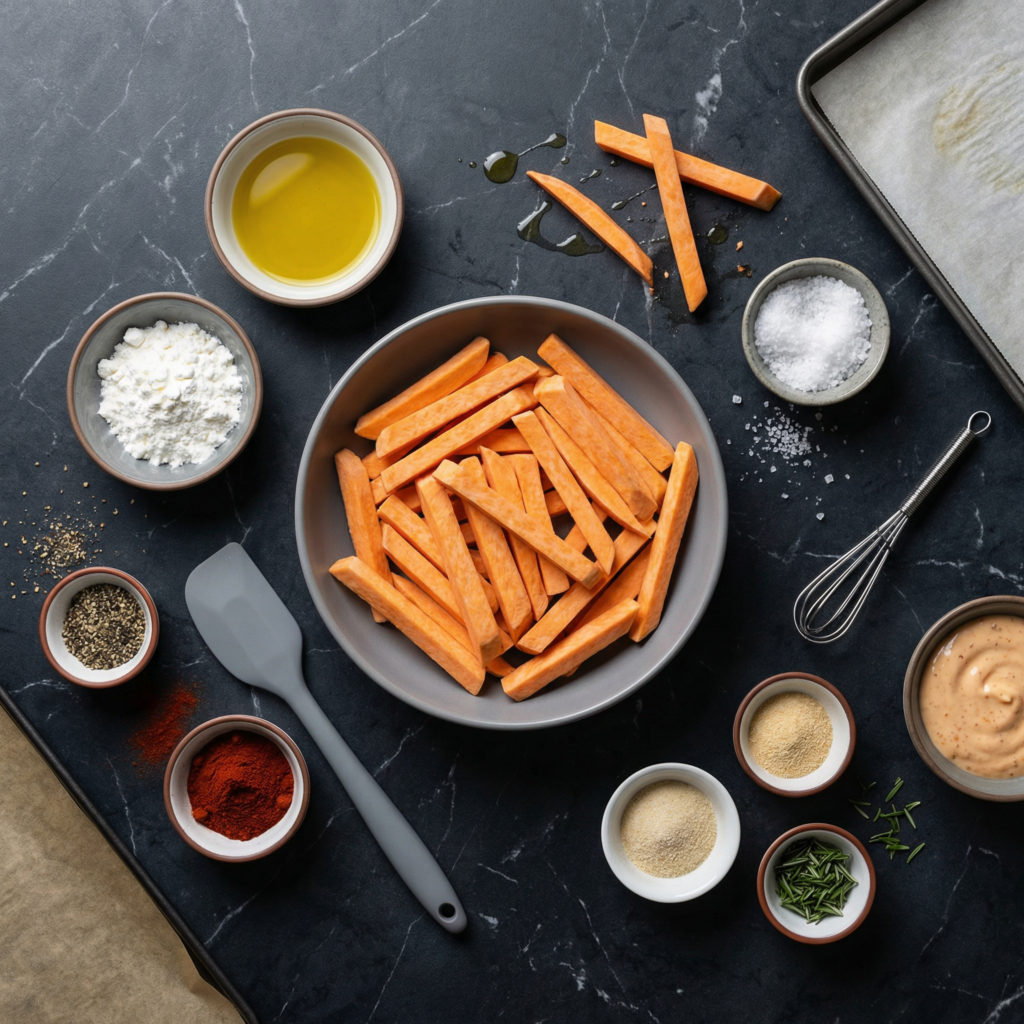
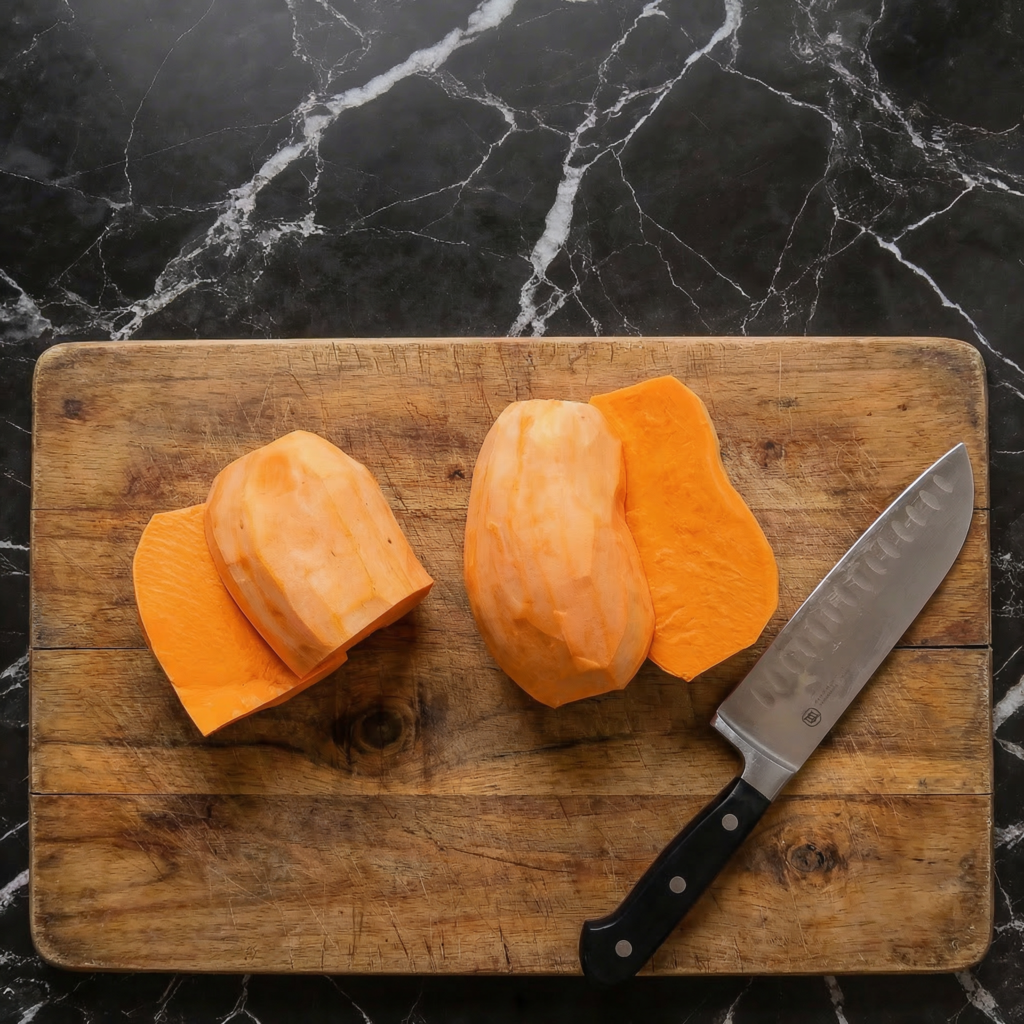
    1. Prep the Sweet Potatoes: Scrub the sweet potatoes well (peeling is optional—skin adds texture and nutrients). Cut them into even sticks, about ¼ to ½ inch thick. Try to keep them uniform for even baking.

    2. Soak the Fries: Place the cut fries in a large bowl and cover with cold water. Let them soak for at least 30 minutes, or up to overnight in the refrigerator. This removes excess starch and is the secret to crispiness.

    3. Preheat and Prep: Preheat your oven to 425°F (220°C). Line two large baking sheets with parchment paper (for easy cleanup).

    4. Dry Thoroughly: Drain the fries and spread them on a clean kitchen towel or several layers of paper towels. Pat them completely dry. Any moisture left will prevent crispiness.

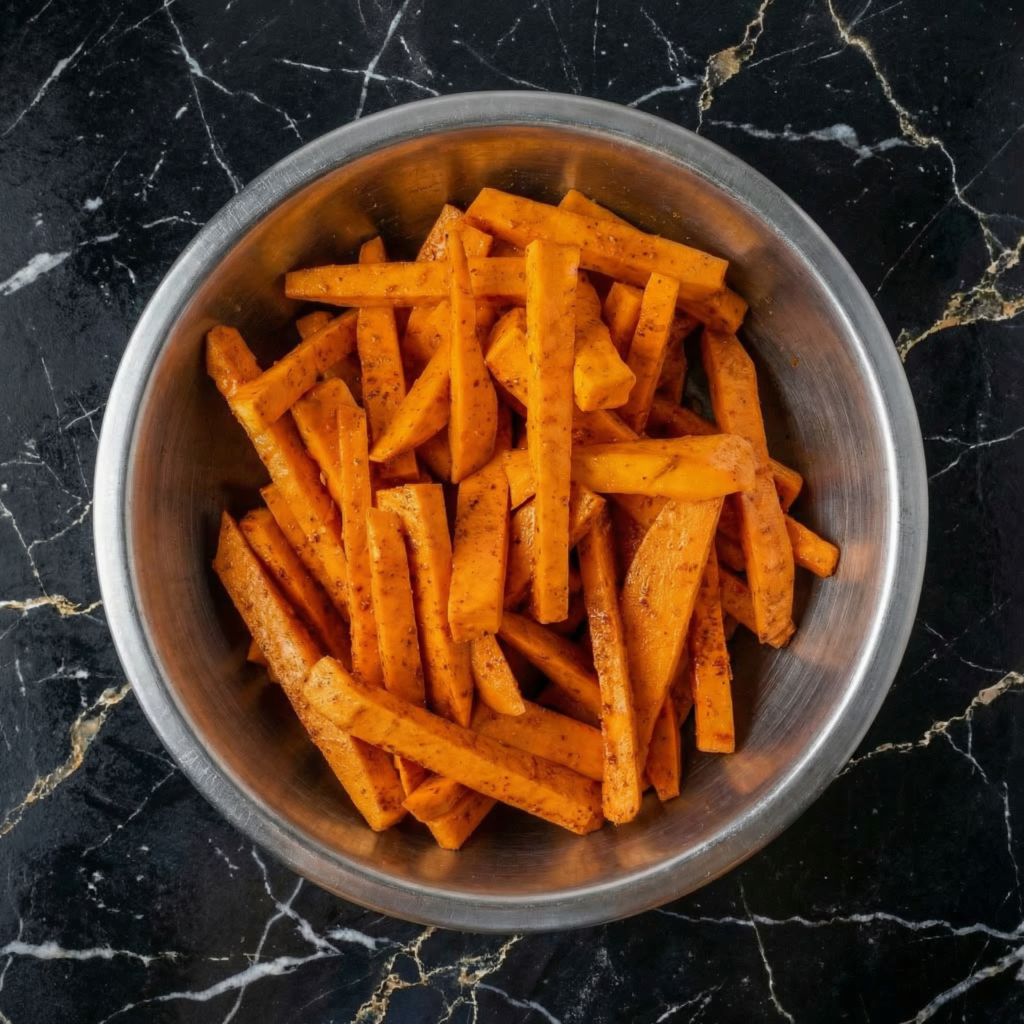
    5. Season the Fries: In a large bowl, combine the dried fries with olive oil, cornstarch (if using), smoked paprika, garlic powder, salt, pepper, and cayenne. Toss well until every fry is evenly coated.

    6. Arrange on Baking Sheets: Spread the fries in a single layer on the prepared baking sheets, making sure they’re not touching or overlapping. Give them space—crowding leads to steaming, not crisping.

    7. Bake: Bake for 15 minutes, then flip the fries with a spatula. Rotate the pans and bake for another 10-15 minutes until the fries are golden brown and crispy on the edges.

    8. Cool Slightly: Let the fries cool on the baking sheets for 5 minutes—they’ll continue to crisp up as they cool.

    9. Season and Garnish: Sprinkle with additional salt to taste and fresh chopped parsley.

    10. Serve: Serve immediately with your favorite dipping sauces.

    Pro-Tips for Sweet Potato Fry Greatness

    • Don’t Skip the Soak: This step removes excess starch and is the number one secret to crispy fries. At least 30 minutes, longer is better.
    • Dry Thoroughly: Any moisture left behind will steam your fries instead of crisping them. Pat them bone-dry.
    • Don’t Overcrowd: Give each fry room to breathe. Use two pans if needed.
    • Flip Halfway: Flipping ensures even browning on all sides.
    • Customize Your Spices: Try cumin, chili powder, or cinnamon for different flavor profiles.

  • Baked Chicken Fingers (Crispy, Golden, and Kid-Approved)

    Baked Chicken Fingers (Crispy, Golden, and Kid-Approved)

    Let’s be honest: chicken fingers are a universal love language. Kids crave them, adults secretly (or not so secretly) love them, and they’re the perfect comfort food anytime. But deep-fried versions can be heavy and messy. Enter baked chicken fingers—crispy, golden, perfectly seasoned, and so much healthier.

    They have all the crunch you want, none of the oil, and come together in about 30 minutes. The coating is flavorful and crunchy, the chicken stays juicy and tender, and they’re absolutely irresistible dipped in honey mustard, BBQ sauce, or your favorite condiment. Make a batch for dinner, game day, or just because you deserve something delicious.

    Ingredients

    For the Baked Chicken Fingers (Serves 4):

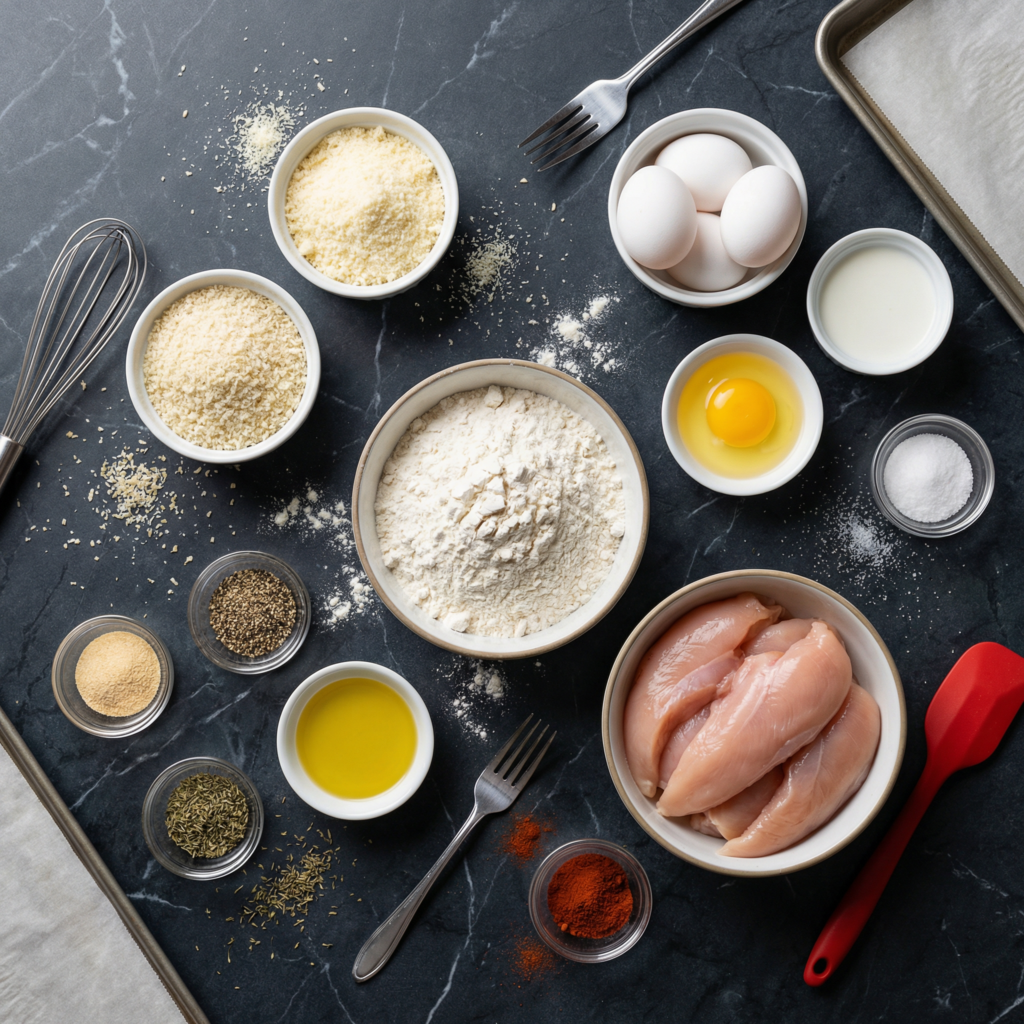
    • 1 ½ pounds (680g) chicken tenders or boneless skinless chicken breasts, cut into strips
    • ½ cup (65g) all-purpose flour
    • 1 teaspoon garlic powder
    • 1 teaspoon onion powder
    • ½ teaspoon smoked paprika
    • ½ teaspoon salt
    • ¼ teaspoon black pepper
    • 2 large eggs
    • 1 tablespoon water
    • 2 cups (200g) panko breadcrumbs
    • ½ cup (50g) grated Parmesan cheese
    • 1 teaspoon dried parsley (or 1 tablespoon fresh)
    • Cooking spray or olive oil spray

    For Serving:

    • Honey mustard
    • BBQ sauce
    • Ranch dressing
    • Ketchup

    Instructions

    1. Preheat and Prep: Preheat your oven to 400°F (200°C). Place a wire rack on a baking sheet and spray it lightly with cooking spray to prevent sticking .

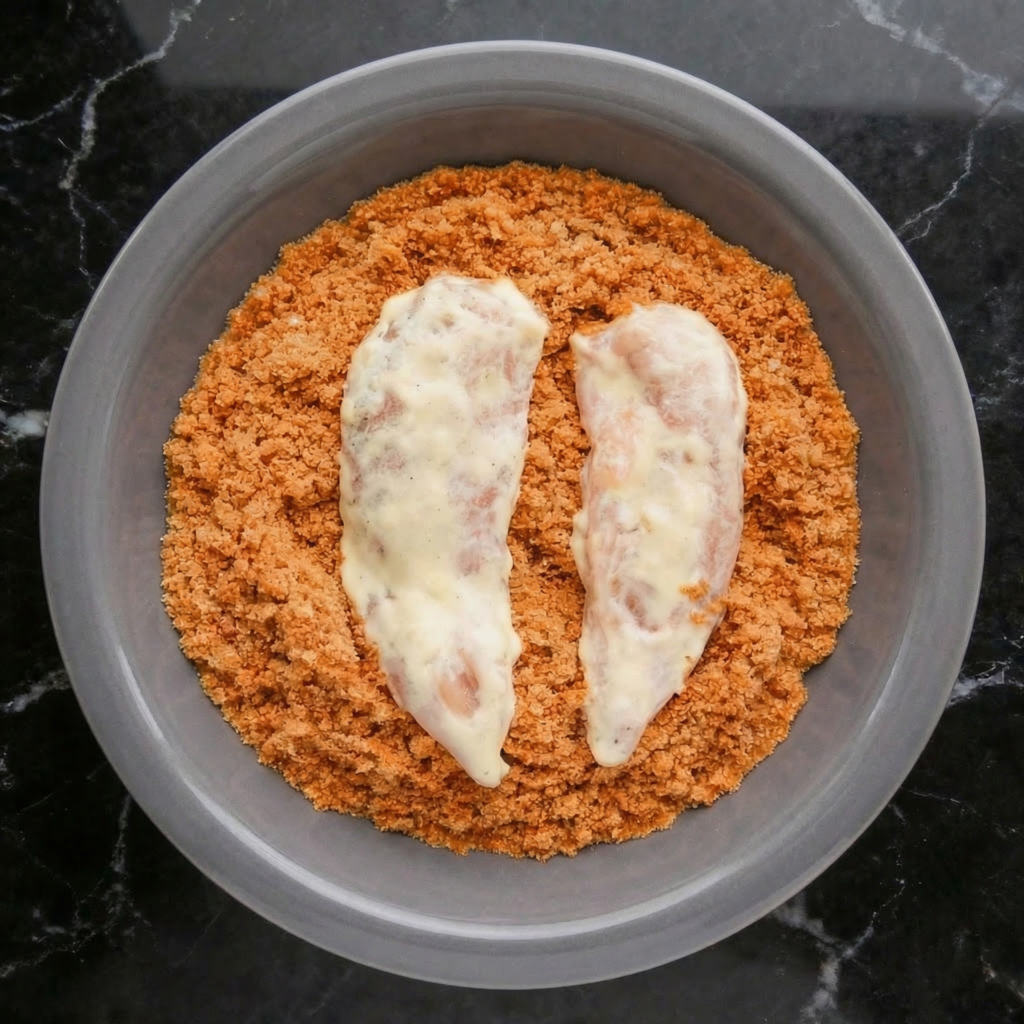
    2. Set Up Dredging Station: You’ll need three shallow bowls. In the first bowl, combine the flour, garlic powder, onion powder, smoked paprika, salt, and pepper. In the second bowl, whisk the eggs with 1 tablespoon of water until smooth. In the third bowl, combine the panko breadcrumbs, grated Parmesan, and dried parsley .

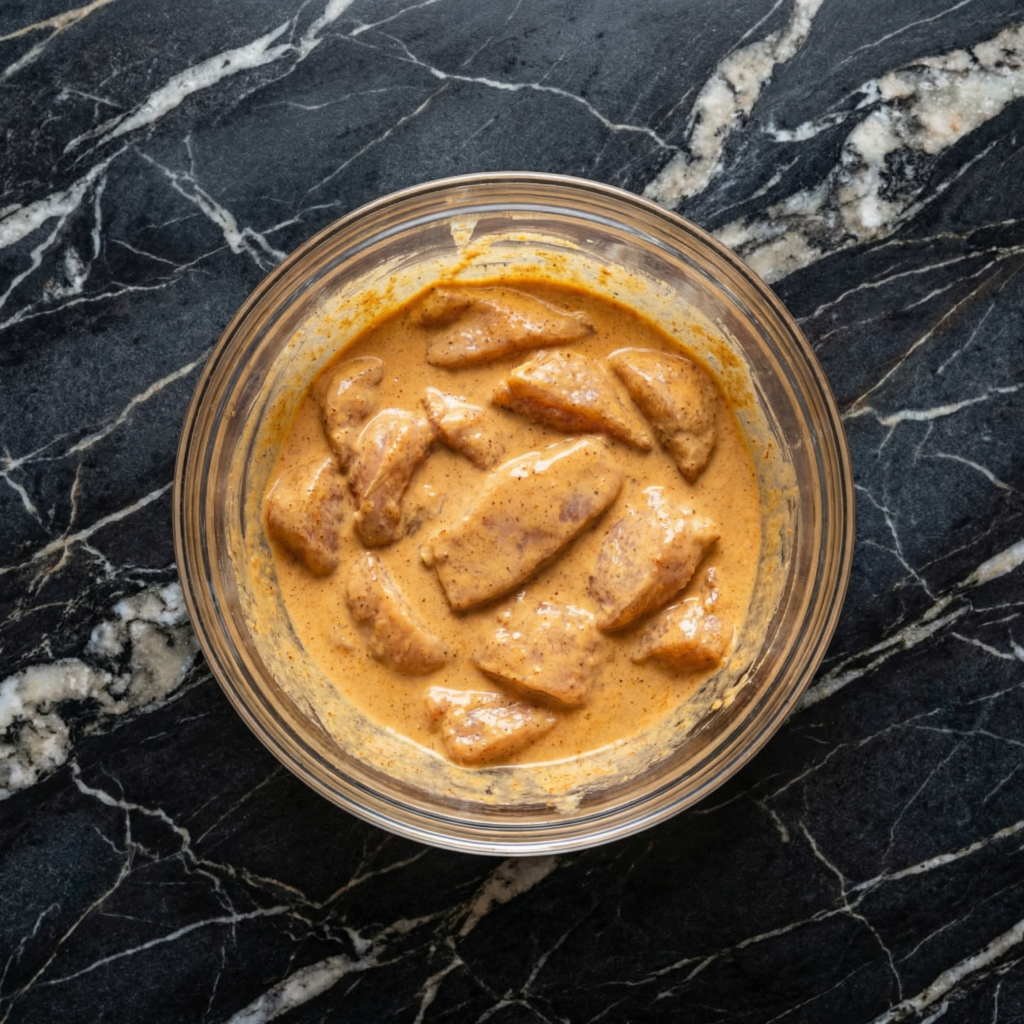
    3. Coat the Chicken: Pat the chicken strips dry with paper towels. Working one piece at a time, dredge in the seasoned flour, shaking off excess. Dip into the egg wash, letting excess drip off. Finally, press into the panko mixture, coating all sides evenly. Place on the prepared wire rack .

    4. Spray with Oil: Lightly spray the tops of the chicken fingers with cooking spray. This helps them brown and get extra crispy .

    5. Bake: Bake for 15-18 minutes, until the chicken is cooked through (internal temperature of 165°F) and the coating is golden brown and crispy .

    6. Rest: Let the chicken fingers rest for 5 minutes before serving. This helps keep them juicy .

    7. Serve: Serve warm with your favorite dipping sauces .
    8. Store: Store leftovers in an airtight container in the refrigerator for up to 3 days. Reheat in the oven at 375°F for 5-10 minutes to restore crispiness .

    Pro-Tips for Chicken Finger Greatness

    • Use a Wire Rack: This allows air to circulate all around the chicken, ensuring even crispiness without flipping .
    • Don’t Skip the Spray Oil: A light mist of oil helps the panko brown and get extra crunchy .
    • Panko is Key: Regular breadcrumbs won’t give you the same crispy texture. Panko is worth seeking out .
    • Make Extra: These disappear fast. Double the batch if you’re feeding a crowd .
    • Customize Your Seasonings: Add cayenne for heat, swap in different herbs, or use gluten-free breadcrumbs if needed .

  • Cheesy Breadsticks (Soft, Buttery, and Covered in Melted Cheese)

    Cheesy Breadsticks (Soft, Buttery, and Covered in Melted Cheese)

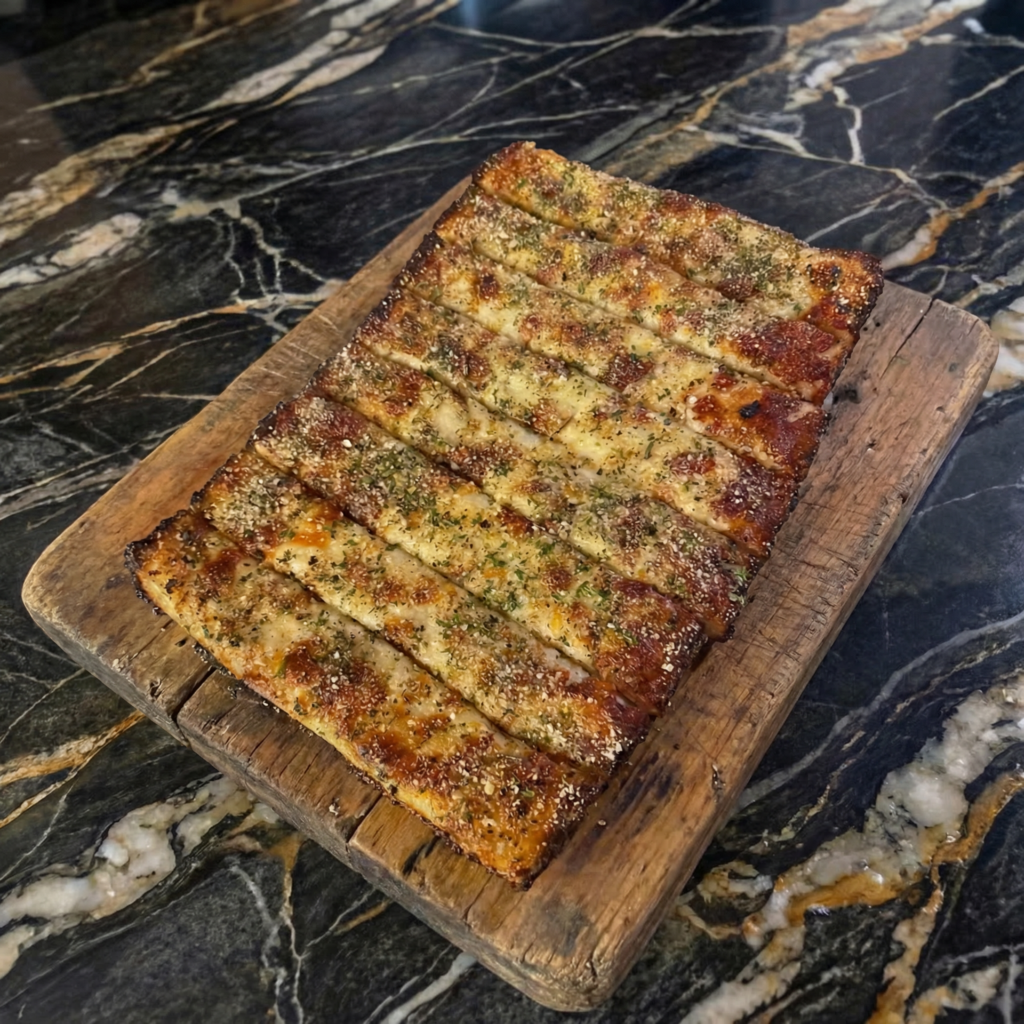
    Let’s be honest: breadsticks are great. But cheesy breadsticks? They’re on another level. Soft, pillowy breadsticks brushed with garlic butter, then buried under a generous blanket of melted mozzarella and baked until golden and bubbly. They’re the ultimate pizza night side dish—or honestly, they could be the whole meal.

    Serve them warm with a side of marinara sauce for dipping, and watch them disappear before the pizza even arrives at the table. They’re easier to make than you think, and they’ll make you feel like a hero in your own kitchen. Let’s get cheesy.

    Ingredients

    For the Breadstick Dough (Makes 12 breadsticks):

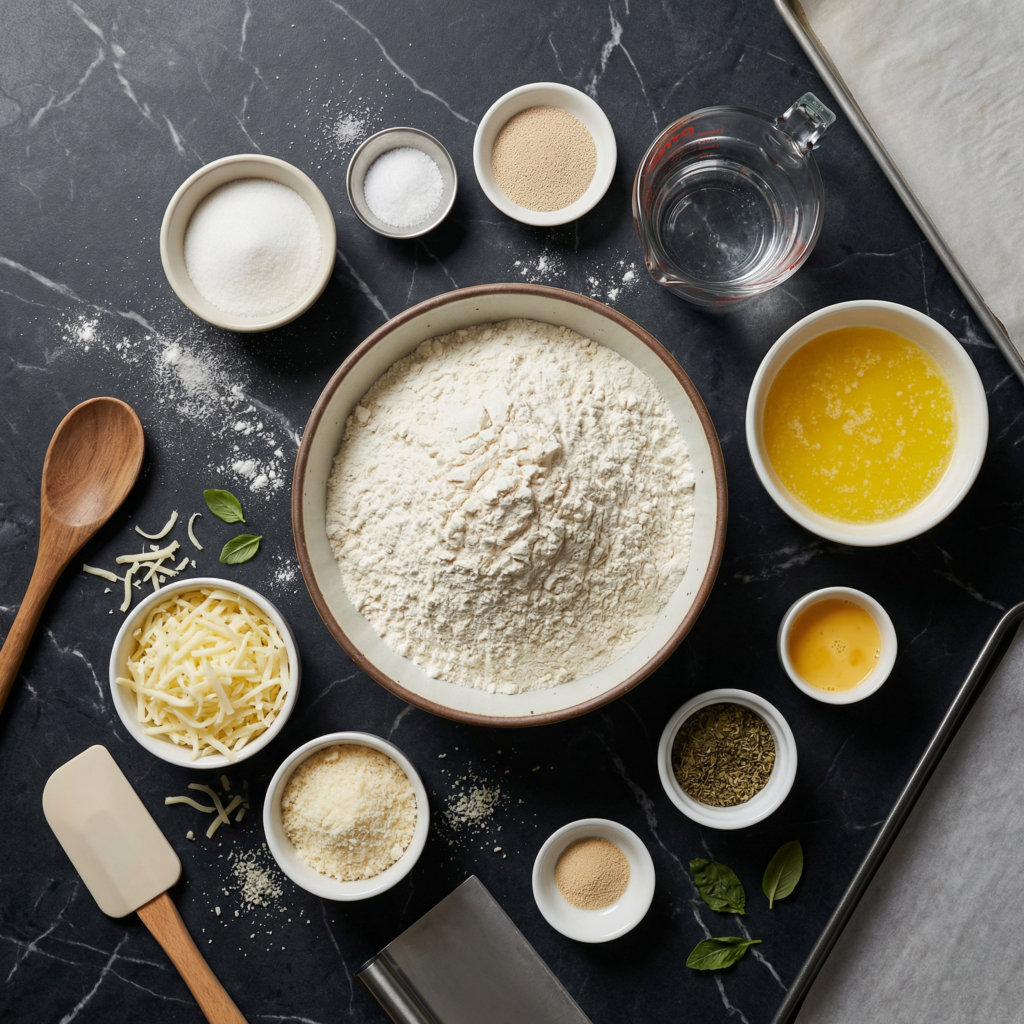
    • 3 ¼ cups (405g) all-purpose flour (plus more for dusting)
    • 2 ¼ teaspoons (1 packet) instant yeast
    • 2 tablespoons granulated sugar
    • 1 teaspoon salt
    • ¾ cup (180ml) warm milk (about 110°F)
    • ¼ cup (60ml) warm water (about 110°F)
    • 3 tablespoons unsalted butter, melted
    • 1 large egg, at room temperature

    For the Garlic Butter Topping:

    • 3 tablespoons unsalted butter, melted
    • 2 cloves garlic, minced
    • 1 tablespoon fresh parsley, chopped (or 1 teaspoon dried)
    • ¼ teaspoon salt

    For the Cheesy Topping:

    • 2 cups (200g) freshly shredded mozzarella cheese
    • ¼ cup (25g) grated Parmesan cheese

    For Serving:

    • Warm marinara sauce, for dipping

    Instructions

    1. Make the Dough: In a large bowl or stand mixer, combine the flour, yeast, sugar, and salt. Add the warm milk, warm water, melted butter, and egg. Mix until a shaggy dough forms.

    2. Knead: Knead with a dough hook or by hand for 8-10 minutes until the dough is smooth, elastic, and slightly tacky. It should pass the windowpane test (stretch a small piece thin enough to see light through without tearing).

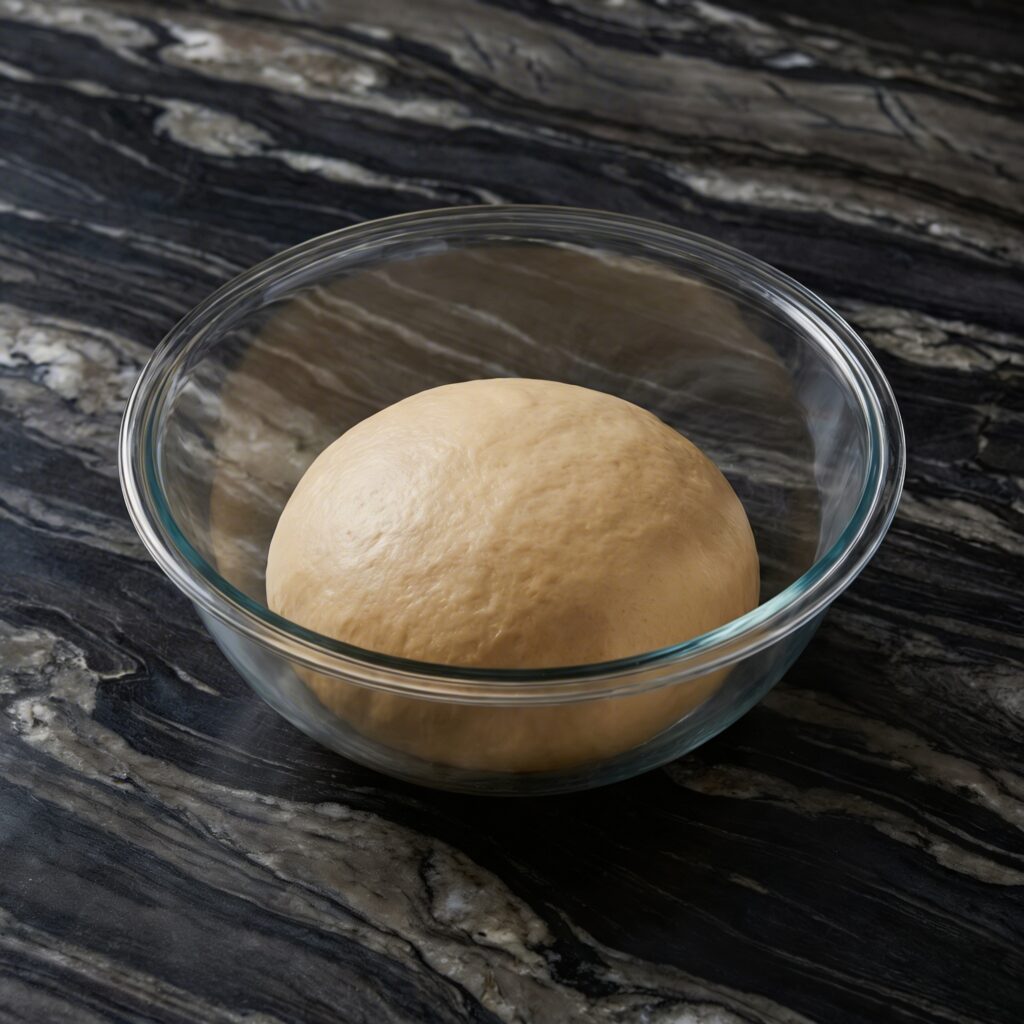
    3. First Rise: Place the dough in a lightly oiled bowl, cover, and let rise in a warm place for 1-2 hours until doubled in size.

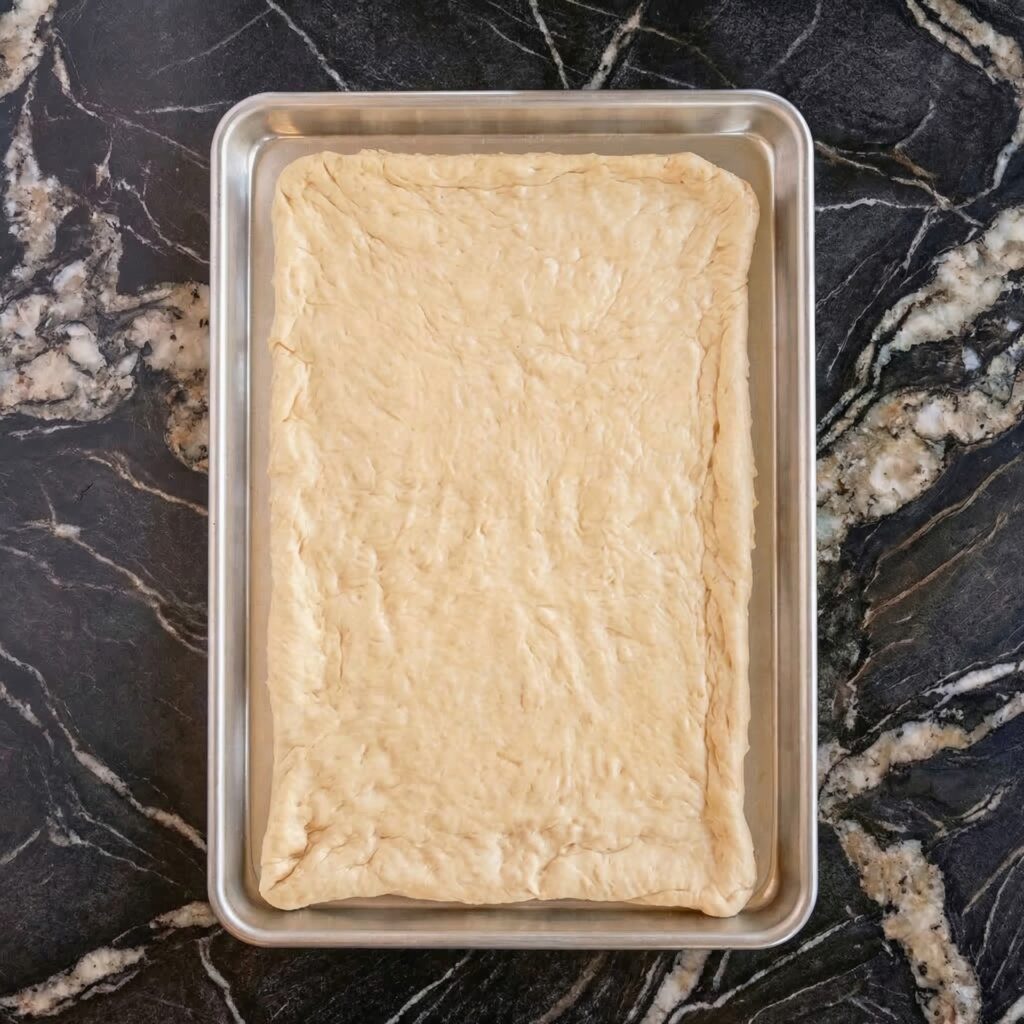
    4. Shape the Breadsticks: Punch down the dough and turn it out onto a lightly floured surface. Roll it into a rectangle about 12×8 inches. Using a sharp knife or pizza cutter, cut the dough into 12 strips, each about 1 inch wide.

    5. Second Rise: Place the breadsticks on a parchment-lined baking sheet, spacing them about 1 inch apart. Cover loosely and let rise for 30-45 minutes until puffy.

    6. Preheat Oven: While the breadsticks rise, preheat your oven to 375°F (190°C).

    7. Bake: Bake the breadsticks for 12-15 minutes until lightly golden and cooked through.

    8. Make Garlic Butter: While the breadsticks bake, combine the melted butter, minced garlic, parsley, and salt in a small bowl.

    9. Add Cheese: Remove the breadsticks from the oven. Brush immediately with the garlic butter. Sprinkle generously with shredded mozzarella and Parmesan.

    10. Broil: Return to the oven and broil for 1-3 minutes until the cheese is melted, bubbly, and lightly browned in spots. Watch carefully—it burns quickly.

    11. Cool Slightly: Let the breadsticks cool for 5 minutes before serving.

    12. Serve: Serve warm with marinara sauce for dipping.

    Pro-Tips for Cheesy Breadstick Greatness

    • Use Freshly Shredded Cheese: Pre-shredded cheese contains anti-caking agents that prevent smooth melting. Shred your own for that perfect gooey cheese pull.
    • Don’t Overbake the Breadsticks: They’ll continue to cook slightly under the broiler. Pull them when they’re just lightly golden.
    • Watch the Broiler: Cheese can go from perfectly bubbly to burnt in seconds. Keep a close eye on it.
    • Brush with Garlic Butter Immediately: Warm bread soaks up that garlic butter flavor best. Don’t wait.
    • Serve Right Away: These are at their absolute best fresh from the oven while the cheese is still stretchy.
  • Red Velvet Brownies (Fudgy, Dreamy, and Swirled with Cream Cheese)

    Red Velvet Brownies (Fudgy, Dreamy, and Swirled with Cream Cheese)

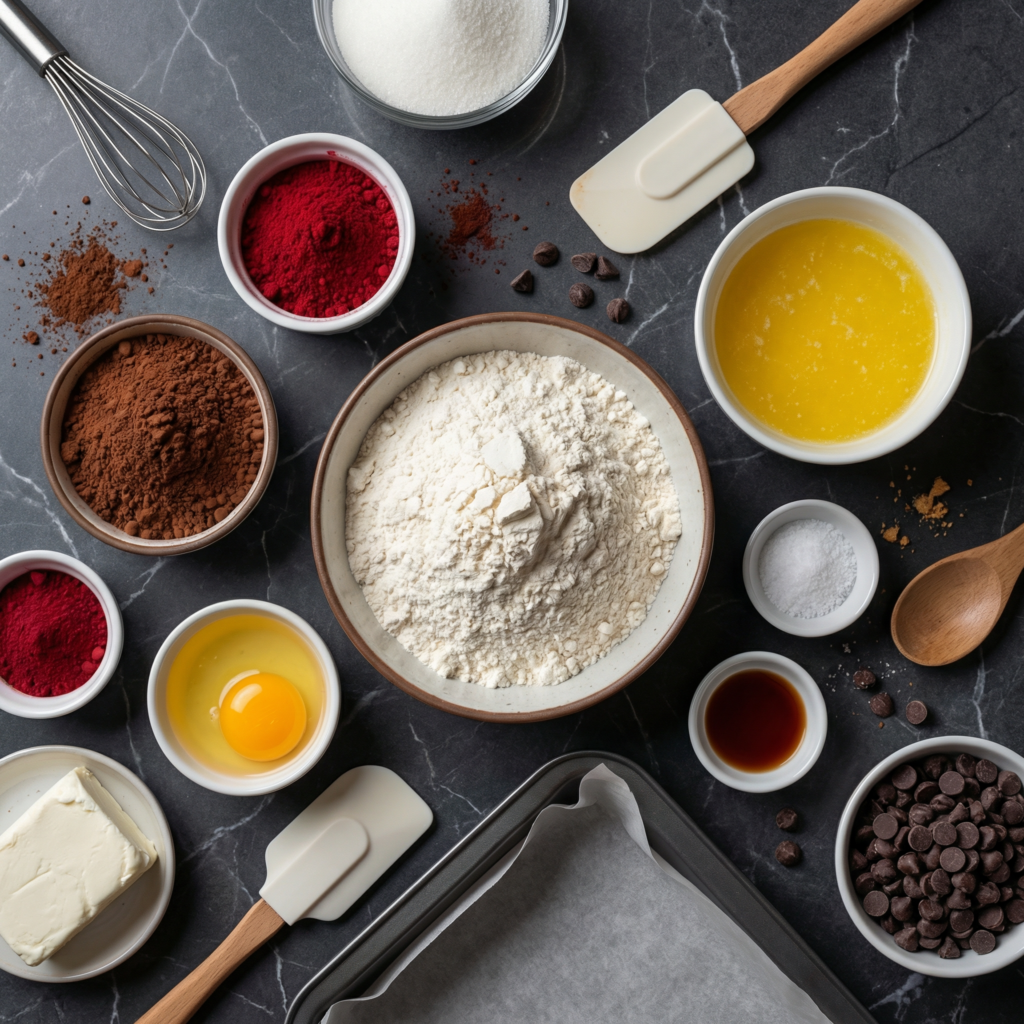
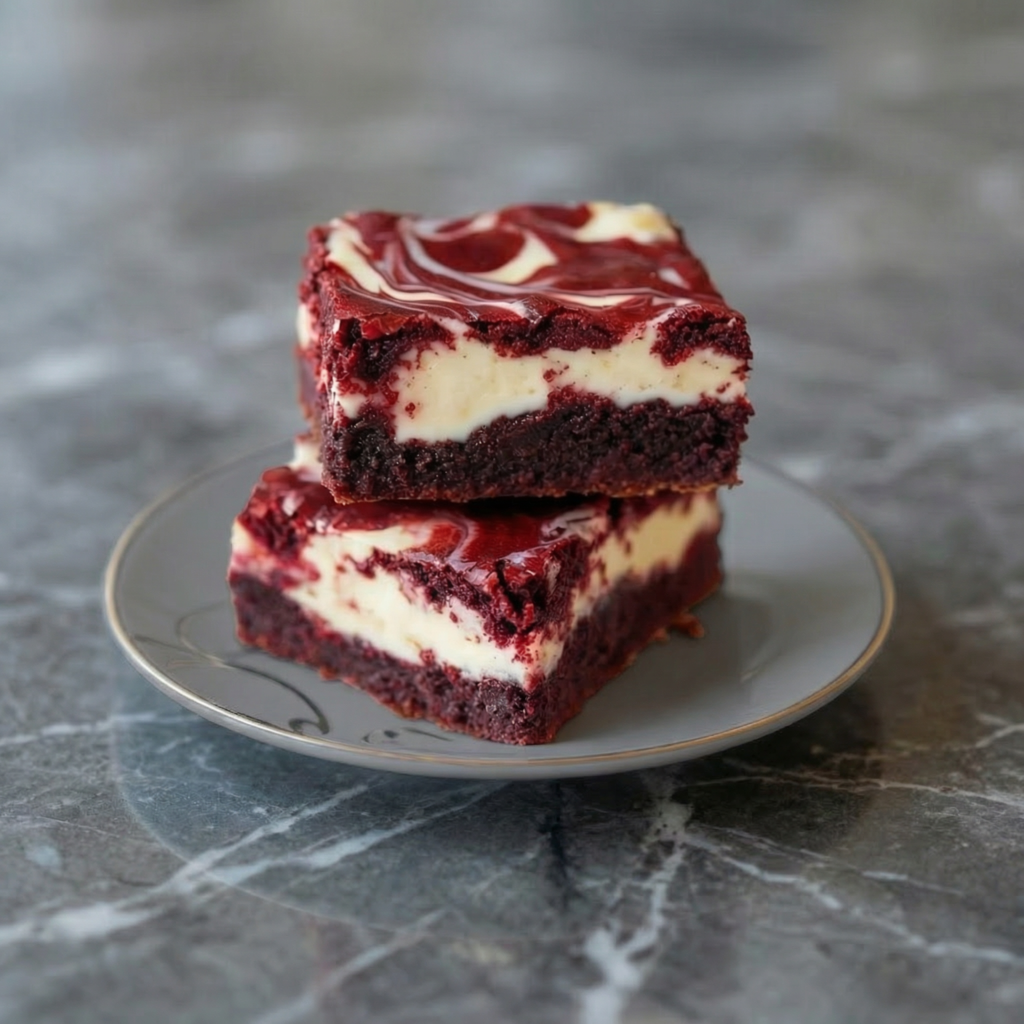
    Let’s talk about the perfect marriage of two desserts: red velvet cake and fudgy brownies. These red velvet brownies are everything you could want—rich, chocolatey, strikingly beautiful, and swirled with creamy cheesecake goodness.

    They have the signature tang of red velvet, the fudgy texture of a perfect brownie, and a gorgeous cream cheese swirl that makes every bite irresistible. They’re perfect for Valentine’s Day, Christmas, or any time you want to impress with something stunning and delicious. And the best part? They’re easier to make than you’d think. Let’s get swirling.

    Ingredients

    For the Red Velvet Brownies (Makes 16 brownies):

    • ¾ cup (170g) unsalted butter
    • 1 cup (200g) granulated sugar
    • ½ cup (100g) packed brown sugar
    • 2 large eggs, at room temperature
    • 2 teaspoons vanilla extract
    • 1 tablespoon red gel food coloring
    • 1 teaspoon white vinegar
    • 1 cup (125g) all-purpose flour
    • ¼ cup (25g) unsweetened cocoa powder
    • ½ teaspoon salt

    For the Cream Cheese Swirl:

    • 8 oz (225g) cream cheese, softened to room temperature
    • ¼ cup (50g) granulated sugar
    • 1 large egg yolk
    • ½ teaspoon vanilla extract

    For Serving (Optional):

    • Powdered sugar, for dusting

    Instructions

    1. Preheat and Prep: Preheat your oven to 350°F (175°C). Grease an 8×8 or 9×9-inch baking pan and line it with parchment paper, leaving overhang on two sides for easy removal .

    2. Melt Butter: In a medium saucepan or microwave-safe bowl, melt the butter. Let it cool slightly .

    3. Combine Wet Ingredients: In a large bowl, whisk together the melted butter, granulated sugar, and brown sugar until well combined. Whisk in the eggs one at a time, then the vanilla extract, red gel food coloring, and white vinegar until smooth and uniformly red .

    4. Add Dry Ingredients: Sift the flour, cocoa powder, and salt into the wet mixture. Fold gently with a spatula until just combined. Do not overmix .

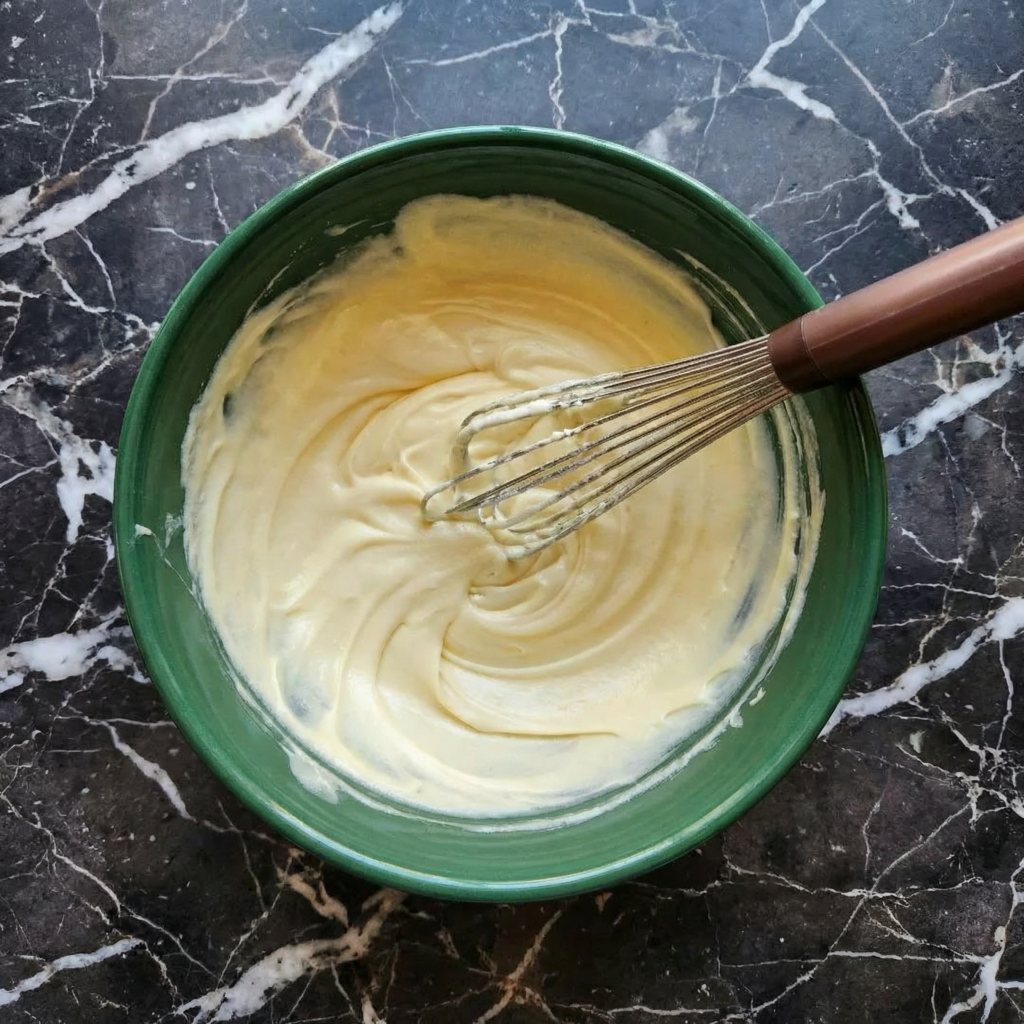
    5. Make Cream Cheese Swirl: In a separate bowl, beat the softened cream cheese and granulated sugar until smooth. Add the egg yolk and vanilla extract, beating until well combined and creamy .

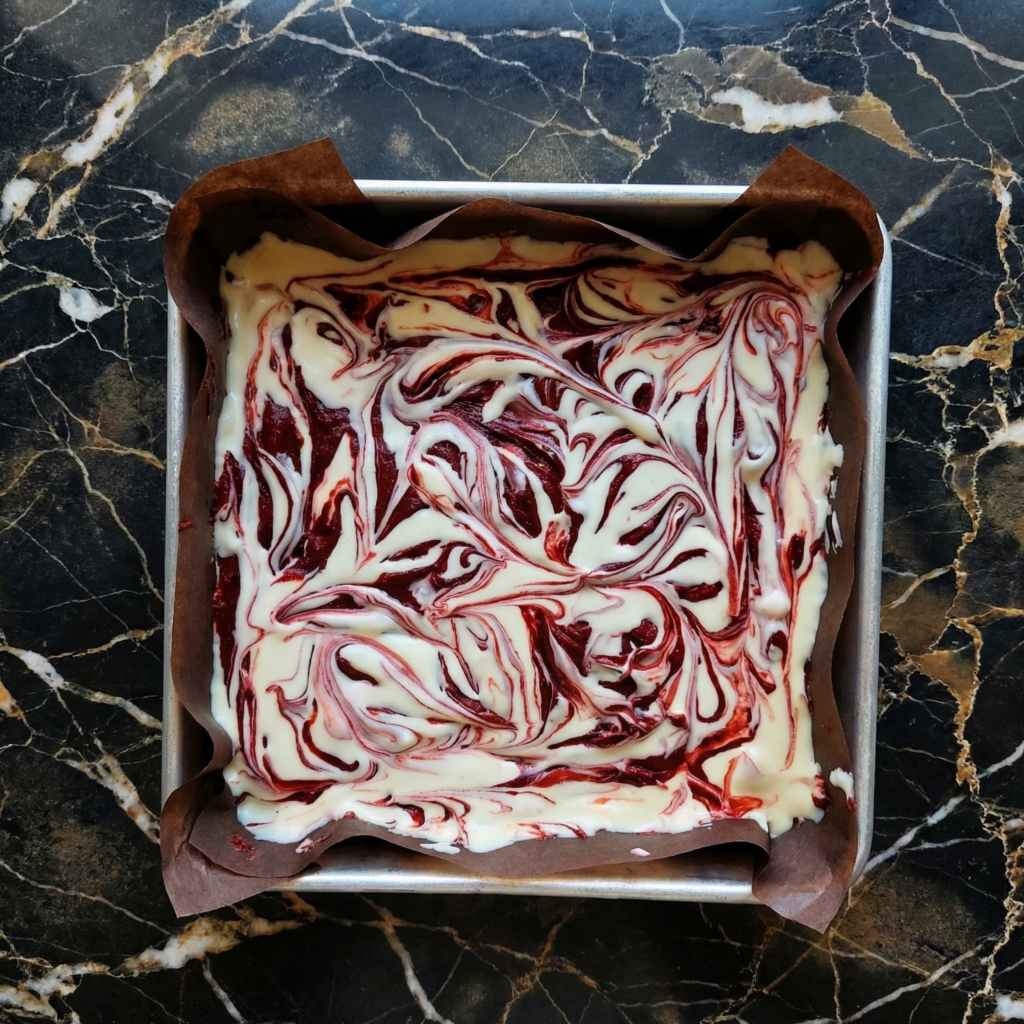
    6. Assemble: Pour the red velvet batter into the prepared pan and spread evenly. Drop spoonfuls of the cream cheese mixture over the batter. Use a knife or toothpick to gently swirl the cream cheese into the red velvet batter, creating a marbled effect. Don’t over-swirl—you want distinct pockets of cream cheese .

    7. Bake: Bake for 30-35 minutes until the edges are set and a toothpick inserted into the center comes out with a few moist crumbs (not wet batter). The center should still look slightly soft .

    8. Cool Completely: Let the brownies cool completely in the pan on a wire rack. This is essential for clean slices—at least 2 hours .

    9. Chill (Optional but Recommended): For the cleanest cuts, refrigerate the cooled brownies for 1-2 hours before slicing .

    10. Slice: Use the parchment overhang to lift the brownies out of the pan. Place on a cutting board and slice into squares with a sharp knife, wiping clean between cuts .

    11. Serve: Dust with powdered sugar just before serving if desired .

    12. Store: Store in an airtight container in the refrigerator for up to 5 days .

    Pro-Tips for Red Velvet Brownie Greatness

    • Use Gel Food Coloring: Liquid food coloring can thin the batter and won’t give you that vibrant red color. Gel is the way to go .
    • Room Temperature Ingredients: For the cream cheese swirl, make sure the cream cheese is softened to avoid lumps .
    • Don’t Over-Swirl: A few gentle swirls are enough. Over-swirling will muddy the beautiful red and white contrast .
    • Cool Completely: These brownies need time to set up. Don’t rush the cooling process .
    • Chill Before Slicing: For picture-perfect squares, refrigerate before cutting. A warm knife helps too .
  • Homemade Brioche (Buttery, Flaky, and So Worth the Effort)

    Homemade Brioche (Buttery, Flaky, and So Worth the Effort)

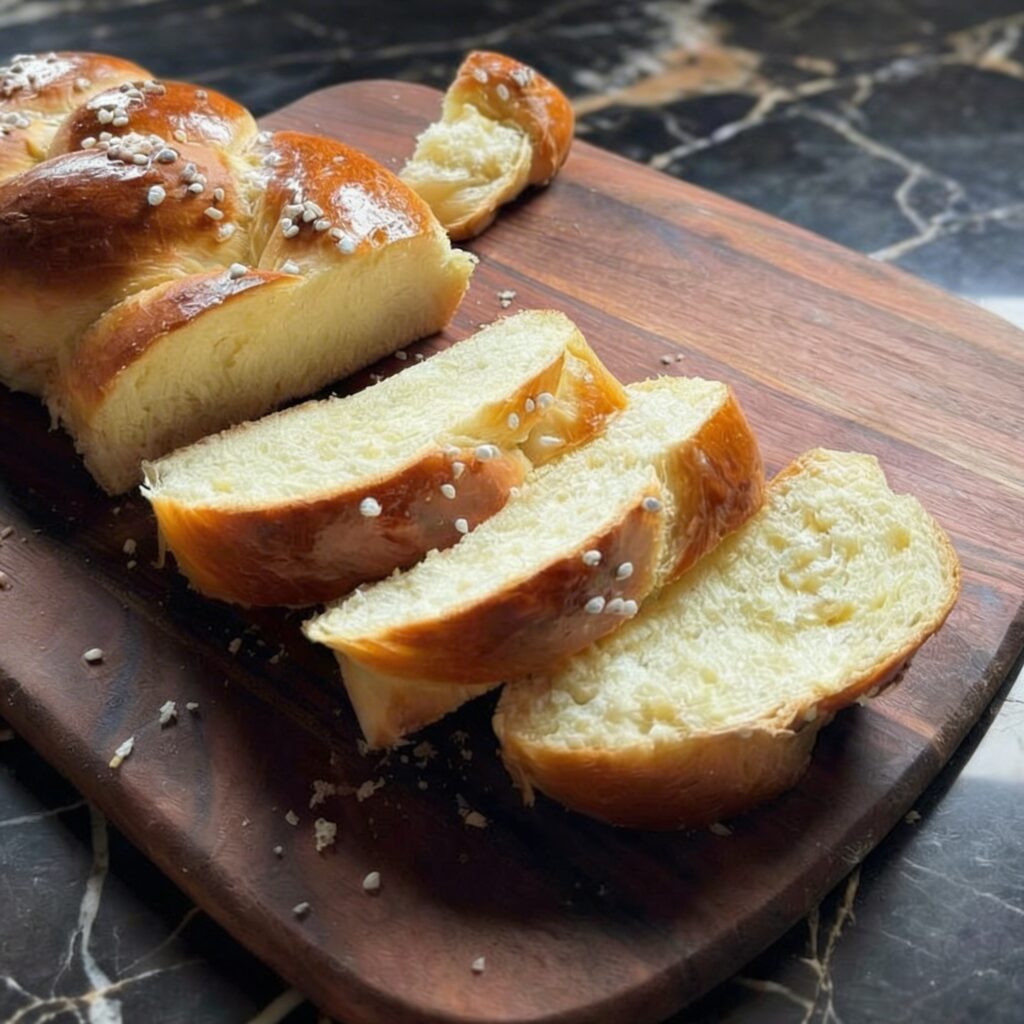
    Let’s talk about brioche. It’s the crown jewel of enriched breads—rich, tender, and impossibly buttery, with a golden crust that shatters slightly and a soft, fluffy interior that melts in your mouth. It’s the bread of French bakeries, of leisurely weekend breakfasts, of the most incredible French toast you’ve ever tasted. And yes, you can make it at home.

    Brioche takes time and a little patience, but the result is so worth it. The smell alone as it bakes will transport you to a Parisian pâtisserie. Slather it with jam, turn it into the ultimate bread pudding, or just eat it warm from the oven with a generous pat of butter. This is bread worth waiting for.

    Ingredients

    For the Homemade Brioche (Makes 1 large loaf or 12 brioche buns):

    • 4 cups (500g) all-purpose or bread flour
    • ¼ cup (50g) granulated sugar
    • 2 ¼ teaspoons (1 packet) instant yeast
    • 1 ½ teaspoons salt
    • 4 large eggs, at room temperature
    • ½ cup (120ml) whole milk, warmed to about 110°F
    • 1 cup (226g) unsalted butter, cold, cut into small cubes

    For Egg Wash:

    • 1 large egg, beaten with 1 tablespoon water or milk

    Instructions

    1. Combine Dry Ingredients: In the bowl of a stand mixer, whisk together the flour, sugar, yeast, and salt.

    2. Add Eggs and Milk: Add the eggs and warm milk to the dry ingredients. Mix with the dough hook on low speed until a shaggy dough forms.

    3. Knead: Knead on medium-low speed for 5-7 minutes until the dough becomes smoother and starts to come together. It will still be quite stiff.

    4. Add Butter Gradually: With the mixer running on medium-low, add the cold butter cubes a few at a time, waiting until each addition is mostly incorporated before adding more. This process takes time—be patient.

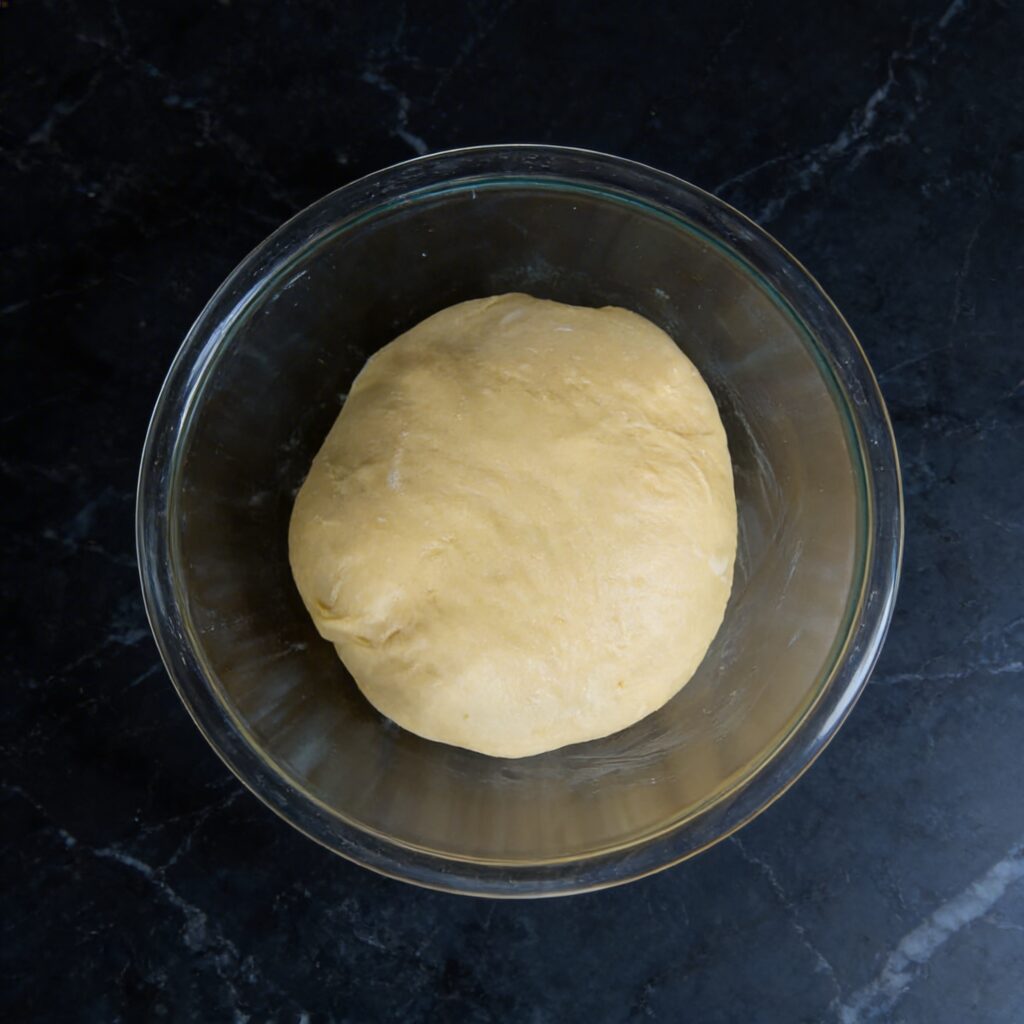
    The dough will look messy and may seem to fall apart, but keep mixing. After all the butter is added, continue kneading for another 10-15 minutes until the dough is smooth, elastic, and pulls away from the sides of the bowl. It should be silky and shiny.

    5. First Rise: Place the dough in a lightly oiled bowl, cover, and let rise at room temperature for 1-2 hours until doubled in size.

    6. Chill Overnight: Punch down the dough, cover tightly, and refrigerate for at least 4 hours, preferably overnight. This step develops flavor and makes the dough easier to shape.

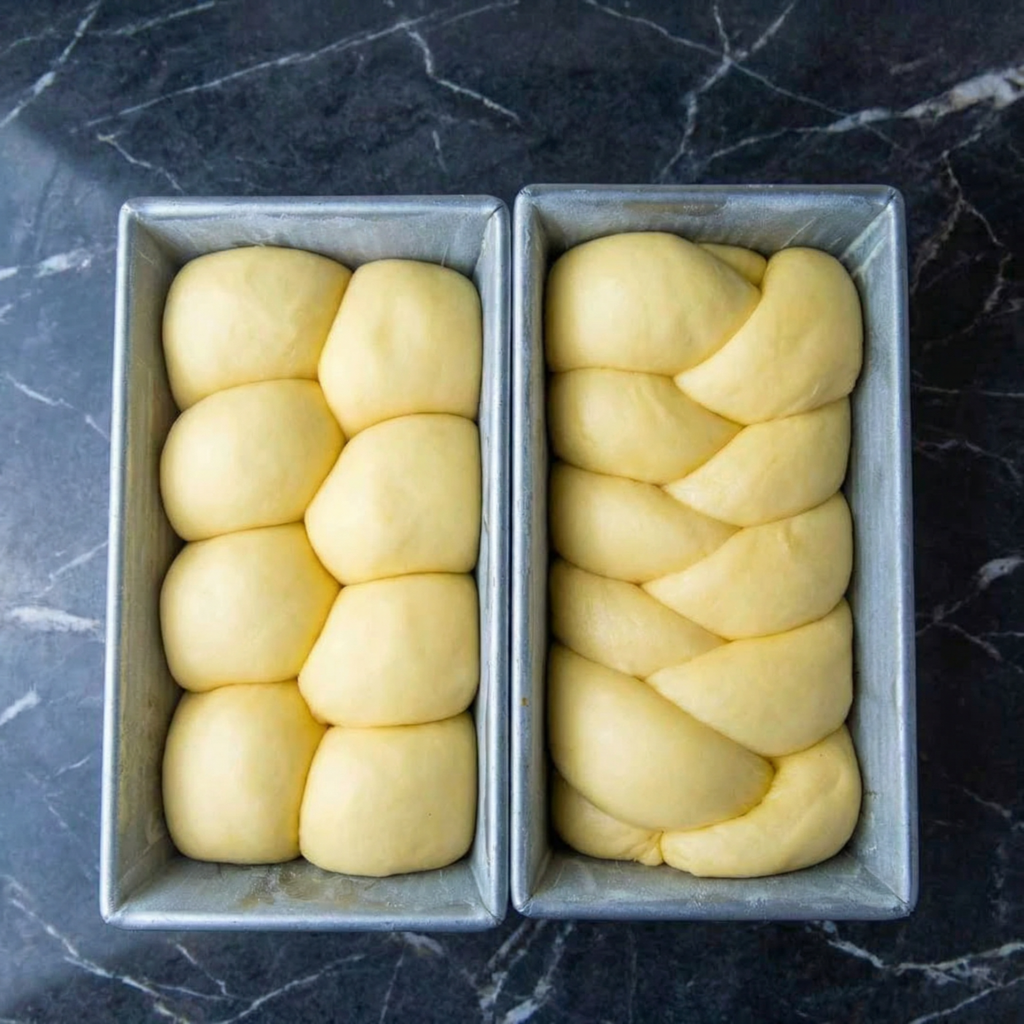
    7. Shape the Dough: Turn the chilled dough out onto a lightly floured surface. For a loaf, shape it into a rectangle and place in a greased 9×5-inch loaf pan. For buns, divide into 12 equal pieces, shape into balls, and place in a greased baking dish or on a baking sheet.

    8. Second Rise: Cover loosely and let rise at room temperature for 1-2 hours until puffy and almost doubled.

    9. Preheat and Egg Wash: Preheat your oven to 375°F (190°C). Brush the top of the brioche gently with egg wash.

    10. Bake: Bake for 25-35 minutes (depending on shape) until deep golden brown and the internal temperature reaches 190°F (88°C). If the top browns too quickly, tent with foil.

    11. Cool: Let cool in the pan for 10 minutes, then transfer to a wire rack to cool completely.

    12. Serve and Store: Serve warm or at room temperature. Store in an airtight container at room temperature for up to 3 days, or freeze for up to 3 months.

    Pro-Tips for Brioche Greatness

    • Use Cold Butter: Cold butter cubes incorporate better and prevent the dough from becoming greasy.
    • Be Patient with Butter Addition: Adding the butter gradually is crucial. Don’t rush this step.
    • Chill the Dough: The overnight rest in the fridge develops flavor and makes shaping much easier.
    • Don’t Rush the Rises: Brioche needs time to develop its signature texture. Let it rise fully.
    • Egg Wash Gently: A gentle hand with the egg wash prevents deflating the dough.
  • Rice Krispie Treats (The 3-Ingredient Magic You Never Outgrow)

    Rice Krispie Treats (The 3-Ingredient Magic You Never Outgrow)

    Some things never get old. Rice Krispie treats are one of them. They’re the taste of childhood birthdays, after-school snacks, and bake sales. They’re the treat you begged your mom to make, and now you can make them yourself—in about 10 minutes, with three ingredients, and zero stress.

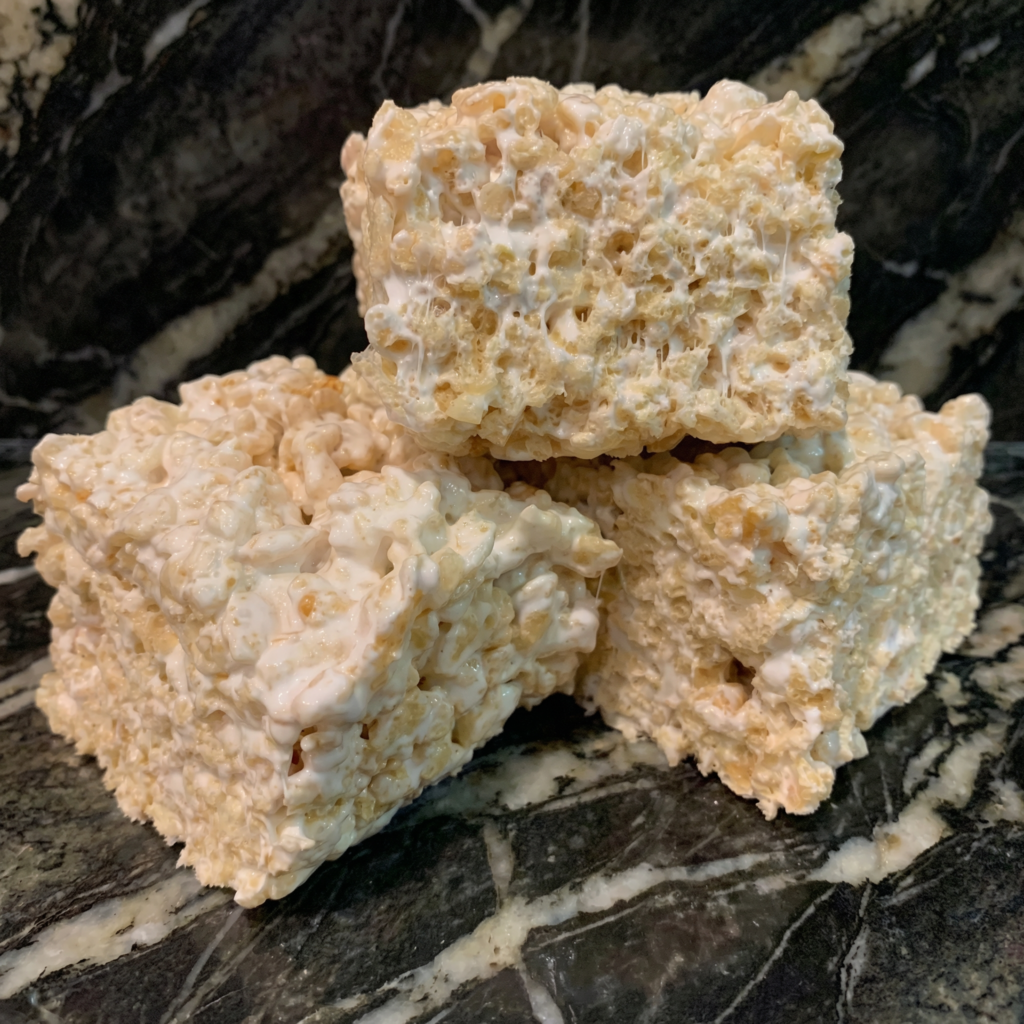
    Buttery, marshmallowy, perfectly crispy, and impossibly gooey, these treats are pure nostalgia in every bite. The secret? Don’t overcomplicate them. Quality butter, fresh marshmallows, and a gentle hand are all you need. Go ahead, eat the whole pan. We won’t tell.

    The Secret to Perfectly Gooey, Never-Hard Rice Krispie Treats

    The line between perfect Rice Krispie treats and sad, hard, brick-like blocks is a thin one. The secret is low heat and gentle handling. Melt your butter and marshmallows over low heat, stirring constantly. High heat will make the marshmallows seize up and turn tough.

    The other secret? Use fresh marshmallows. Stale marshmallows won’t melt smoothly and can lead to gritty treats. And here’s the pro tip: add a pinch of salt. It balances the sweetness and makes the butter flavor sing.

    Finally, press the mixture gently into the pan—don’t smash it down or your treats will be dense and hard. Light hands, low heat, perfect treats.

    Ingredients

    For the Rice Krispie Treats (Makes 12-16 squares):

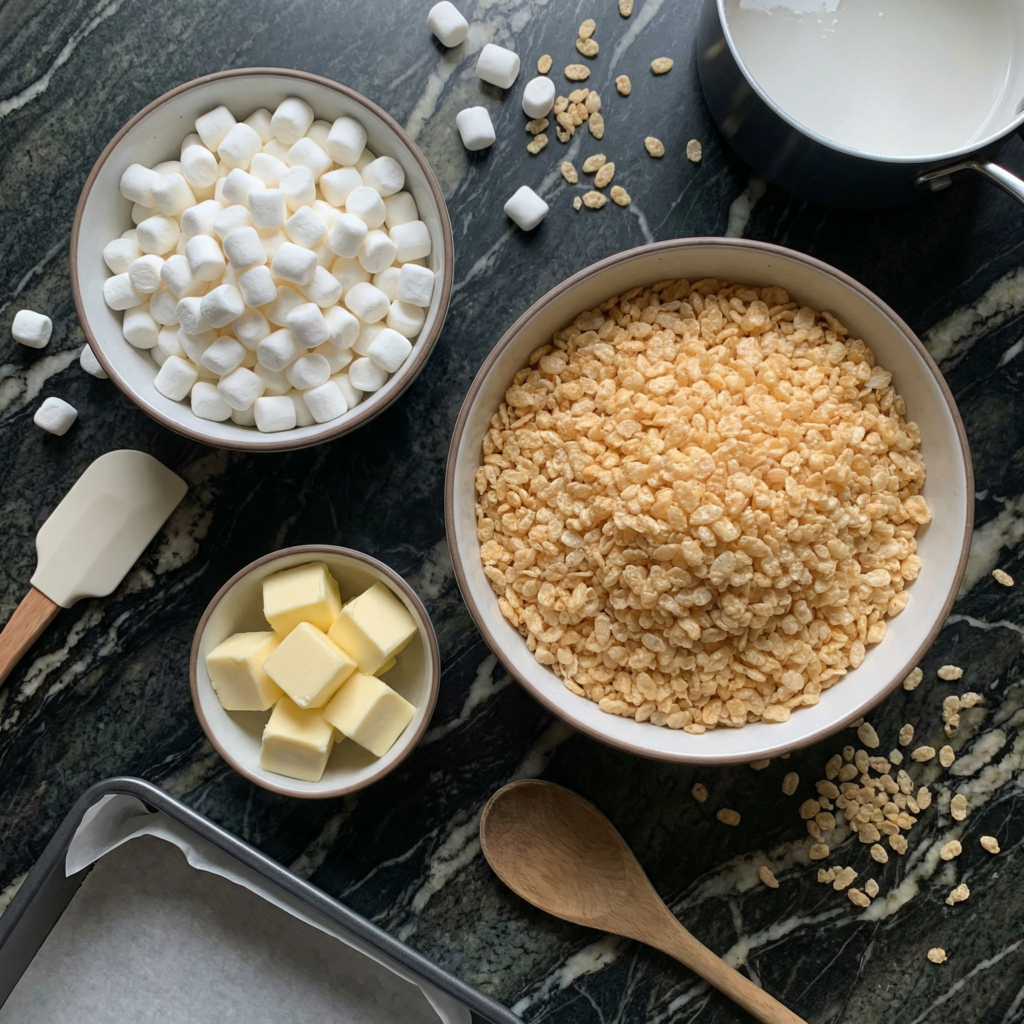
    • 6 cups (180g) Rice Krispies cereal (or any crispy rice cereal)
    • 3 tablespoons (42g) unsalted butter
    • 1 package (10 oz, about 40 large) marshmallows (or 4 cups mini marshmallows)
    • ¼ teaspoon salt (optional, but highly recommended)
    • ½ teaspoon vanilla extract (optional, but lovely)

    Optional Add-Ins:

    • Chocolate chips, drizzled on top
    • Sprinkles, for fun
    • Peanut butter (stir in ¼ cup with the marshmallows)

    Instructions

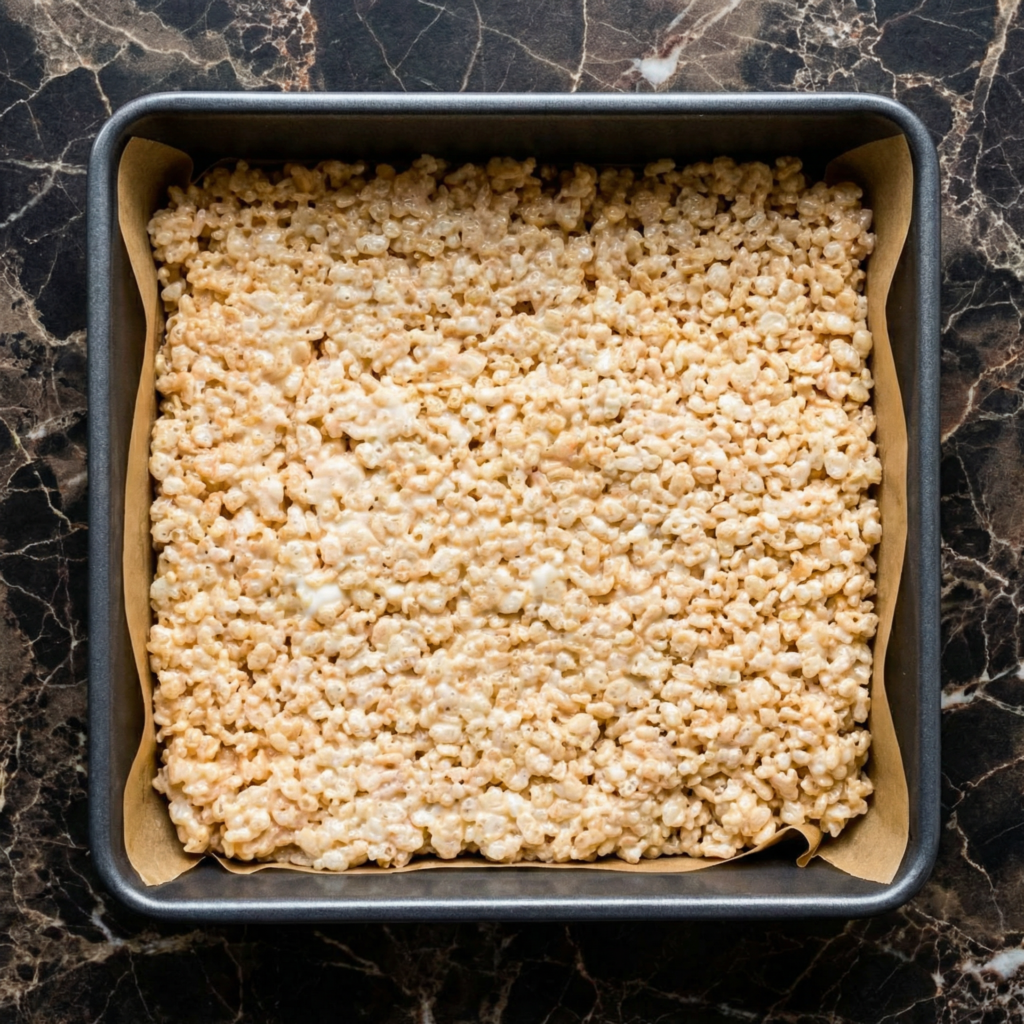
    1. Prep Your Pan: Generously butter a 9×13-inch baking pan or line it with parchment paper, leaving overhang on the long sides for easy removal. Set aside.

    2. Measure the Cereal: Measure 6 cups of Rice Krispies cereal into a large bowl. Having it ready ensures you can work quickly once the marshmallow mixture is ready.

    3. Melt the Butter: In a large pot or Dutch oven, melt the butter over low heat. Stir occasionally until completely melted.

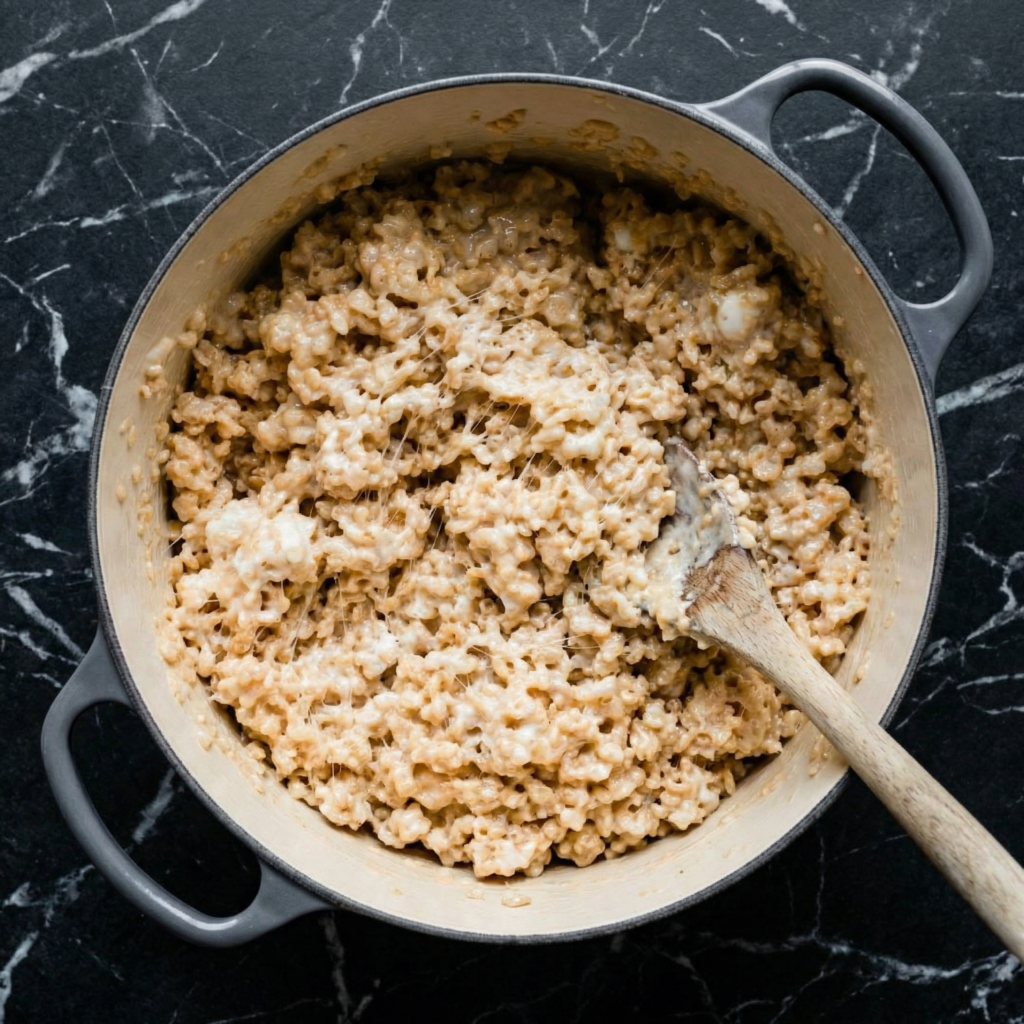
    4. Add Marshmallows: Add the marshmallows to the pot. Stir constantly with a spatula over low heat until the marshmallows are completely melted and smooth. Remove from heat immediately. Do not overheat—this is crucial for soft treats.

    5. Add Salt and Vanilla: Stir in the salt and vanilla extract (if using) until combined.

    6. Combine with Cereal: Pour the Rice Krispies cereal into the pot with the marshmallow mixture. Fold gently with a spatula until all the cereal is evenly coated. Work quickly but gently to avoid crushing the cereal.

    7. Transfer to Pan: Scrape the mixture into the prepared pan. Using a buttered spatula or buttered hands, gently press the mixture into an even layer. Don’t smash it down hard—just gently coax it into place.

    8. Add Toppings (Optional): If adding chocolate chips or sprinkles, sprinkle them on top now and press in gently.

    9. Cool: Let the treats cool completely at room temperature, about 30-60 minutes. Do not refrigerate—they’ll get hard.

    10. Slice and Serve: Use the parchment overhang to lift the treats out of the pan. Place on a cutting board and slice into squares with a sharp knife. A buttered knife helps prevent sticking.

    11. Store: Store in an airtight container at room temperature for up to 3 days. If they last that long.

    Pro-Tips for Rice Krispie Treat Greatness

    • Low Heat is Non-Negotiable: High heat makes marshmallows tough and grainy. Keep it low, keep it gentle.
    • Use Fresh Marshmallows: Stale marshmallows won’t melt smoothly. For extra gooey treats, use mini marshmallows—they melt faster and more evenly.
    • Don’t Overwork the Cereal: Fold just until combined. Crushed cereal leads to dense, sad treats.
    • Press Gently: Light hands create light, airy treats. Smashing them down makes them hard.
    • Customize Endlessly: Add peanut butter, Nutella, chocolate chips, sprinkles, or even Fruity Pebbles for a colorful twist.
  • Zucchini Biscuits (The Savory, Flaky, Garden-Fresh Dream)

    Zucchini Biscuits (The Savory, Flaky, Garden-Fresh Dream)

    If you’ve ever found yourself with an abundance of zucchini and a desperate need to do something other than make bread, these zucchini biscuits are your answer.

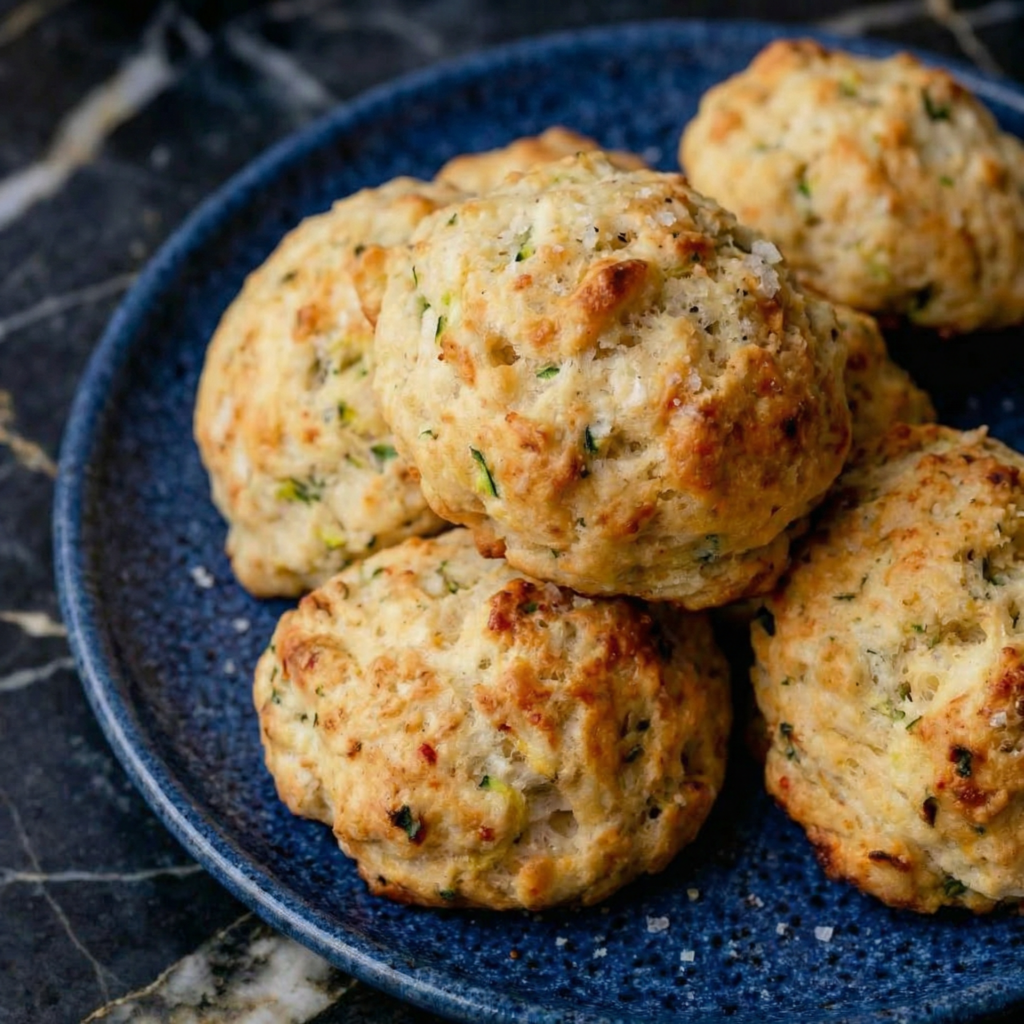
    They’re everything a great biscuit should be: flaky, buttery, tall, and tender. But they’re also packed with tender shreds of zucchini and fresh herbs, adding a savory, garden-fresh twist that makes them completely irresistible.

    Serve them alongside a bowl of soup, piled high with eggs for breakfast, or simply slathered with butter all on their own. They’re the kind of biscuit that disappears before you’ve even finished the meal. Zucchini has never been this exciting.

    The Secret to Flaky, Never-Soggy Zucchini Biscuits

    The challenge with adding zucchini to biscuits is moisture. Zucchini is mostly water, and too much moisture will turn your flaky biscuits into sad, soggy pucks.

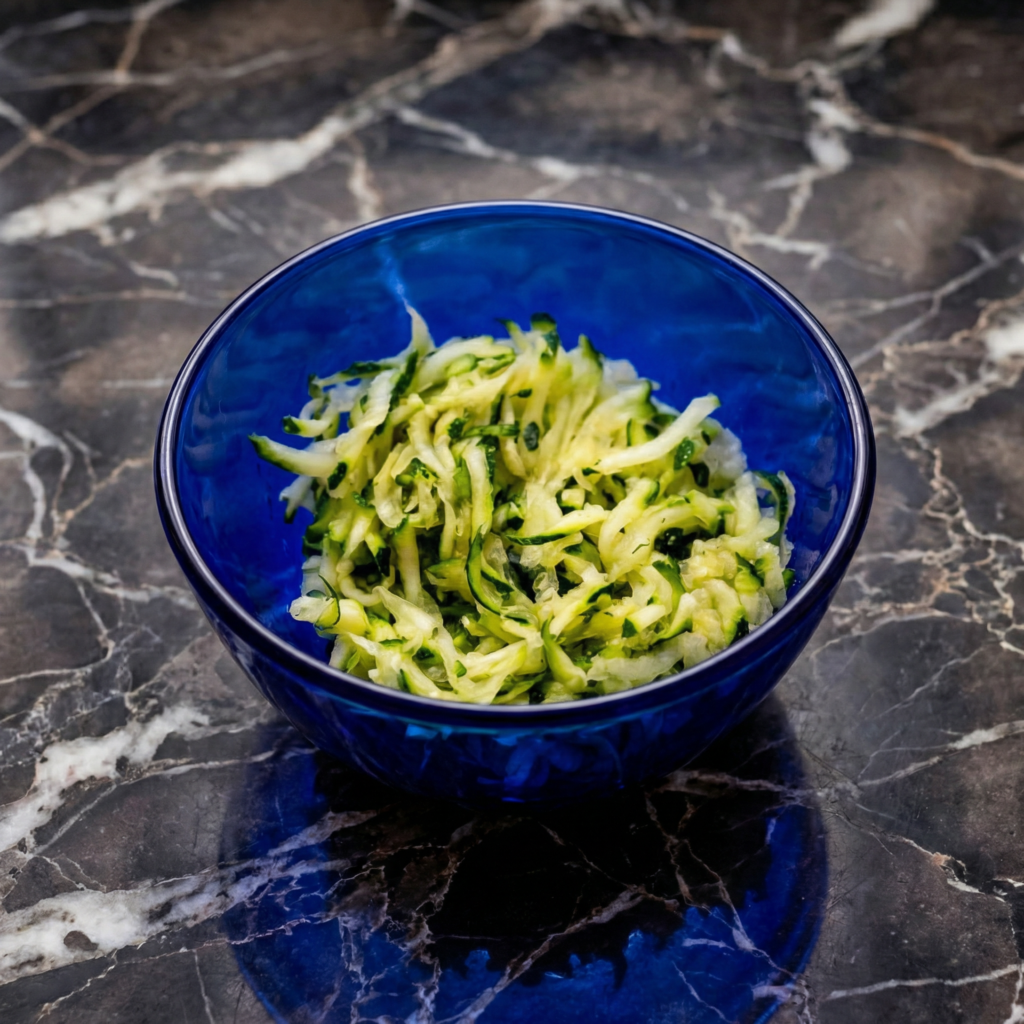
    The secret is salting and draining the zucchini. After shredding, toss the zucchini with a little salt and let it sit for 10-15 minutes. Then, squeeze it firmly in a clean kitchen towel or paper towels to remove as much liquid as possible. This simple step concentrates the flavor and ensures your biscuits stay light and flaky.

    The other secret? Very cold butter and minimal handling. Cold butter creates steam as it bakes, creating those glorious flaky layers. Handle the dough gently, and you’ll be rewarded with the best zucchini biscuits of your life.

    Ingredients

    For the Zucchini Biscuits (Makes 8-10 biscuits):

    • 2 cups (250g) all-purpose flour
    • 1 tablespoon baking powder
    • 1 teaspoon sugar
    • ½ teaspoon salt
    • ½ teaspoon black pepper
    • ½ teaspoon garlic powder (optional)
    • ½ cup (113g) unsalted butter, very cold, cut into small cubes
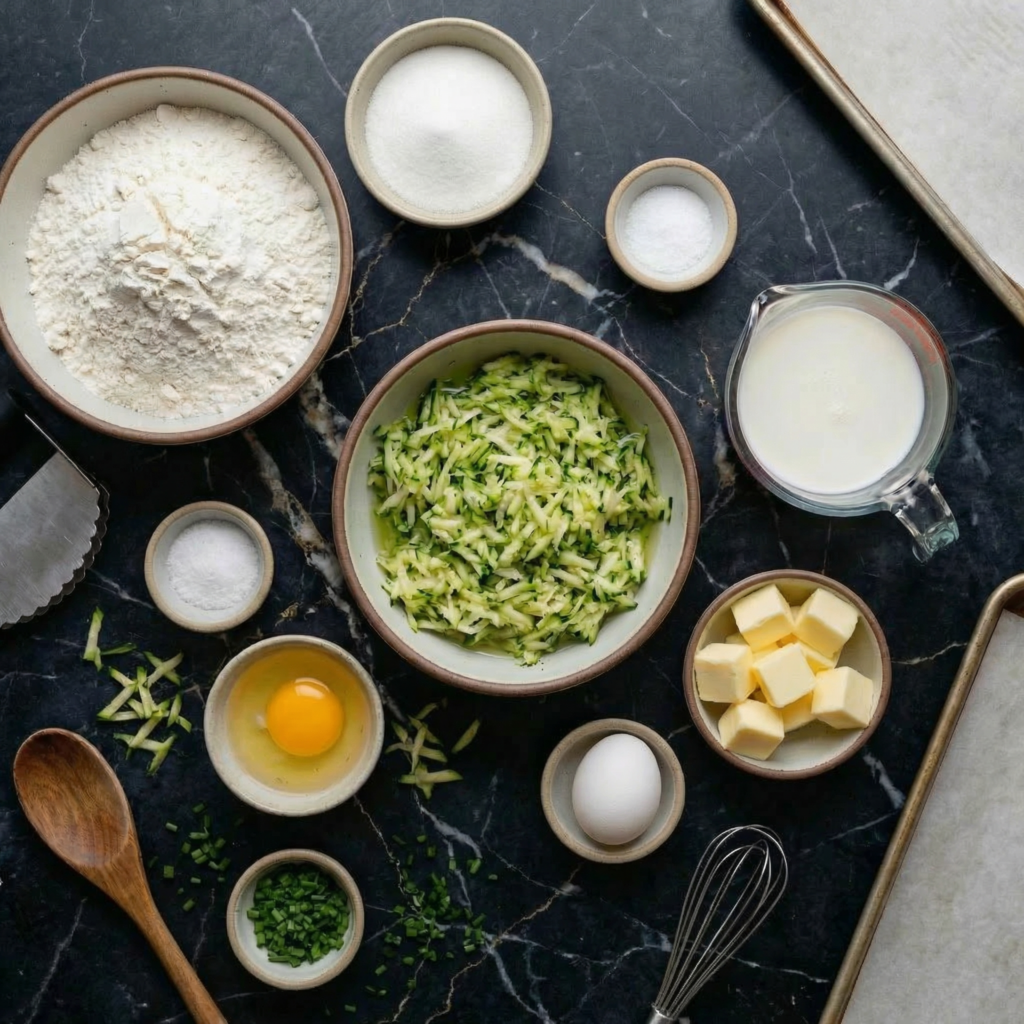
    • 1 cup (150g) shredded zucchini (about 1 medium zucchini)
    • ¼ cup (15g) fresh herbs (chives, parsley, dill, or a mix), finely chopped
    • ½ cup (120ml) buttermilk, cold (plus more for brushing)
    • Flaky sea salt, for topping

    Instructions

    1. Preheat and Prep: Preheat your oven to 425°F (220°C). Line a baking sheet with parchment paper .

    2. Shred and Drain the Zucchini: Shred the zucchini using a box grater. Place the shreds in a colander or bowl, toss with a pinch of salt, and let sit for 10-15 minutes. Then, transfer to a clean kitchen towel or several layers of paper towels and squeeze firmly to remove as much liquid as possible. You should have about ½ cup of squeezed zucchini .

    3. Combine Dry Ingredients: In a large bowl, whisk together the flour, baking powder, sugar, salt, pepper, and garlic powder (if using) .

    4. Cut in the Butter: Add the cold butter cubes to the flour mixture. Using a pastry blender, fork, or your fingertips, cut the butter into the flour until the mixture resembles coarse meal with pea-sized butter pieces. Work quickly to keep the butter cold .

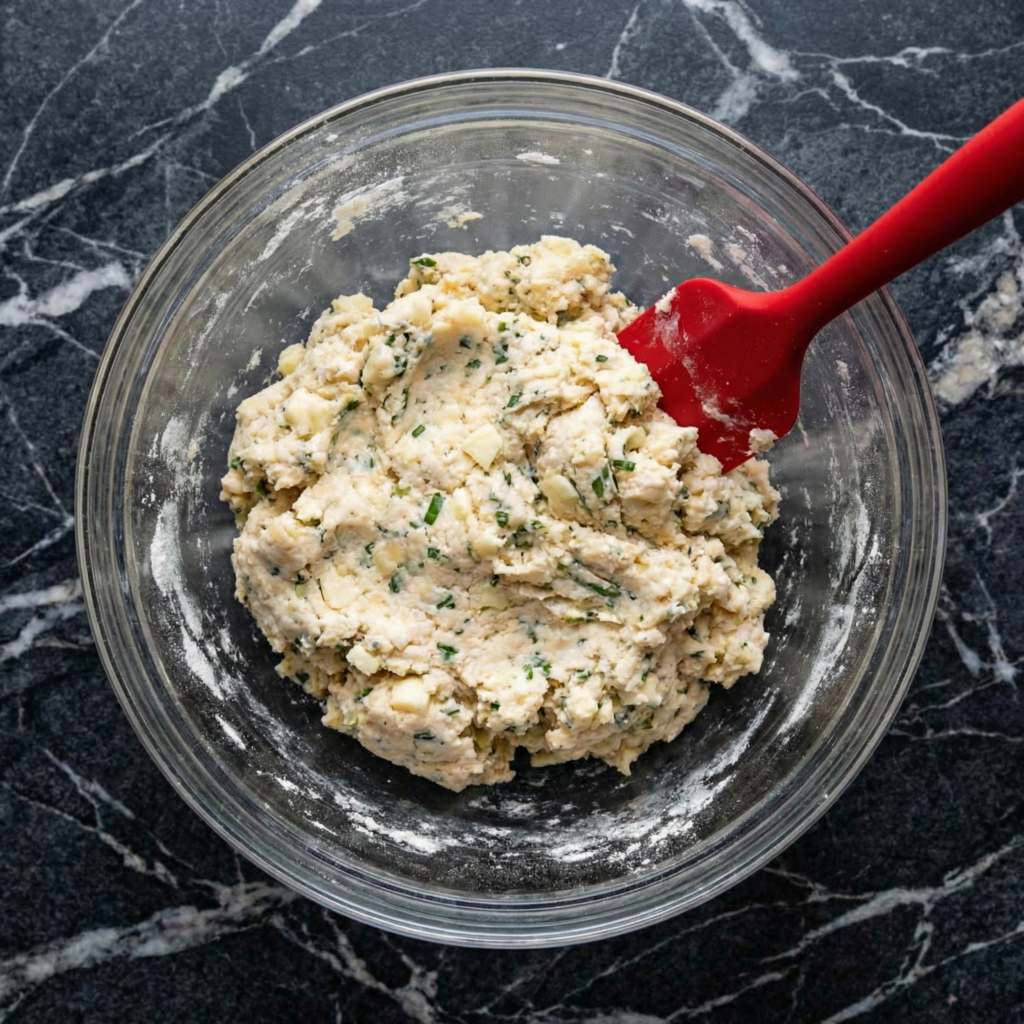
    5. Add Zucchini and Herbs: Add the squeezed zucchini and fresh herbs to the bowl. Toss gently to distribute .

    6. Add Buttermilk: Pour the cold buttermilk over the mixture. Stir with a fork just until a shaggy dough forms. Do not overmix. The dough will be sticky and messy—that’s perfect .

    7. Shape the Biscuits: Turn the dough out onto a lightly floured surface. Gently bring it together with your hands, then pat it into a rectangle about 1-inch thick. Fold it over itself once or twice for extra layers, then pat it back to 1-inch thickness.

    Use a biscuit cutter or sharp knife to cut into rounds or squares. Press straight down without twisting—twisting seals the edges and prevents rising .

    8. Arrange on Baking Sheet: Place the biscuits on the prepared baking sheet, spacing them about 2 inches apart. For softer sides, place them closer together; for crispier edges, space them apart .

    9. Brush and Top: Brush the tops with a little buttermilk and sprinkle with flaky sea salt .

    10. Bake: Bake for 15-18 minutes until the biscuits are golden brown and have risen beautifully .

    11. Cool Slightly: Let the biscuits cool on the baking sheet for 5-10 minutes before serving .

    12. Serve and Store: Serve warm with butter. Store leftovers in an airtight container at room temperature for up to 2 days, or freeze for up to 3 months .

    Pro-Tips for Zucchini Biscuit Greatness

    • Squeeze the Zucchini Thoroughly: This step is non-negotiable. Removing as much moisture as possible ensures flaky, not soggy, biscuits .
    • Keep Everything Cold: Cold butter and cold buttermilk create steam and flaky layers. If your kitchen is warm, pop the shaped biscuits in the fridge for 10 minutes before baking .
    • Don’t Overwork the Dough: Mix just until combined. Overworking develops gluten and makes biscuits tough .
    • Use Fresh Herbs: Fresh herbs add brightness and flavor. Dried herbs won’t give you the same result .
    • Serve Warm: Biscuits are at their absolute best fresh from the oven. Serve them warm with plenty of butter .