Tag: lemon dessert

  • Lemon Pound Cake

    Lemon Pound Cake

    There’s something special about a classic pound cake. It’s dense without being heavy, buttery without being greasy, and satisfying in a way that lighter cakes just can’t match. Add bright, fresh lemon to that equation, and you have something truly extraordinary.

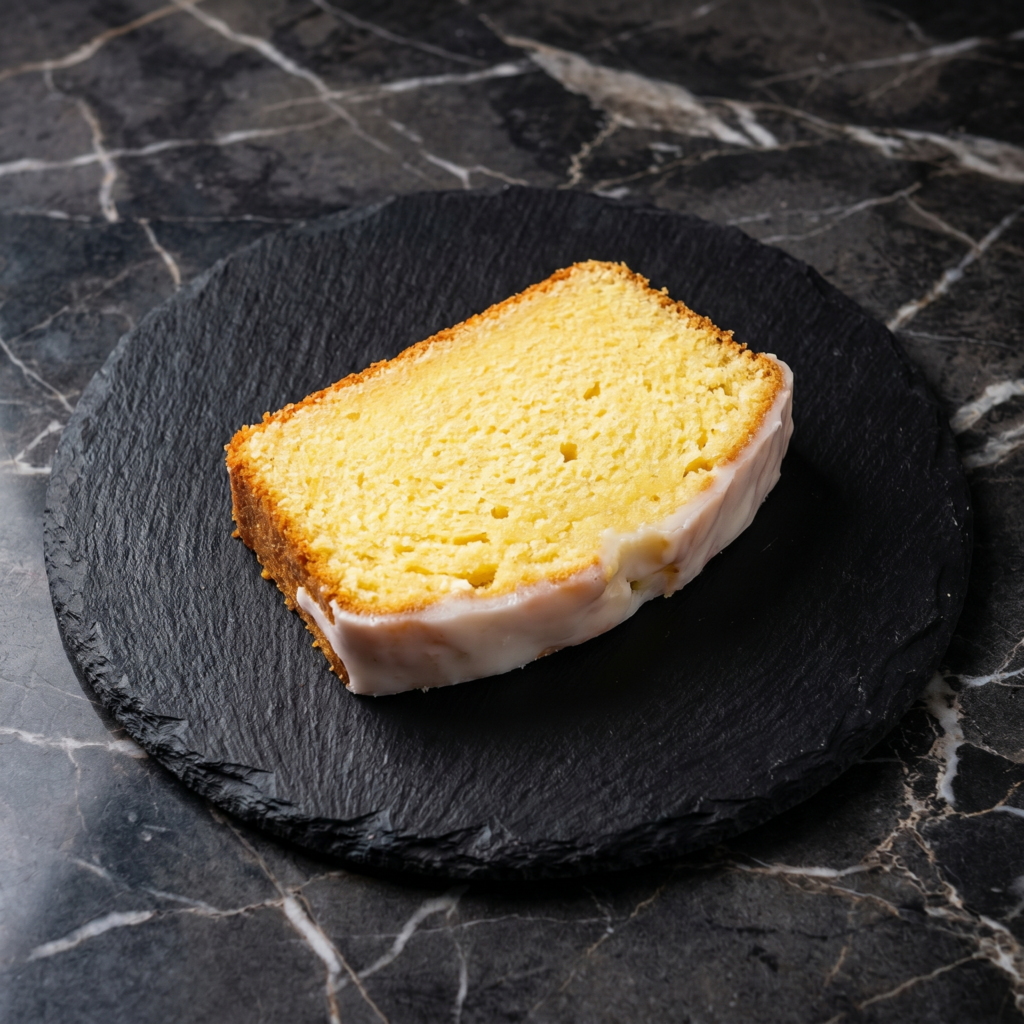
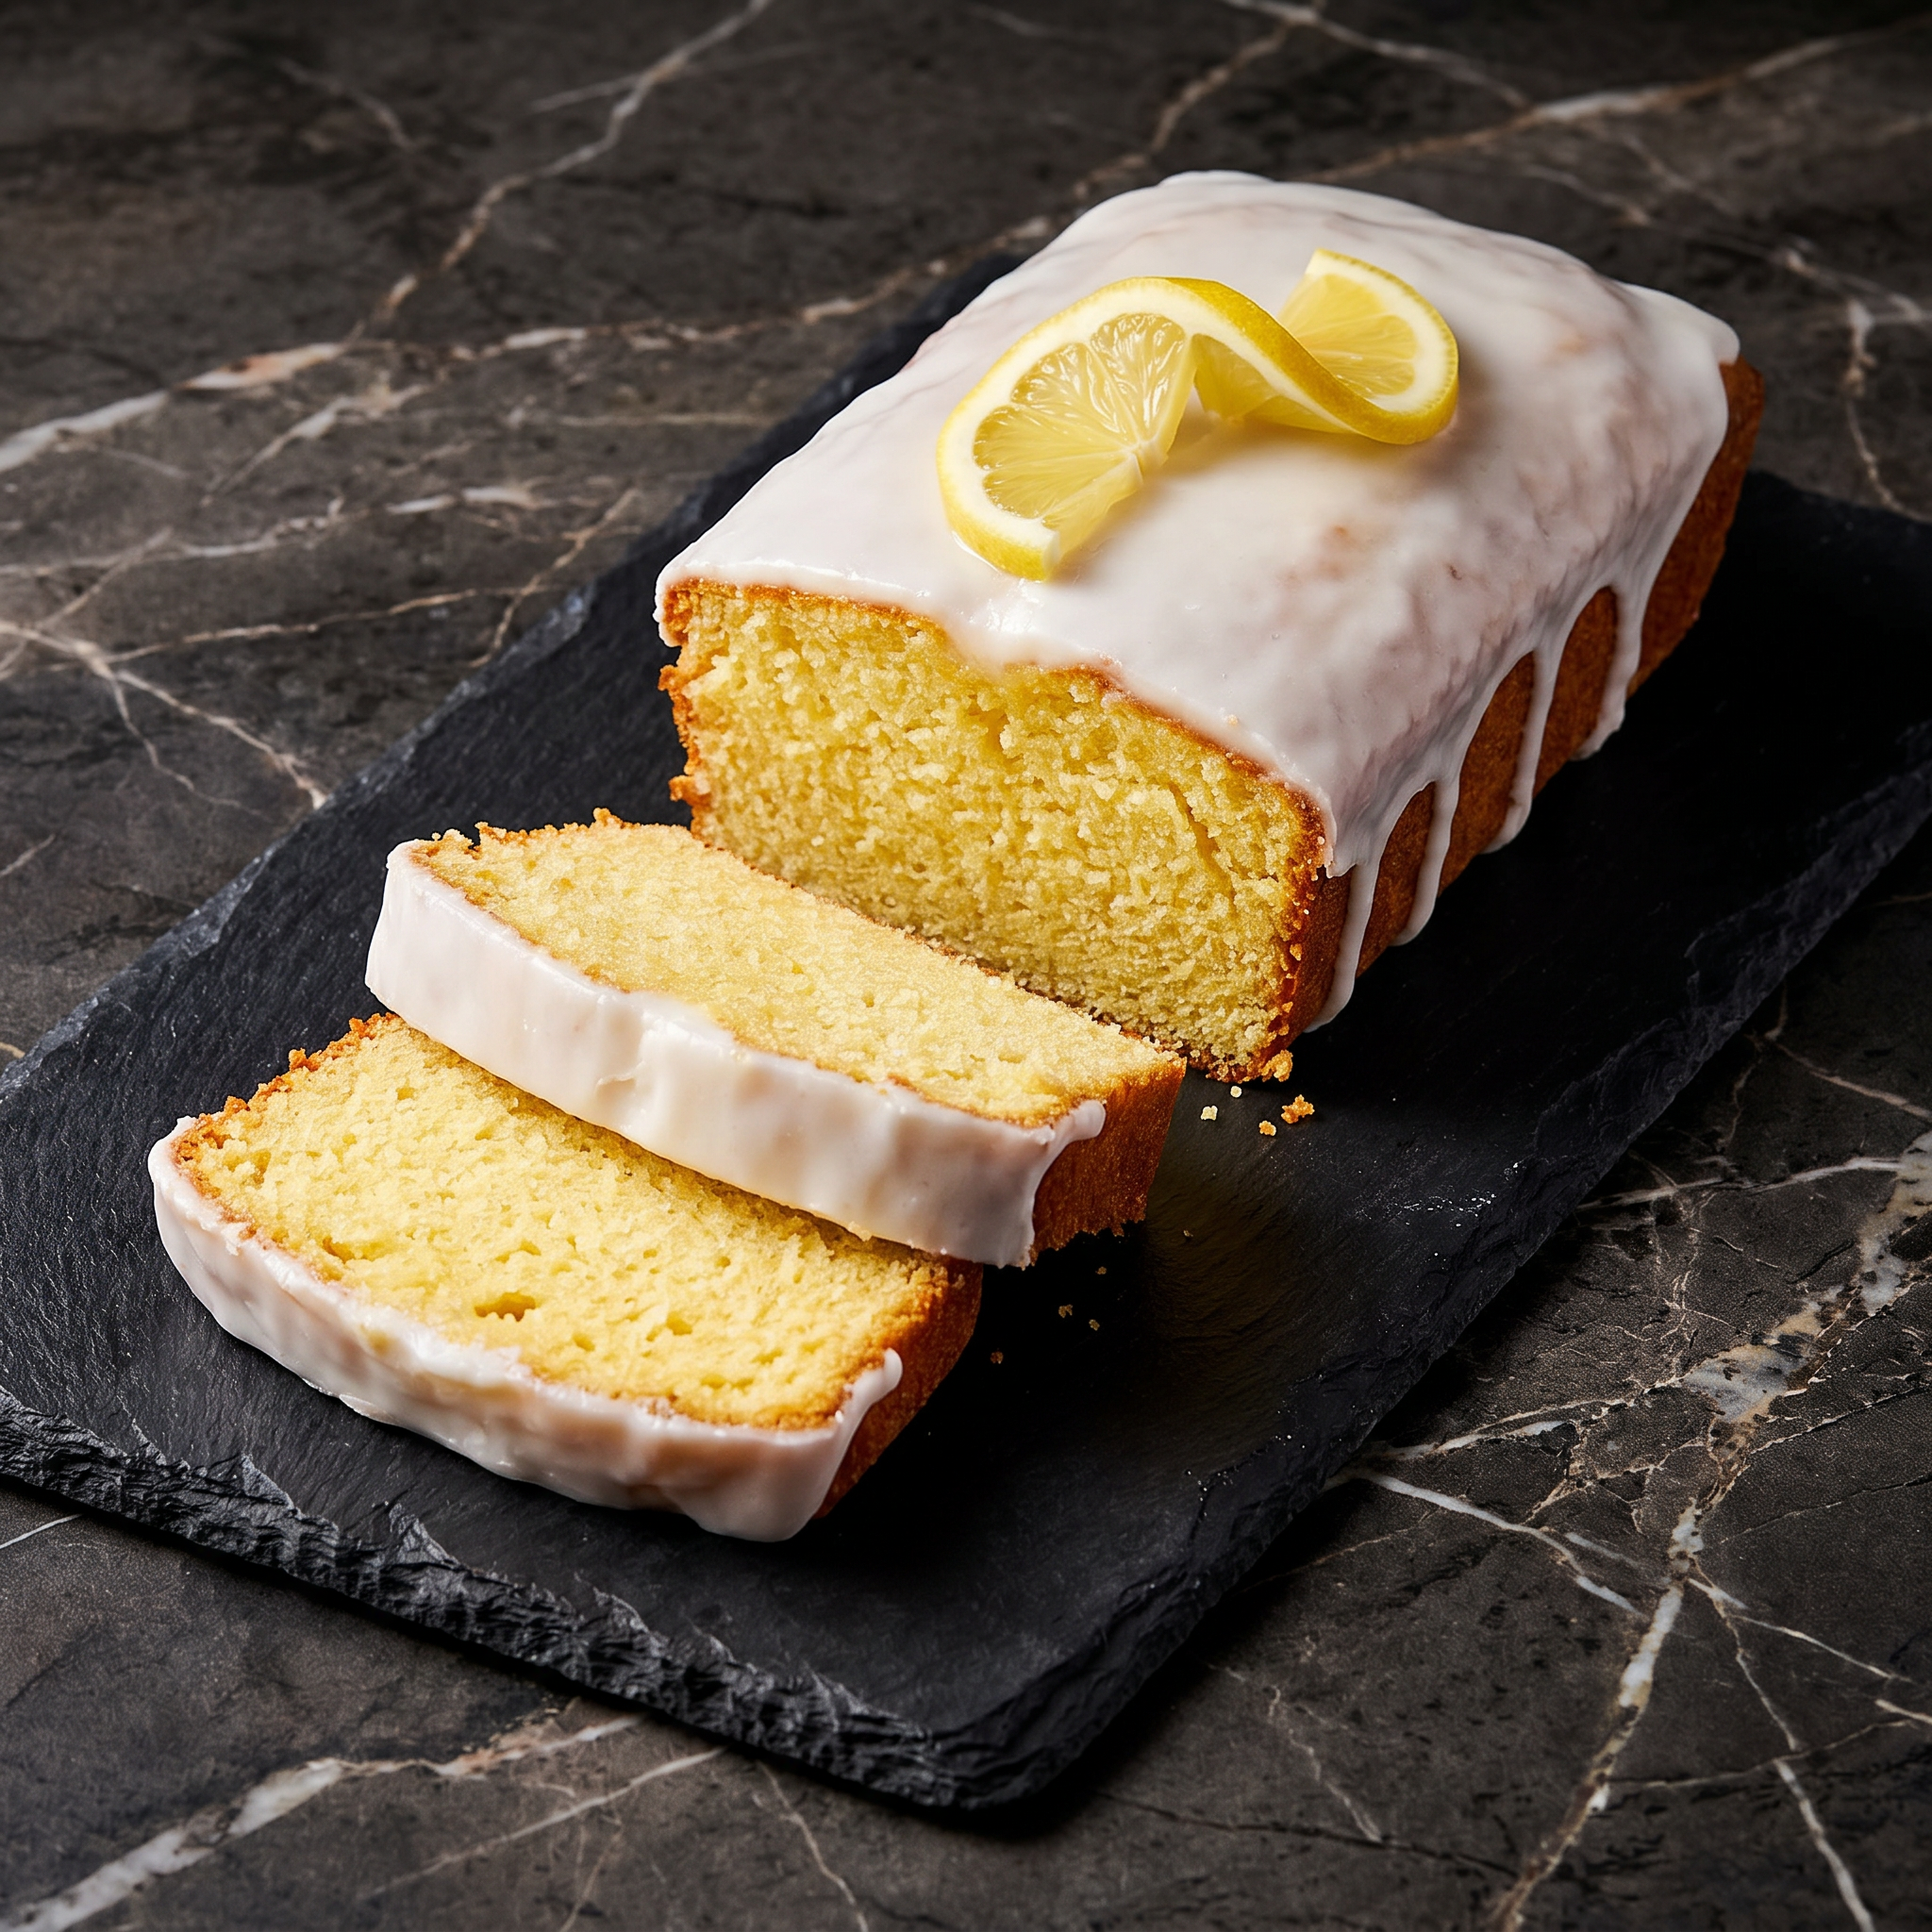
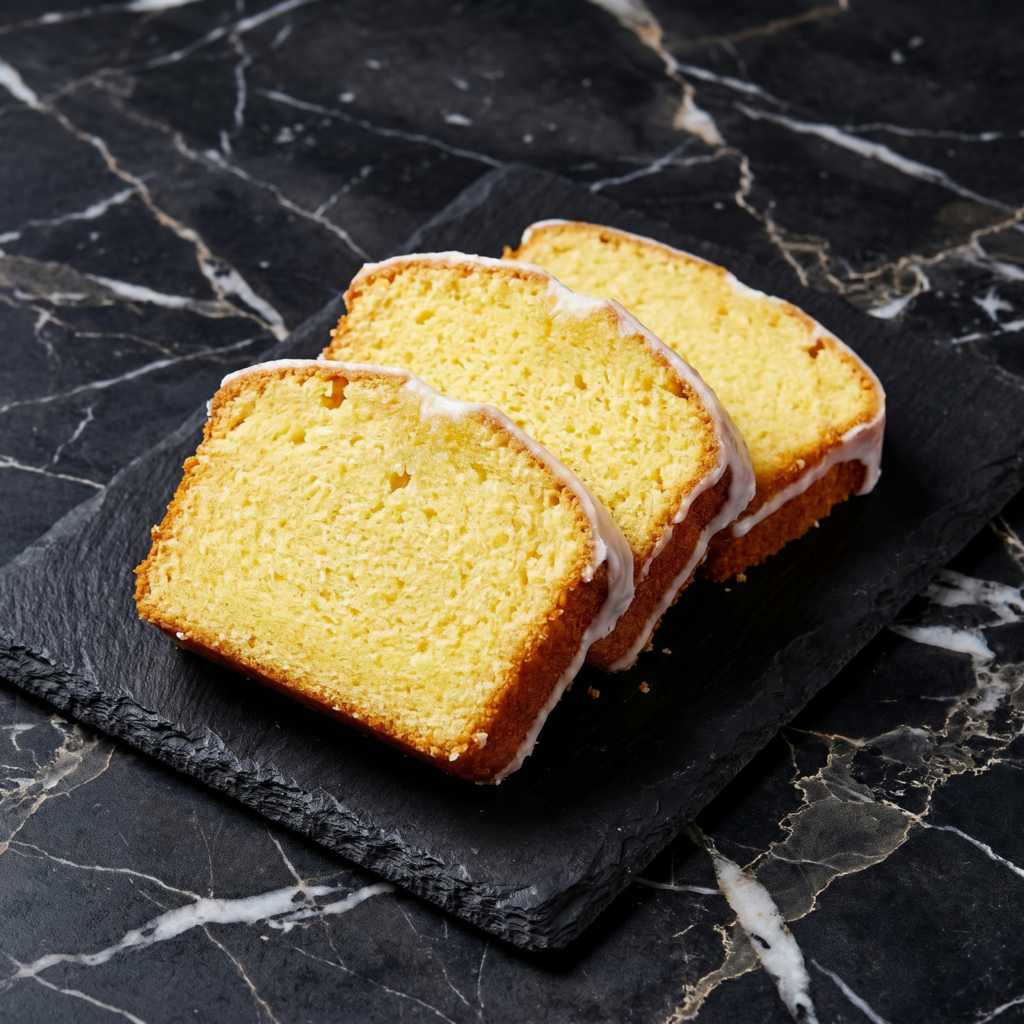
    This lemon pound cake is everything you want it to be. The crumb is tight and tender, rich with butter and tangy with fresh lemon juice and zest. But the real magic happens when you pour the simple lemon glaze over the warm cake—it soaks into the top, creating a slightly crisp, incredibly flavorful crust that will have you coming back for slice after slice.

    Whether you serve it with afternoon tea, bring it to a brunch, or just keep it on the counter for snacking, this cake disappears fast.

    Ingredients

    Makes one 9×5 inch loaf cake (8-10 servings).

    For the Lemon Pound Cake:

    • 1 ½ cups (190g) all-purpose flour
    • ½ teaspoon baking powder
    • ¼ teaspoon baking soda
    • ½ teaspoon salt
    • 1 cup (225g) unsalted butter, softened
    • 1 cup (200g) granulated sugar
    • 3 large eggs, at room temperature
    • 2 tablespoons fresh lemon zest (about 2-3 lemons)
    • 2 tablespoons fresh lemon juice
    • 1 teaspoon vanilla extract
    • ½ cup (120g) sour cream or plain Greek yogurt, at room temperature

    For the Lemon Glaze:

    • 1 ½ cups (180g) powdered sugar, sifted
    • 2-3 tablespoons fresh lemon juice
    • 1 tablespoon milk or cream (if needed for consistency)
    • 1 teaspoon lemon zest (optional, for extra flavor)

    Step-by-Step Instructions

    1. Preheat and Prepare:

    1. Preheat your oven to 325°F (160°C). Grease a 9×5 inch loaf pan thoroughly, then dust with flour, tapping out the excess. Alternatively, line with parchment paper, leaving overhang on the long sides for easy removal.

    2. Combine Dry Ingredients:

    1. In a medium bowl, whisk together the flour, baking powder, baking soda, and salt. Set aside.

    3. Cream Butter and Sugar:

    1. In a large bowl, beat the softened butter with an electric mixer on medium speed until creamy, about 1 minute.
    2. Gradually add the sugar and continue beating until light and fluffy, about 3-5 minutes. Scrape down the sides and bottom of the bowl as needed. This step is crucial for a tender pound cake.

    4. Add Eggs and Flavorings:

    1. Add the eggs one at a time, beating well after each addition and scraping down the bowl as needed. The mixture should be smooth and glossy.
    2. Beat in the lemon zest, lemon juice, and vanilla extract until combined.

    5. Alternate Dry and Wet:

    1. With the mixer on low speed, add half of the flour mixture, mixing until just combined.
    2. Add all of the sour cream, mixing until just combined.
    3. Add the remaining flour mixture and mix until just combined and no streaks of flour remain. Do not overmix. Scrape the bottom of the bowl with a spatula to ensure everything is incorporated.

    6. Bake:

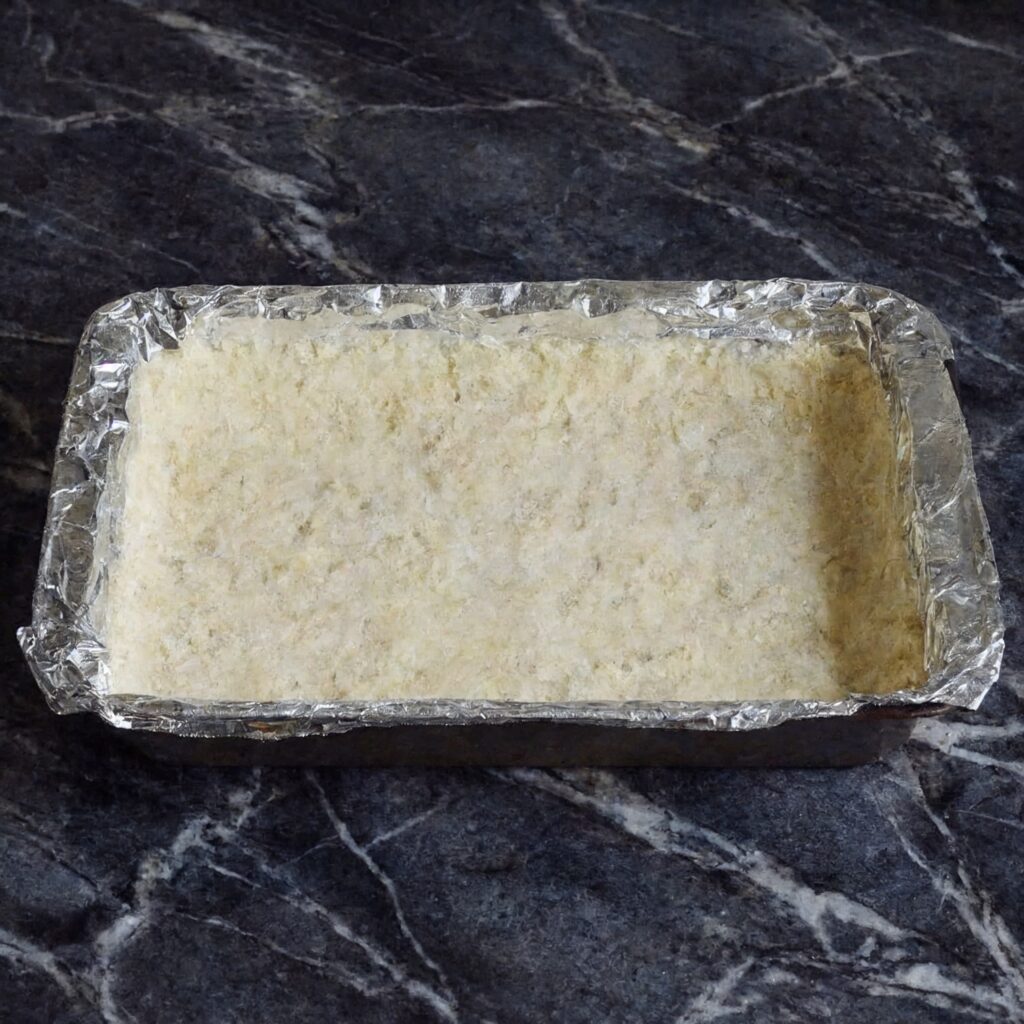
    1. Pour the batter into the prepared loaf pan and spread it evenly. Tap the pan gently on the counter a few times to release any air bubbles.
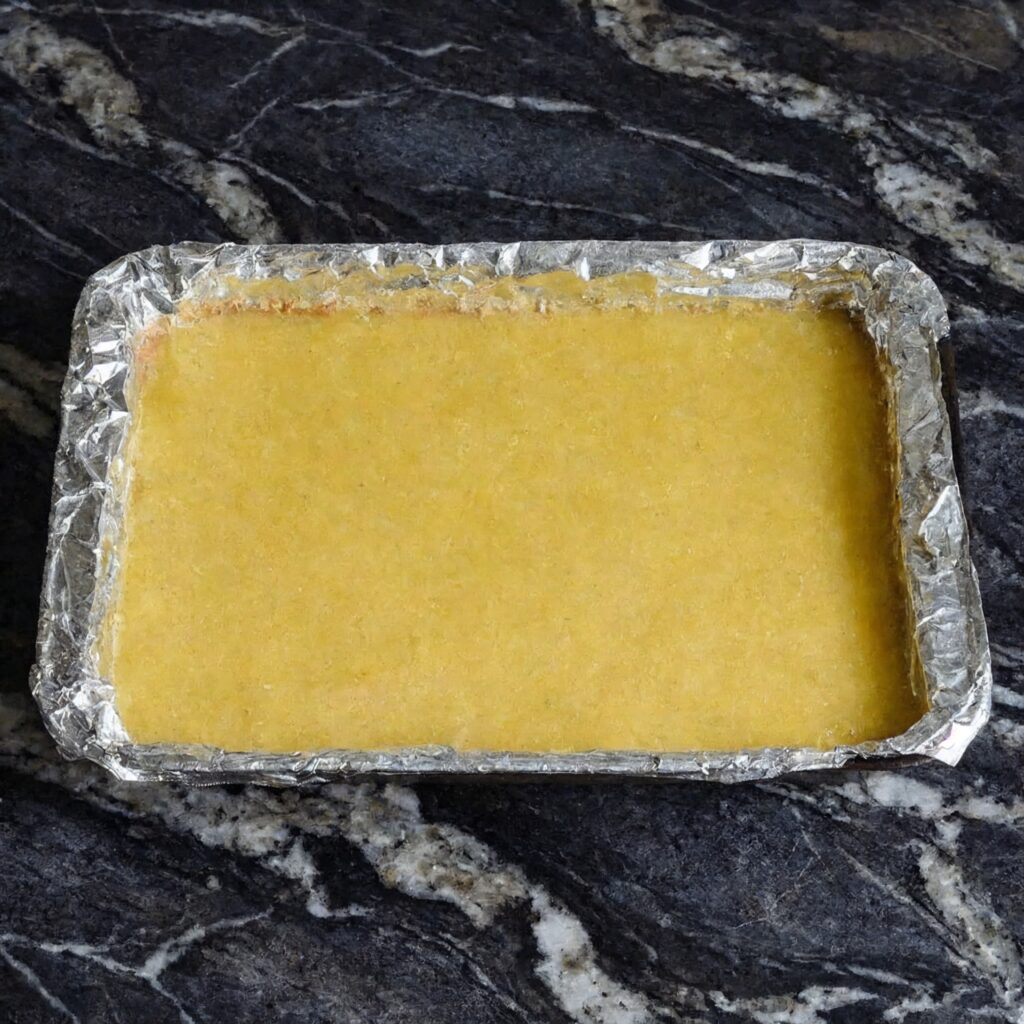
    2. Bake for 60-70 minutes, until a toothpick inserted into the center comes out clean or with a few moist crumbs.
    3. If the top is browning too quickly, tent loosely with foil for the last 15-20 minutes of baking.
    4. Let the cake cool in the pan for 15 minutes, then carefully turn it out onto a wire rack placed over a baking sheet (to catch glaze drips).

    7. Make the Glaze:

    1. While the cake cools slightly, make the glaze. In a small bowl, whisk together the sifted powdered sugar and 2 tablespoons of lemon juice until smooth. Add more lemon juice, a teaspoon at a time, until you reach a thick but pourable consistency. The glaze should be thick enough to coat the back of a spoon but still drizzle easily.
    2. If the glaze becomes too thin, add more powdered sugar. Stir in the lemon zest if using.

    8. Glaze the Cake:

    1. While the cake is still warm (but not hot), pour the glaze slowly over the top, allowing it to drip down the sides. Use a spatula to spread it evenly if needed.
    2. Let the cake cool completely on the wire rack. The glaze will set into a beautiful, slightly crisp shell.

    9. Serve:

    1. Slice and serve at room temperature. The flavor is even better the next day!

    Summary

    Prep Time: 20 minutes | Bake Time: 60-70 minutes | Cooling Time: 30 minutes | Total Time: 2 hours

    Yield: One 9×5 inch loaf (8-10 servings)

    Difficulty: Easy to Intermediate

    Storage and Make-Ahead Tips

    How to Store:

    Store lemon pound cake tightly wrapped in plastic wrap or in an airtight container at room temperature for up to 4 days. The glaze will stay beautifully set. The flavor actually improves after a day!

    Can You Freeze Pound Cake?

    Absolutely! Pound cake freezes beautifully. For best results, freeze the unglazed cake. Wrap the cooled cake tightly in plastic wrap, then in foil, and place in a freezer bag. Freeze for up to 3 months. Thaw at room temperature, then prepare and add the glaze.

    Freezing Glazed Cake:

    You can freeze the glazed cake, but the glaze may lose some of its crispness. Freeze as directed above, and refresh in a 300°F oven for 5-10 minutes if desired.

    Make-Ahead for Parties:

    This cake is perfect for making ahead. Bake it a day before, store at room temperature, and glaze the day you plan to serve. The glaze is best when fresh.

    Freezing Lemon Zest:

    If you have extra lemons, zest them and freeze the zest in a small bag. It thaws instantly and is perfect for future baking.

  • Perfect Lemon Bars (Tangy, Creamy & Irresistible)

    Perfect Lemon Bars (Tangy, Creamy & Irresistible)

    There are desserts that satisfy a chocolate craving, and then there are desserts that make you feel like you’re sitting in a sunbeam. Lemon bars fall firmly into the second category—bright, tangy, and impossibly cheerful, they’re the perfect pick-me-up any time of year.

    These classic lemon bars start with a buttery shortbread crust that’s sturdy enough to hold the filling but tender enough to melt in your mouth. On top sits a silky, creamy lemon layer that strikes the perfect balance between sweet and tangy.

    A final dusting of powdered sugar just before serving makes them as beautiful as they are delicious. Whether you’re making them for a spring brunch, a summer picnic, or just because you need a little sunshine, these lemon bars never disappoint.

    Ingredients

    Yields 16 bars (9×13 inch pan) or 12 bars (8×8 inch pan).

    For the Shortbread Crust:

    • 2 cups (250g) all-purpose flour
    • ½ cup (100g) granulated sugar
    • ¼ teaspoon salt
    • 1 cup (225g) unsalted butter, cold and cut into small cubes
    • 1 teaspoon vanilla extract (optional)

    For the Lemon Filling:

    • 4 large eggs, at room temperature
    • 1 ½ cups (300g) granulated sugar
    • 3 tablespoons all-purpose flour
    • ½ teaspoon salt
    • ¾ cup (180ml) fresh lemon juice (about 4-6 lemons)
    • 2 tablespoons lemon zest (about 2-3 lemons)
    • ¼ cup (60ml) milk or heavy cream

    For Finishing:

    • Powdered sugar, for dusting

    Step-by-Step Instructions

    1. Preheat and Prepare:

    1. Preheat your oven to 350°F (175°C). Line a 9×13 inch baking pan (or 8×8 inch for thicker bars) with parchment paper, leaving overhang on all sides for easy removal. Lightly grease the parchment.

    2. Make the Shortbread Crust:

    1. In a medium bowl, whisk together the flour, sugar, and salt.
    2. Add the cold butter cubes and vanilla extract (if using). Cut the butter into the flour using a pastry blender, two forks, or your fingertips until the mixture resembles coarse meal with some pea-sized butter pieces remaining.
    3. Press the mixture firmly and evenly into the bottom of the prepared pan. Use the bottom of a measuring cup or glass to press it down firmly—this ensures the crust holds together after baking.
    4. Bake for 18-20 minutes, until the edges are lightly golden. Remove from oven and set aside. Leave the oven on.

    3. Make the Lemon Filling:

    1. While the crust bakes, prepare the filling. In a large bowl, whisk the eggs until lightly beaten.
    2. Add the sugar, flour, and salt, and whisk until smooth and well combined.
    3. Add the lemon juice, lemon zest, and milk (or cream). Whisk until everything is fully incorporated. The mixture will be thin—that’s normal.

    4. Assemble and Bake:

    1. Pour the lemon filling over the warm crust (it’s important that the crust is still warm).
    2. Carefully return the pan to the oven and bake for 20-25 minutes (for 9×13 pan) or 25-30 minutes (for 8×8 pan), until the filling is set around the edges but still slightly jiggly in the very center. It should no longer be liquid.
    3. Remove from the oven and let cool completely at room temperature.
    4. Once cool, refrigerate for at least 2 hours, preferably 3-4 hours, until thoroughly chilled and firm. This makes for clean slicing.

    5. Slice and Serve:

    1. Use the parchment overhang to lift the entire block of lemon bars onto a cutting board.
    2. Dust generously with powdered sugar just before serving (if you dust too early, the sugar will absorb into the bars).
    3. Slice into squares with a sharp knife, wiping the blade clean between cuts for neat edges.
    4. Serve chilled or at room temperature. Store leftovers in the refrigerator.

    Summary

    Prep Time: 20 minutes | Bake Time: 40-45 minutes (total) | Chill Time: 2-3 hours | Total Time: About 3.5 hours (mostly hands-off)

    Yield: 16 bars (9×13 pan) or 12 bars (8×8 pan)

    Difficulty: Easy

    Storage and Make-Ahead Tips

    How to Store:

    Store lemon bars in an airtight container in the refrigerator for up to 5 days. Place parchment paper between layers to prevent sticking. They’re delicious cold or at room temperature.

    Can You Freeze Lemon Bars?

    Yes! Lemon bars freeze beautifully. Freeze them without the powdered sugar dusting. Place the bars in a single layer on a baking sheet and freeze until solid, then transfer to a freezer-safe container with parchment between layers. Freeze for up to 3 months. Thaw in the refrigerator overnight and dust with powdered sugar before serving.

    Make-Ahead for Parties:

    Lemon bars are perfect for making ahead. Prepare them 1-2 days in advance, keep refrigerated, and dust with powdered sugar just before serving. The flavors actually meld and deepen over time.

    Freezing the Crust:

    You can press the unbaked crust into the pan, wrap tightly, and freeze for up to 3 months. Bake directly from frozen, adding a few minutes to the baking time.