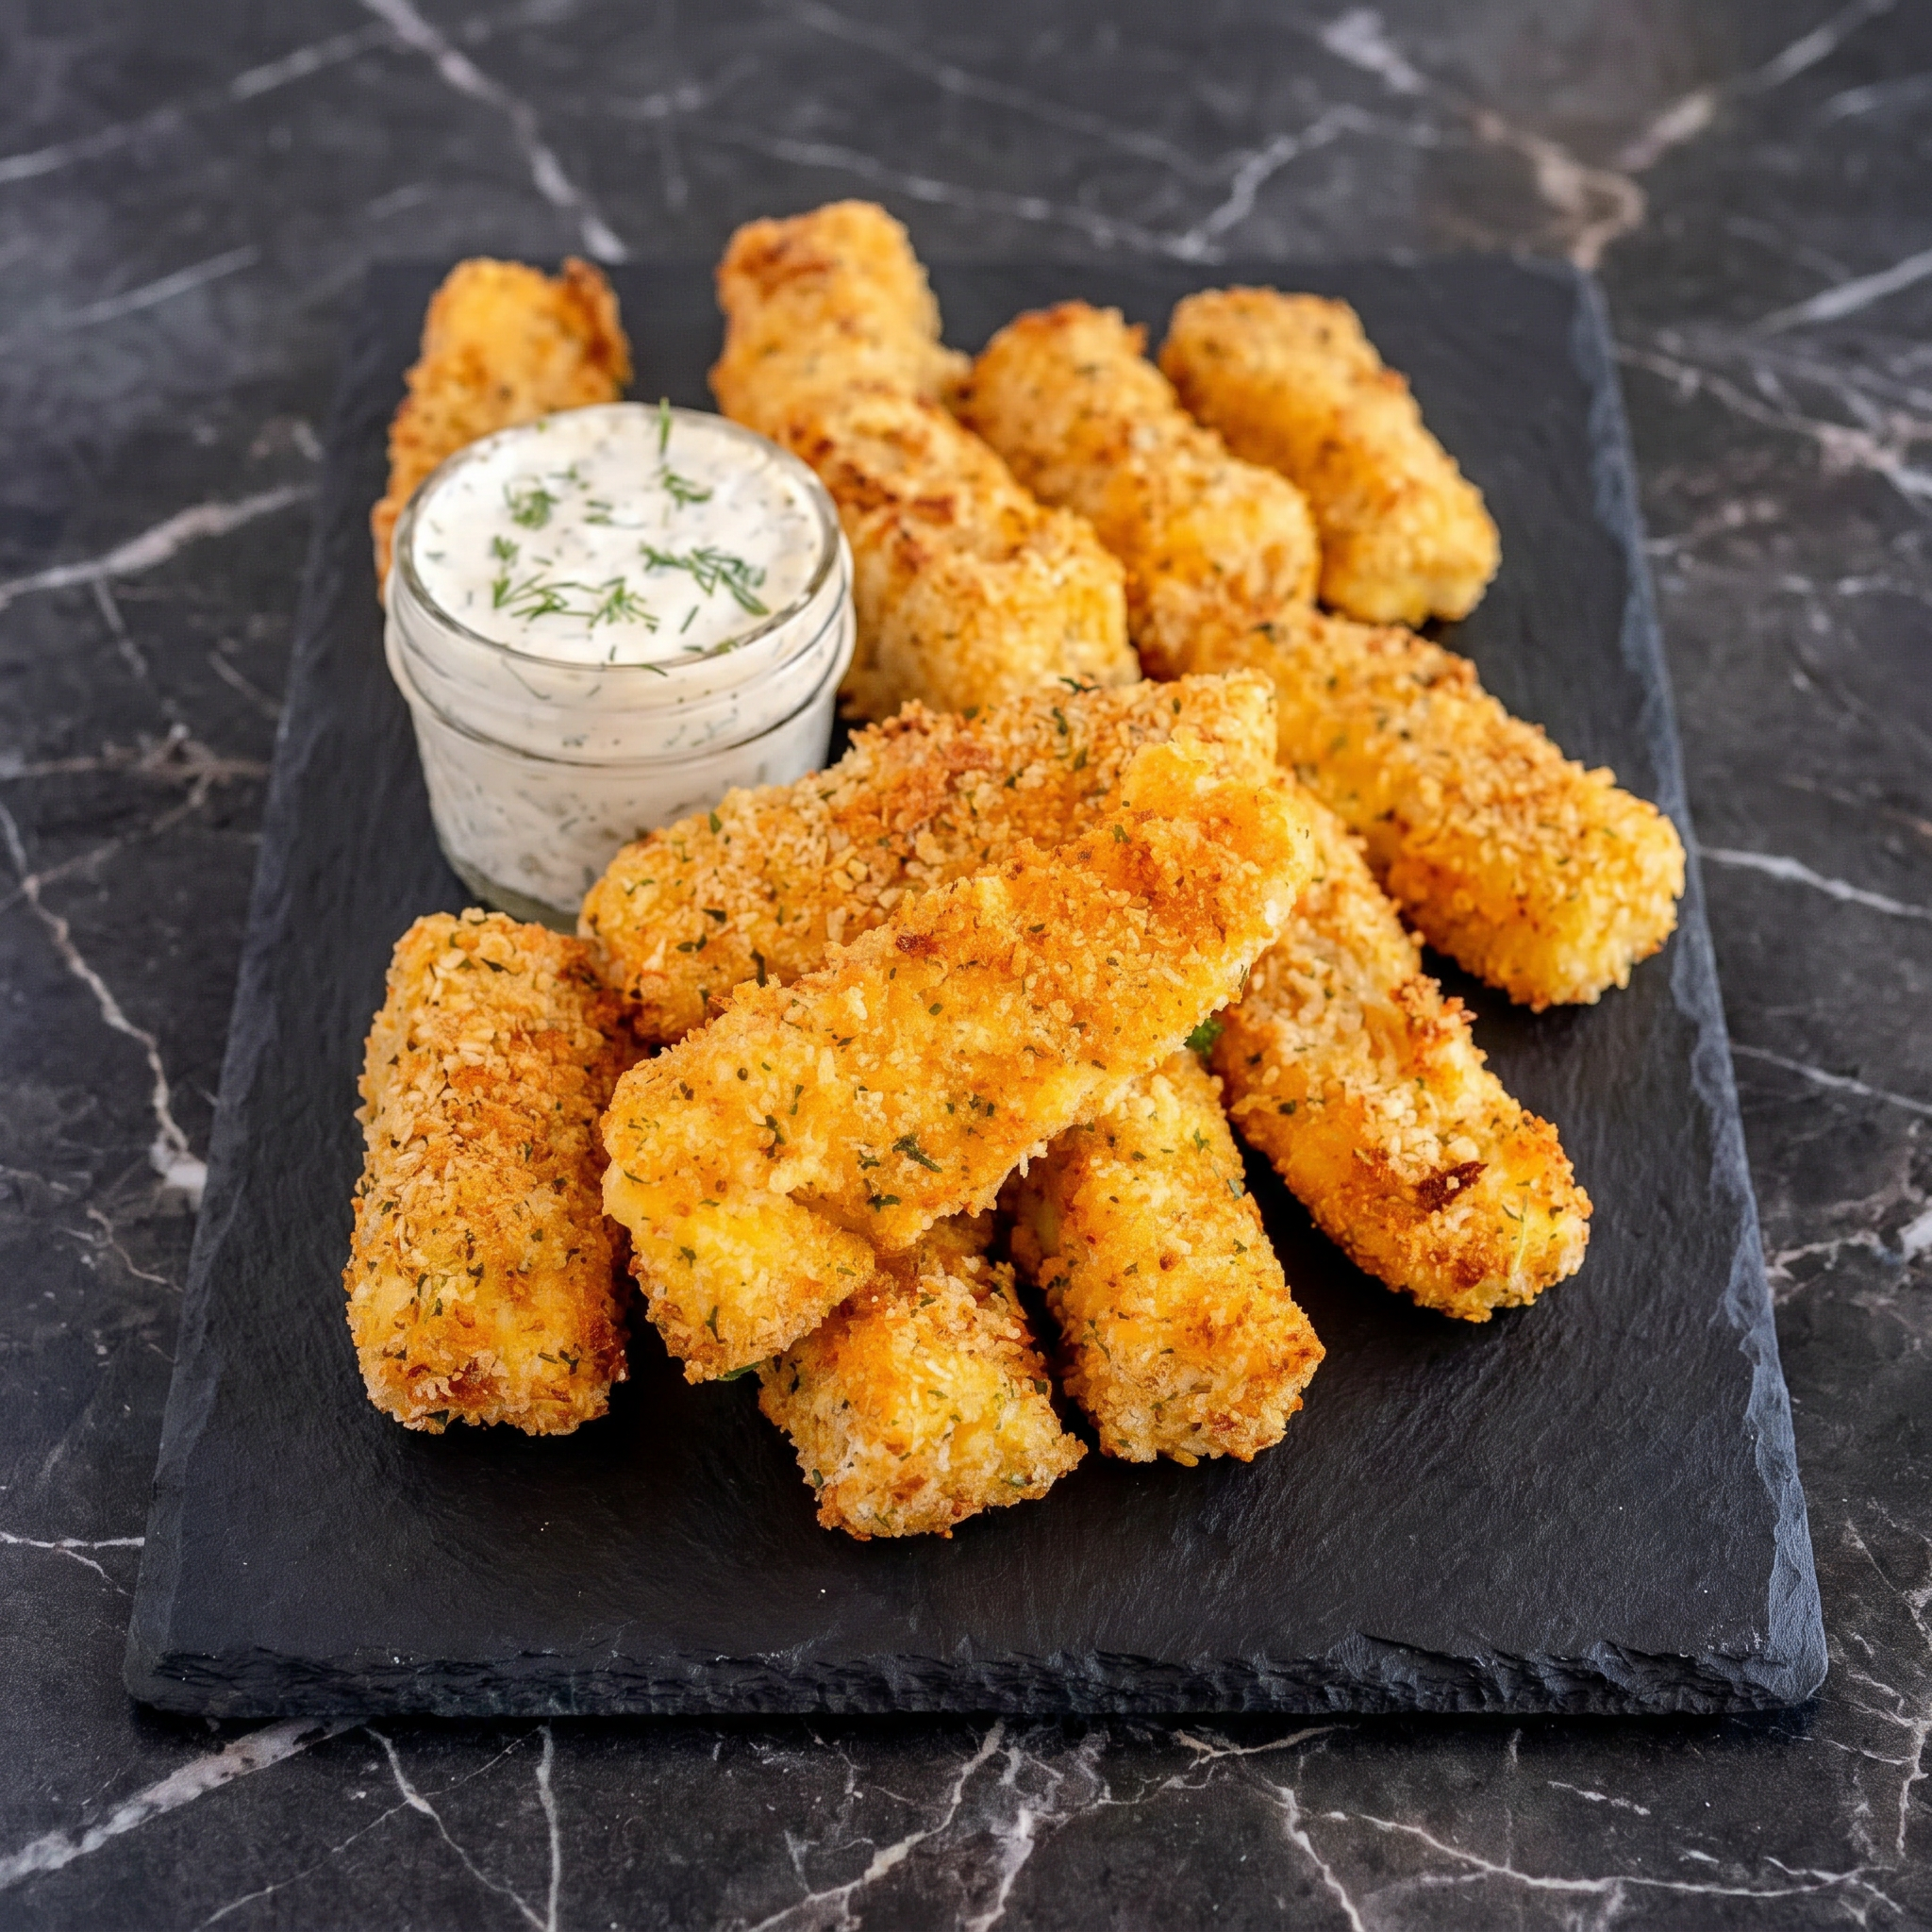
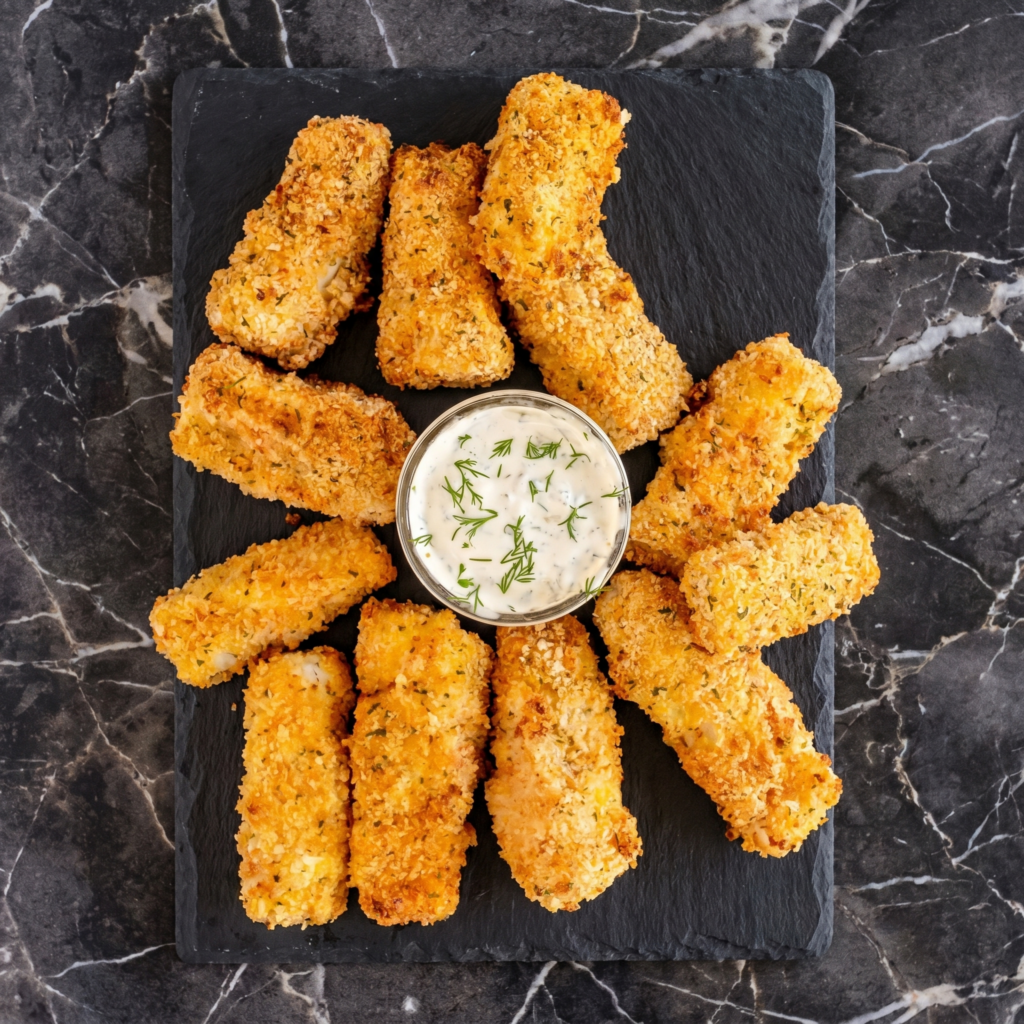
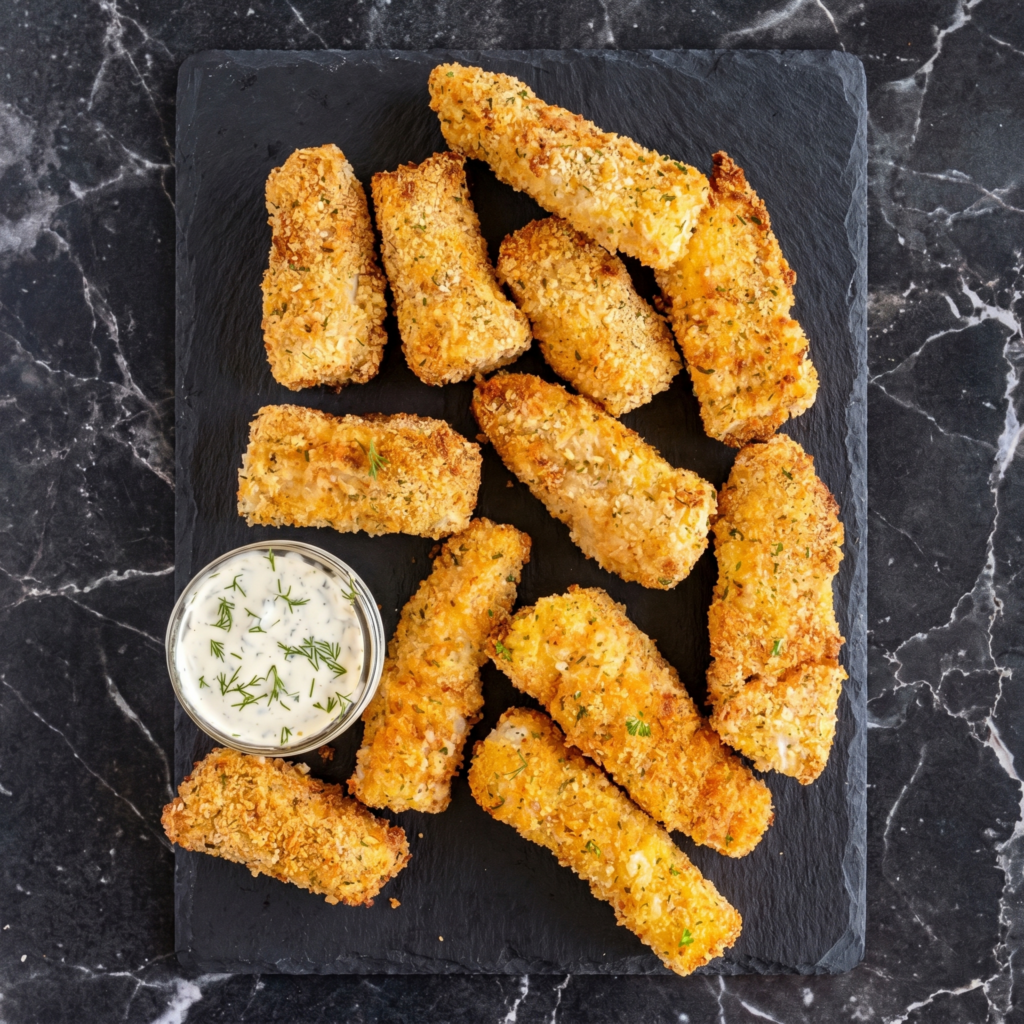
Let’s be real: frozen fish sticks are mostly breading and mystery fish.
These are the opposite. Real cod. A crunchy, golden panko crust. You can bake them or fry them. Either way, they’re done in 20 minutes and absolutely destroy anything from a box. Adults and kids both approve.
Ingredients
Serves 4 (makes about 16 fish sticks).
1 lb (450g) cod or haddock (fresh or thawed)
½ cup all-purpose flour
2 large eggs, beaten
1½ cups panko breadcrumbs
½ cup grated Parmesan (optional but amazing)
1 teaspoon paprika
1 teaspoon garlic powder
½ teaspoon salt
¼ teaspoon black pepper
Cooking spray or ¼ cup oil (for baking or frying)
Step-by-Step Instructions
Step 1: Prep the Fish
Pat fish dry. Cut into 3-inch x 1-inch sticks (like thick fries).
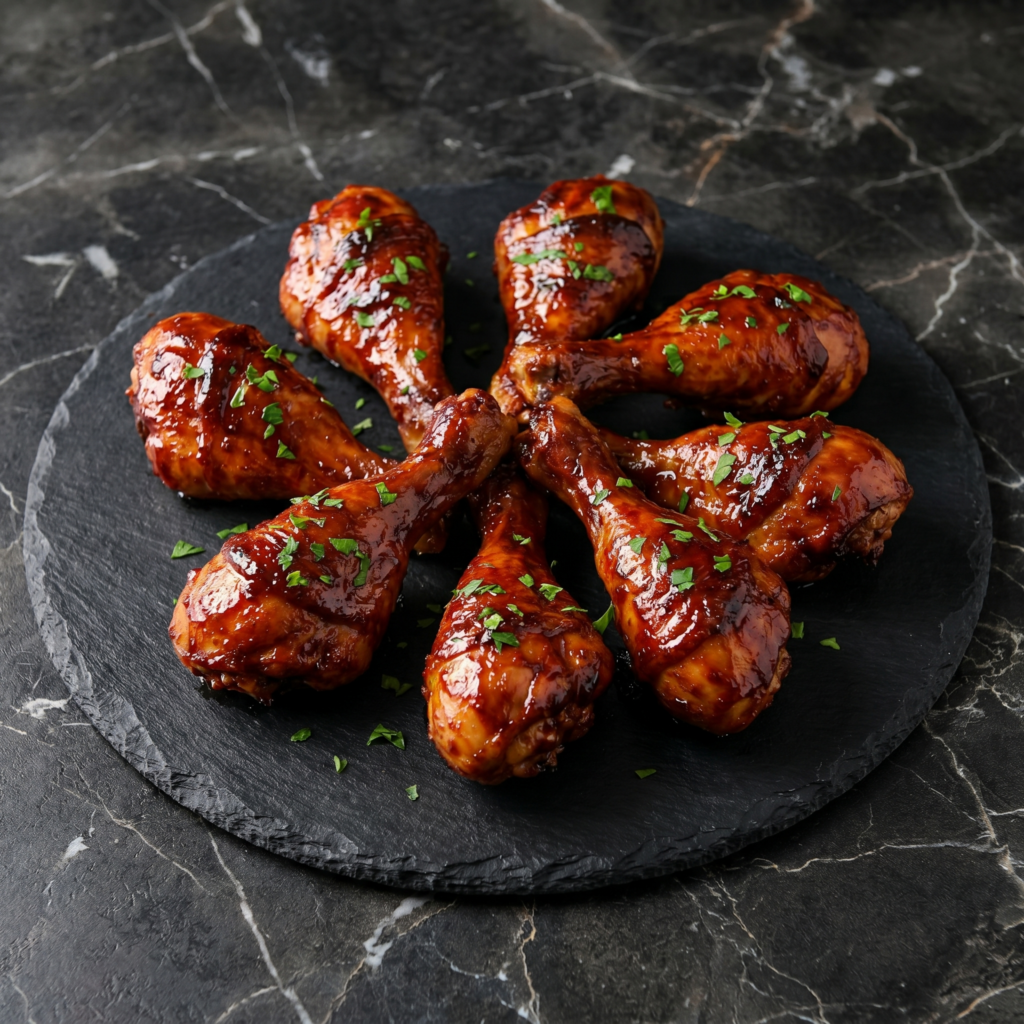
Forget boneless, skinless chicken breasts. Drumsticks are cheaper, juicier, and way more fun to eat. Smother them in BBQ sauce, bake or grill until sticky and caramelized, and watch them disappear.
Five ingredients. Zero dryness. Maximum flavor.
Ingredients
Serves 4 (8 drumsticks).
8 chicken drumsticks
1 tablespoon olive oil
1 teaspoon salt
½ teaspoon black pepper
1 teaspoon garlic powder
1 teaspoon smoked paprika (optional, but do it)
1 cup BBQ sauce (your favorite)
Step-by-Step Instructions
Option 1: Oven-Baked
Preheat oven to 400°F (200°C). Line a baking sheet with foil.
Pat drumsticks dry. Toss with oil, salt, pepper, garlic powder, paprika.
Arrange on sheet. Bake 25 minutes.
Brush with BBQ sauce. Bake 10 more minutes.
Flip. Brush again. Bake 5-10 minutes until sticky and internal temp hits 165°F.
Option 2: Grilled
Preheat grill to medium (350-400°F).
Season drumsticks. Grill 20-25 minutes, turning every 5 minutes.
Brush with BBQ sauce last 10 minutes. Flip a few times until caramelized.
Serve:
Rest 5 minutes. Serve with extra sauce on the side. Napkins required.
Fridge: Keeps 3-4 days. Reheat in oven at 375°F for 10-15 minutes (not microwave—rubbery skin is sad).
Freezer (cooked): Up to 3 months. Thaw overnight, reheat in oven.
Freezer (raw, seasoned): Freeze in a bag. Thaw overnight before cooking.
Pro Tip:
Pat the drumsticks DRY before seasoning. Wet skin = steamed chicken = flabby skin. Dry skin = crispy, sticky goodness. Also, sauce goes on at the END—too early and it burns.
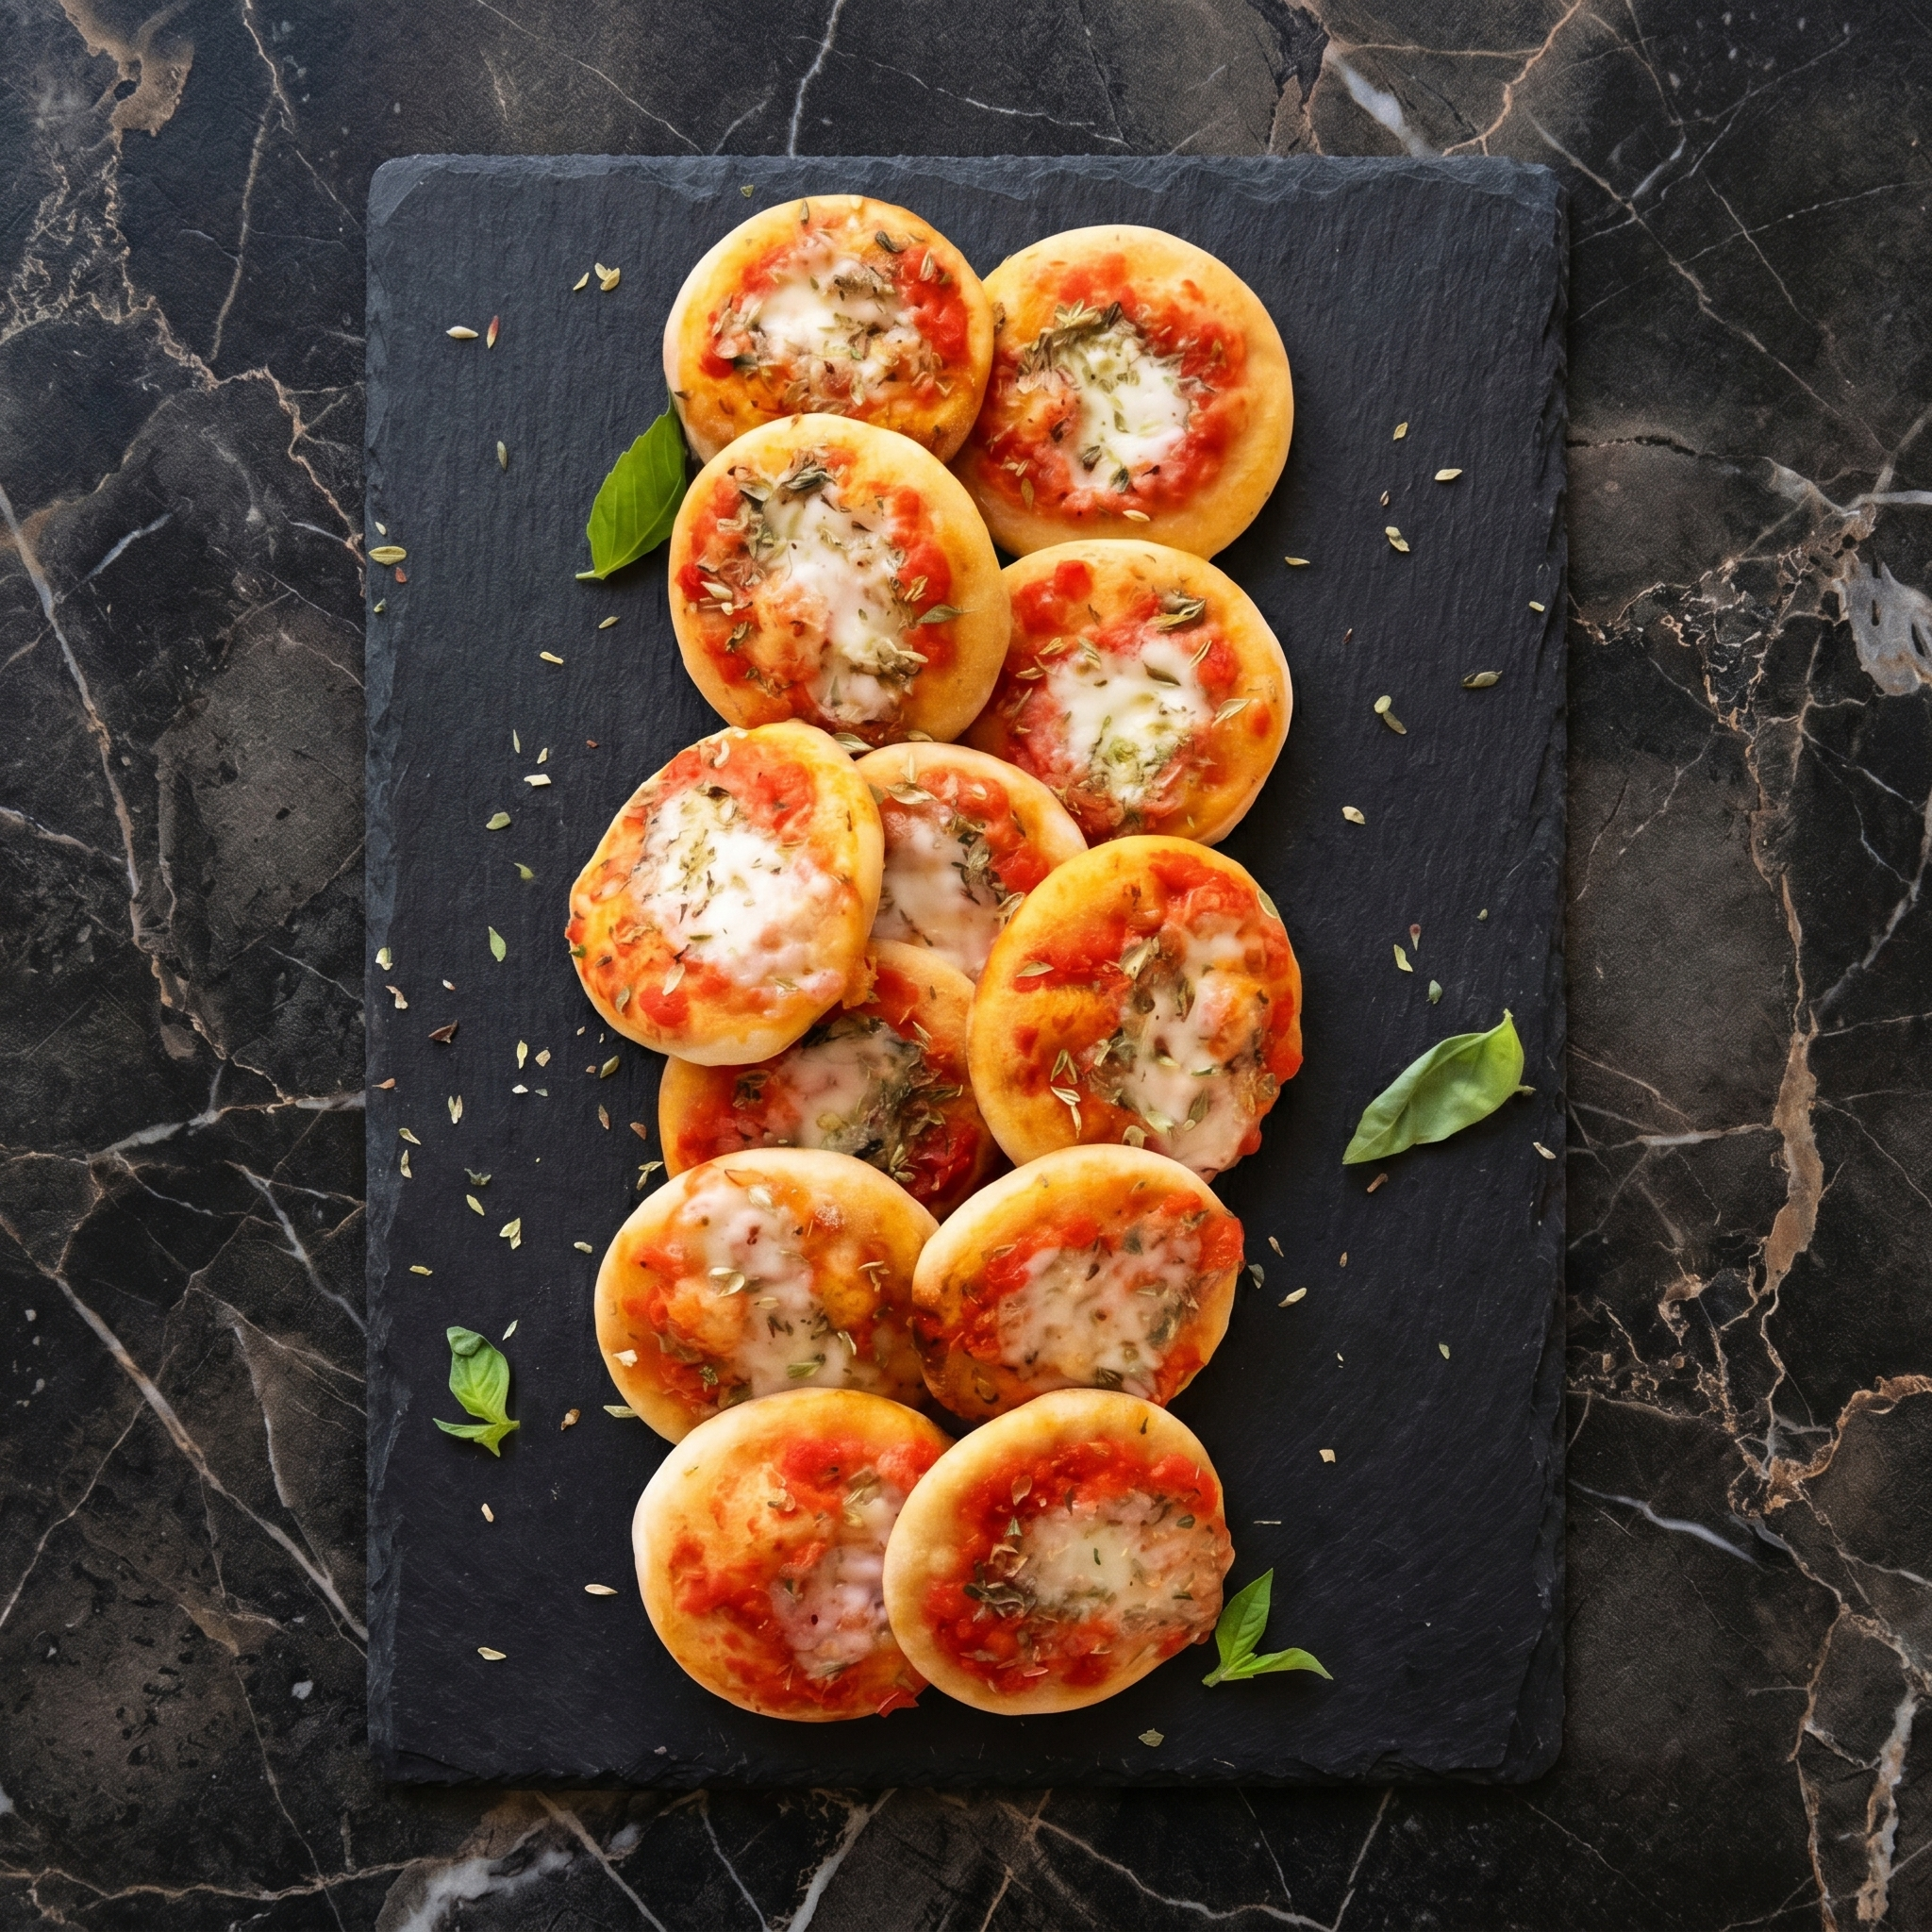
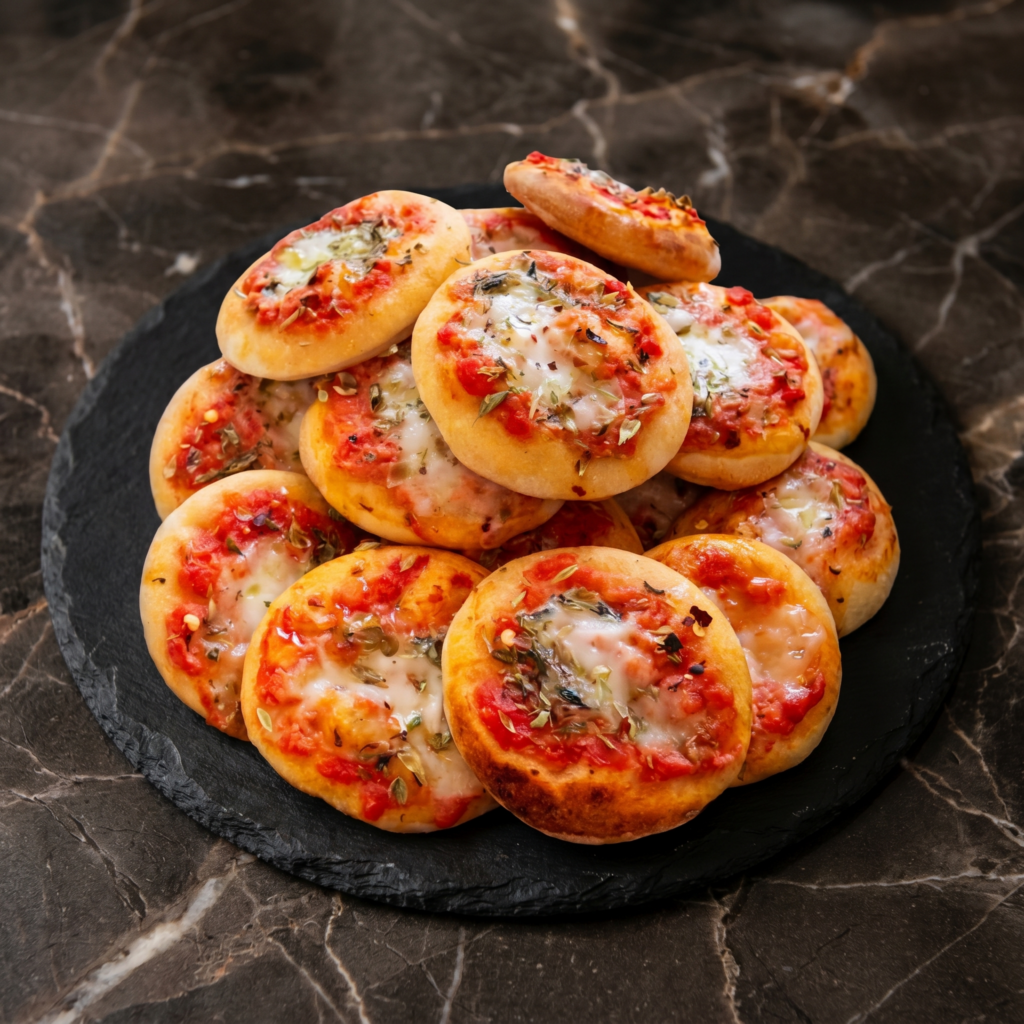
Is there anything better than pizza? Yes—mini pizzas! These adorable little pies are everything you love about pizza, but cuter, more customizable, and somehow even more fun to eat.
Whether you’re hosting a party, feeding a crowd with different topping preferences, or just want to make dinner feel special, mini pizzas are the answer. The possibilities are endless: classic pepperoni, margherita, veggie-loaded, or whatever your heart desires.
And the best part? They come together in no time, especially if you use store-bought dough as a shortcut. Get the kids involved, set up a topping bar, and let everyone build their own perfect little pizza. Dinner just got a whole lot more fun.
Ingredients
Makes 8-10 mini pizzas (depending on size).
For the Pizza Dough:
1 lb (450g) pizza dough (homemade or store-bought)
All-purpose flour, for dusting
Cornmeal, for dusting (optional)
For the Pizza Sauce:
1 cup (240ml) pizza sauce or marinara sauce
1 teaspoon dried oregano
½ teaspoon garlic powder
Pinch of red pepper flakes (optional)
For the Cheese:
2 cups (225g) shredded mozzarella cheese
¼ cup (25g) grated Parmesan cheese
Classic Topping Ideas:
Pepperoni slices
Cooked Italian sausage, crumbled
Cooked bacon, crumbled
Mushrooms, thinly sliced
Bell peppers, thinly sliced
Red onion, thinly sliced
Black olives, sliced
Fresh basil leaves
Cherry tomatoes, halved
Step-by-Step Instructions
1. Preheat and Prepare:
Preheat your oven to 450°F (230°C). If you have a pizza stone, place it in the oven to preheat as well. Otherwise, line two baking sheets with parchment paper or sprinkle with cornmeal to prevent sticking.
2. Prepare the Sauce:
In a small bowl, combine the pizza sauce with oregano, garlic powder, and red pepper flakes (if using). Set aside to let the flavors meld.
3. Divide the Dough:
On a lightly floured surface, divide the pizza dough into 8-10 equal pieces. For mini pizzas, each piece should be about 2-3 ounces (about the size of a golf ball).
Roll each piece into a smooth ball. Cover with a clean kitchen towel and let rest for 10-15 minutes. This relaxes the gluten and makes the dough easier to shape.
4. Shape the Mini Crusts:
Working with one ball at a time, flatten it with your fingers or roll it out with a small rolling pin into a 4-5 inch circle. The edges can be slightly thicker than the center for that classic pizza crust.
If the dough springs back, let it rest a few more minutes before continuing.
Place the shaped crusts on the prepared baking sheets (or on parchment paper if using a pizza stone).
5. Assemble the Mini Pizzas:
Spread about 1-2 tablespoons of sauce onto each crust, leaving a small border for the crust.
Sprinkle with mozzarella cheese and a pinch of Parmesan.
Add your desired toppings. Don’t overload—mini pizzas cook quickly and too many toppings can make them soggy.
6. Bake:
If using a pizza stone, carefully transfer the parchment paper with the pizzas onto the hot stone. If using baking sheets, simply place them in the oven.
Bake for 8-12 minutes, until the crusts are golden brown and the cheese is bubbly and slightly browned in spots.
For crispier crusts, bake directly on the oven rack (without a pan) if you have a stone or steel.
7. Finish and Serve:
Remove from the oven and let cool for 2-3 minutes before serving.
If desired, top with fresh basil leaves and a drizzle of olive oil or balsamic glaze.
Store leftover mini pizzas in an airtight container in the refrigerator for up to 3 days. They’re great for lunch the next day!
Reheating:
For best results, reheat in a skillet over medium heat for 2-3 minutes per side, or in a 350°F oven for 5-7 minutes. The microwave works but the crust won’t be as crisp.
Can You Freeze Mini Pizzas?
Absolutely! Two great options:
Freeze baked pizzas: Cool completely, wrap individually in plastic wrap and foil, and freeze for up to 3 months. Reheat directly from frozen in a 375°F oven.
Freeze unbaked assembled pizzas: Assemble on parchment-lined baking sheets, freeze until solid, then transfer to freezer bags. Bake from frozen, adding 2-3 minutes to the baking time.
Make-Ahead Prep:
Prep your toppings ahead of time and store in the refrigerator. Make the sauce up to 5 days ahead. On pizza night, all you have to do is shape and assemble.