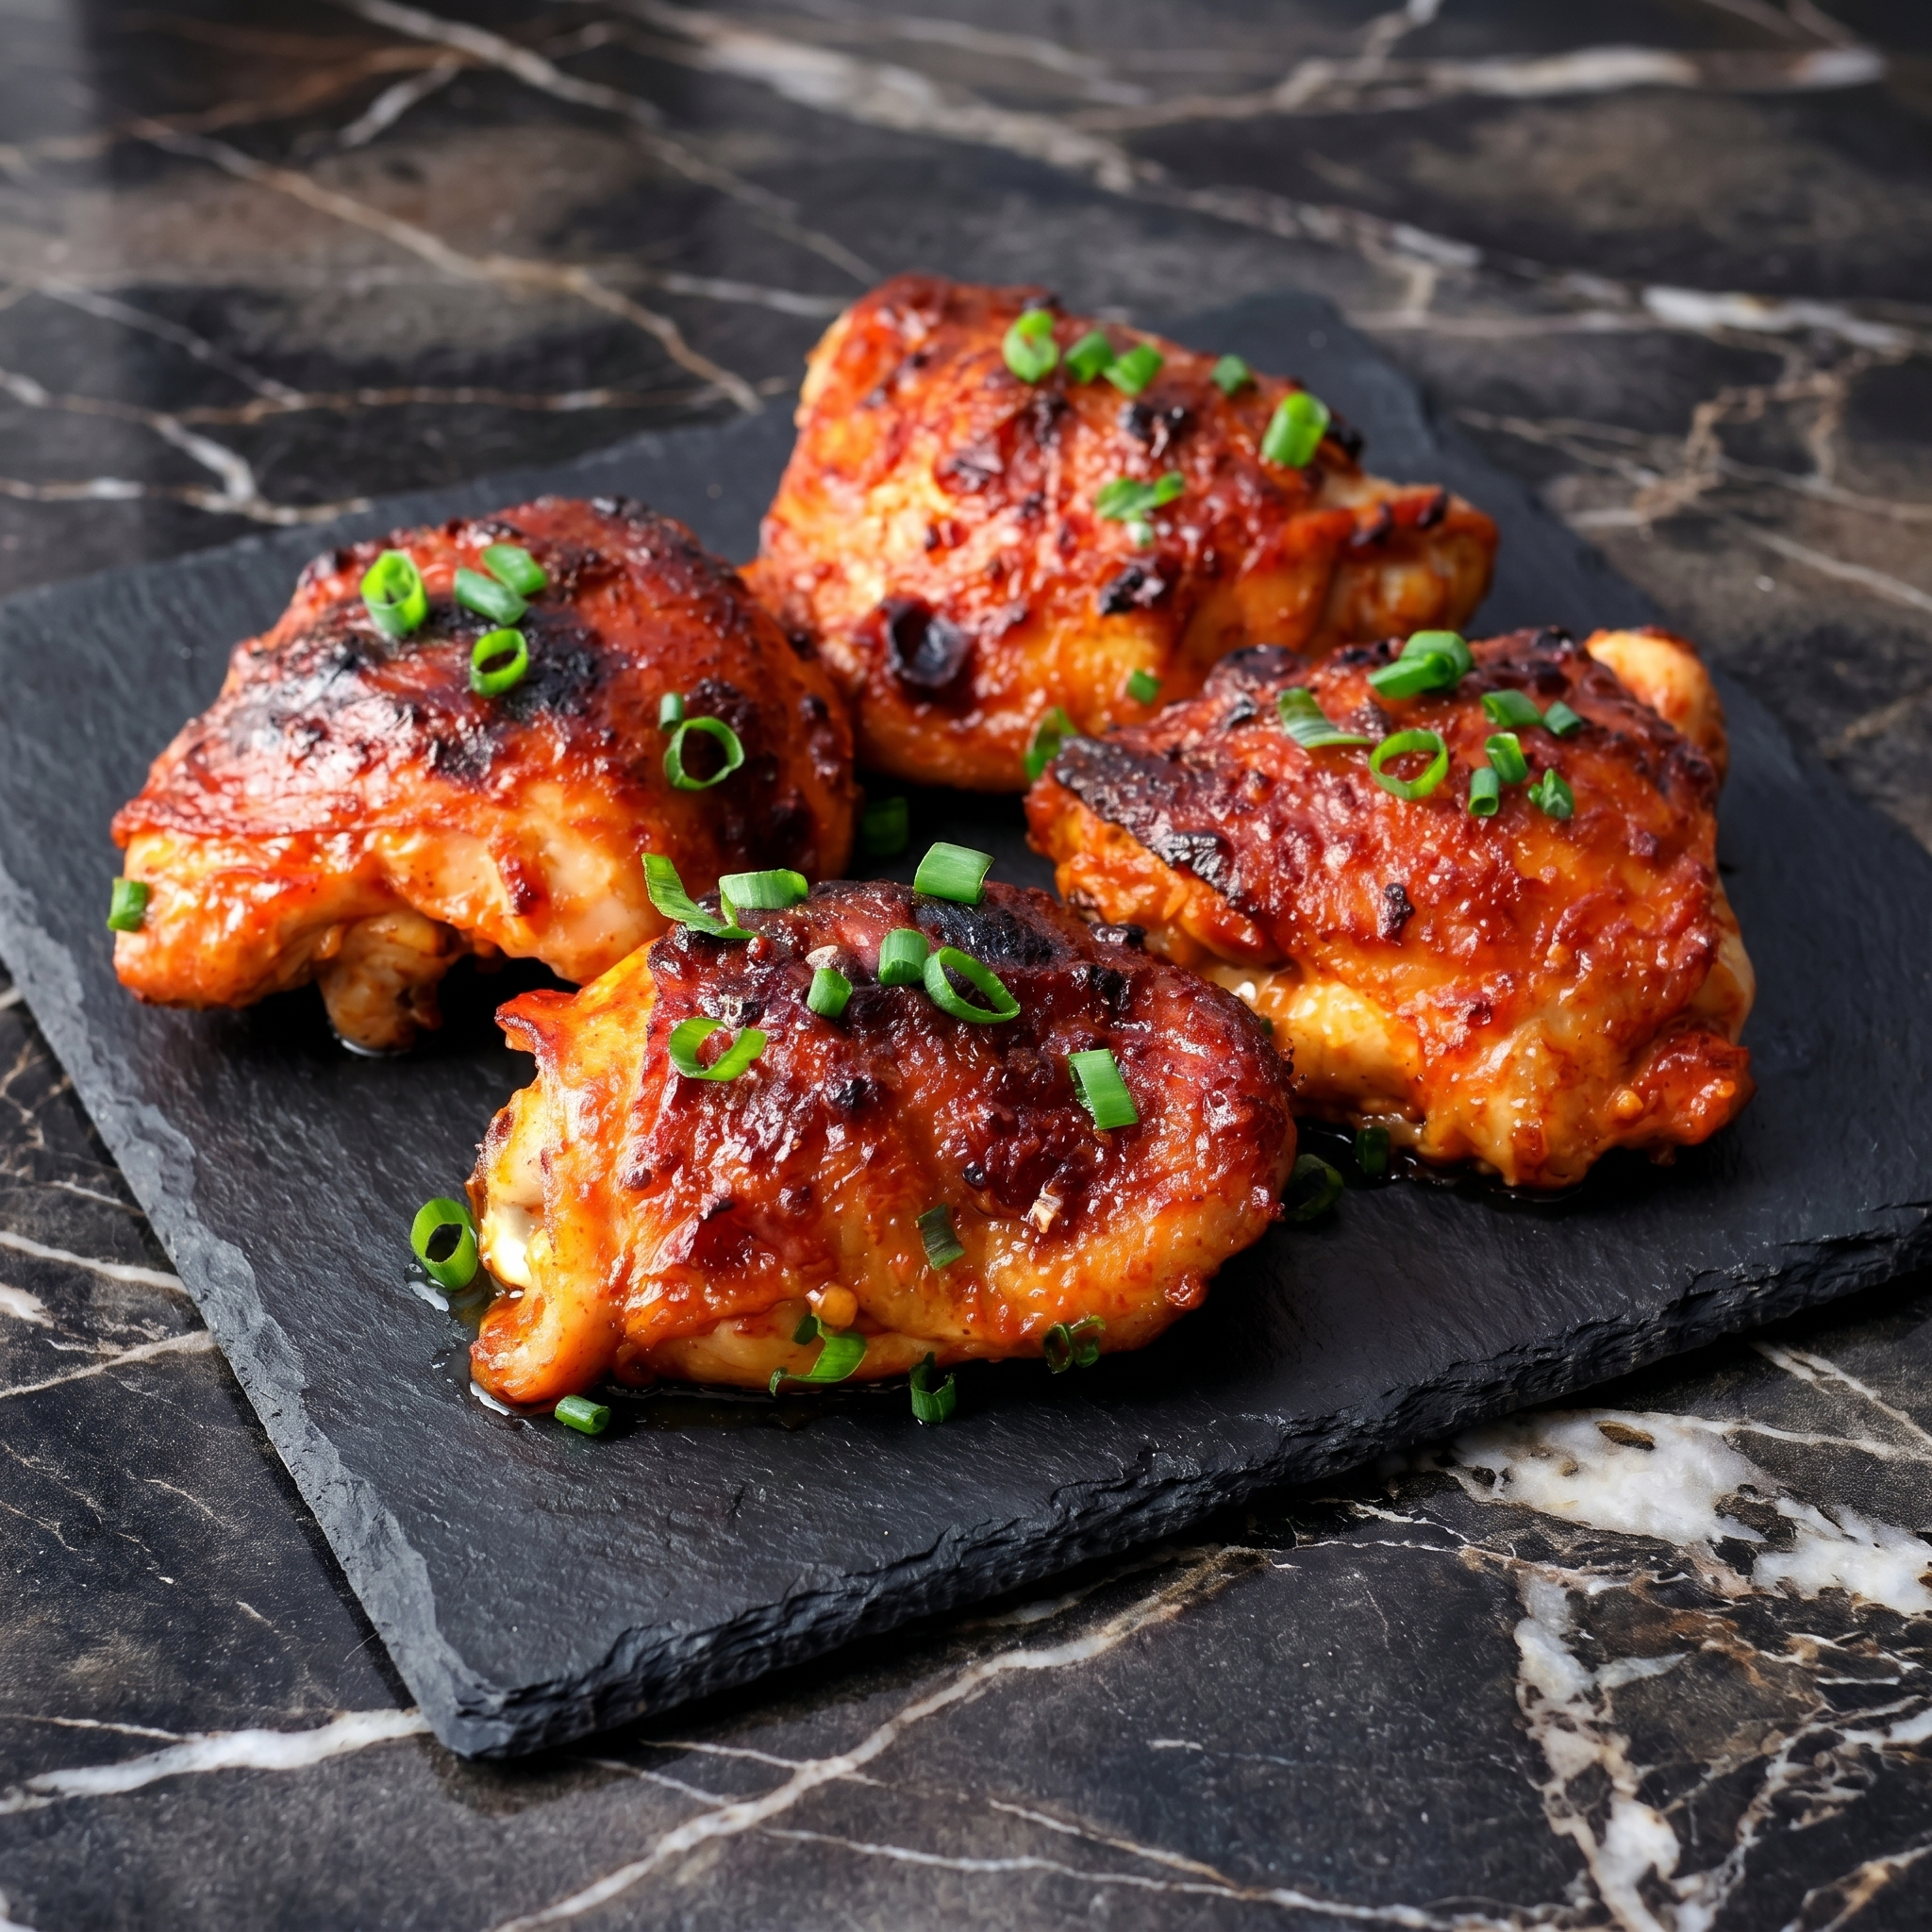
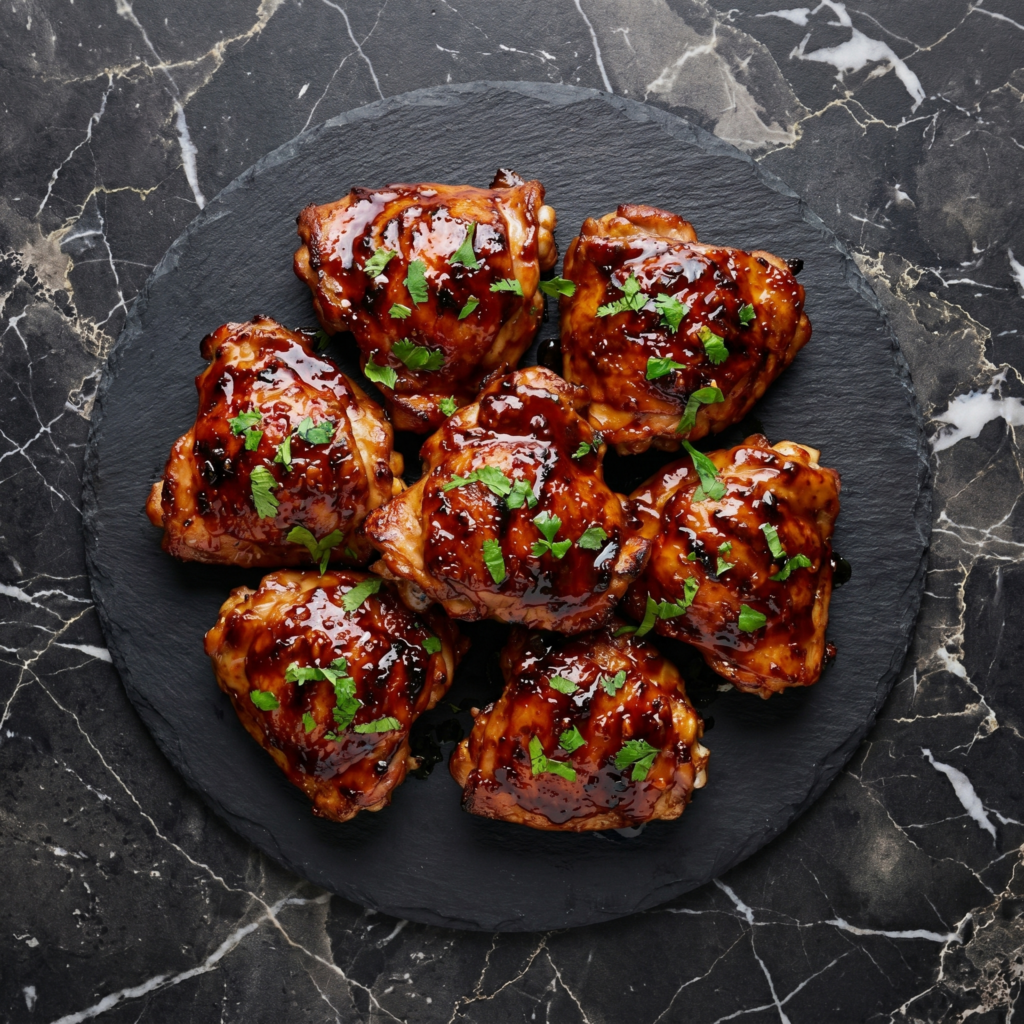
If you love meals that are big on flavor but low on cleanup, this Sheet-Pan Harissa Chicken & Sweet Potatoes is about to earn a permanent spot in your dinner rotation. Smoky, spicy harissa coats juicy chicken, while caramelized sweet potatoes and tender red onions roast alongside, soaking up every bit of bold, savory goodness.
It’s colorful, nourishing, and deeply satisfying—yet it all happens on one pan in under an hour. Let’s break it down step by step so you can make it perfectly every time.
Why You’ll Love This Recipe
- One pan = easy cleanup
- Bold North African–inspired flavors
- Naturally gluten-free
- Perfect for meal prep
- Customizable heat level
Harissa paste brings smoky heat and complexity, while sweet potatoes add natural sweetness that balances the spice beautifully.
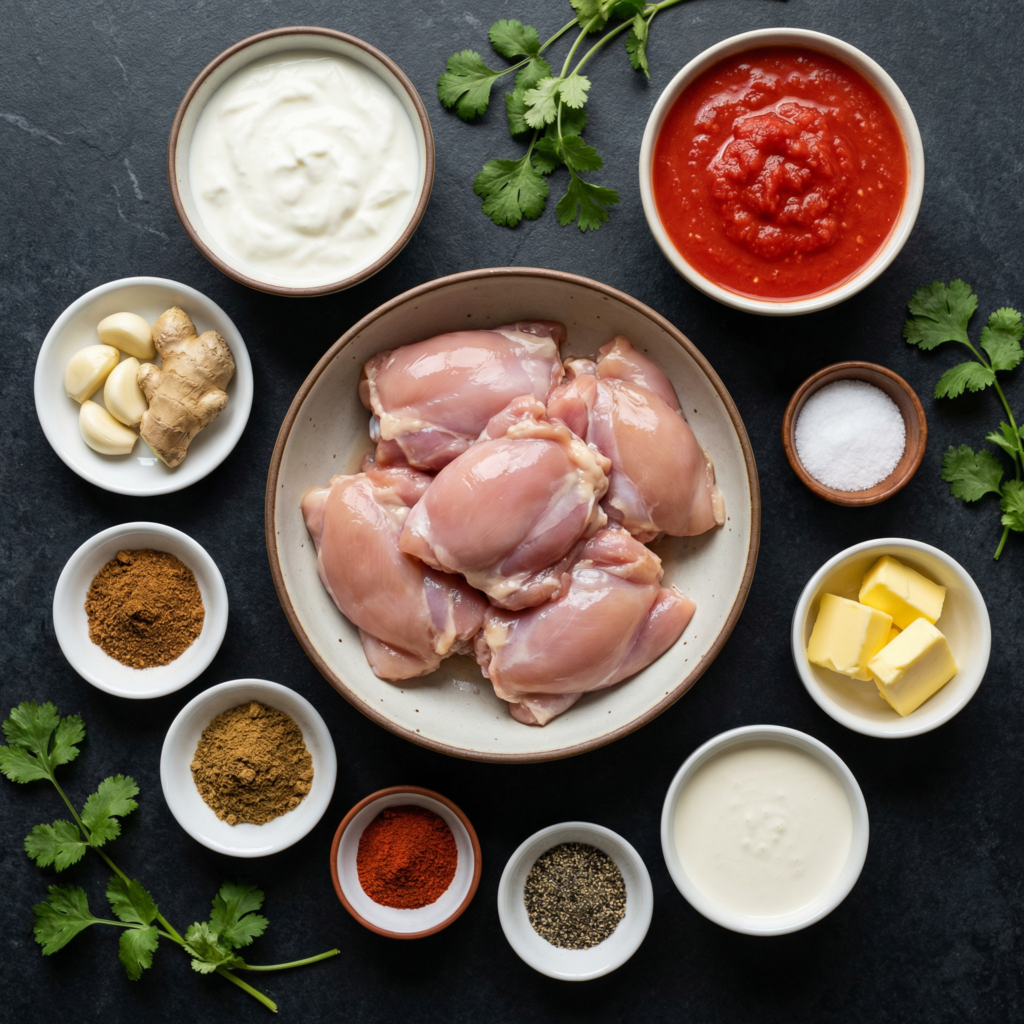
Ingredients You’ll Need
For the Chicken:
- 4 bone-in, skin-on chicken thighs (or boneless thighs)
- 2–3 tablespoons harissa paste
- 2 tablespoons olive oil
- 1 teaspoon smoked paprika
- ½ teaspoon ground cumin
- Salt and black pepper
For the Vegetables:
- 2 medium sweet potatoes, peeled and cubed
- 1 red onion, sliced into wedges
- 1 red bell pepper, sliced
- 1 tablespoon olive oil
- Salt and pepper
For Finishing:
- Juice of ½ lemon
- Fresh cilantro or parsley
- Plain Greek yogurt (optional, for serving)
Step 1: Preheat the Oven
Preheat your oven to 425°F (220°C).
Line a large sheet pan with parchment paper or lightly grease it. Using a large pan ensures everything roasts instead of steams.
High heat is key for caramelization and crisp edges.
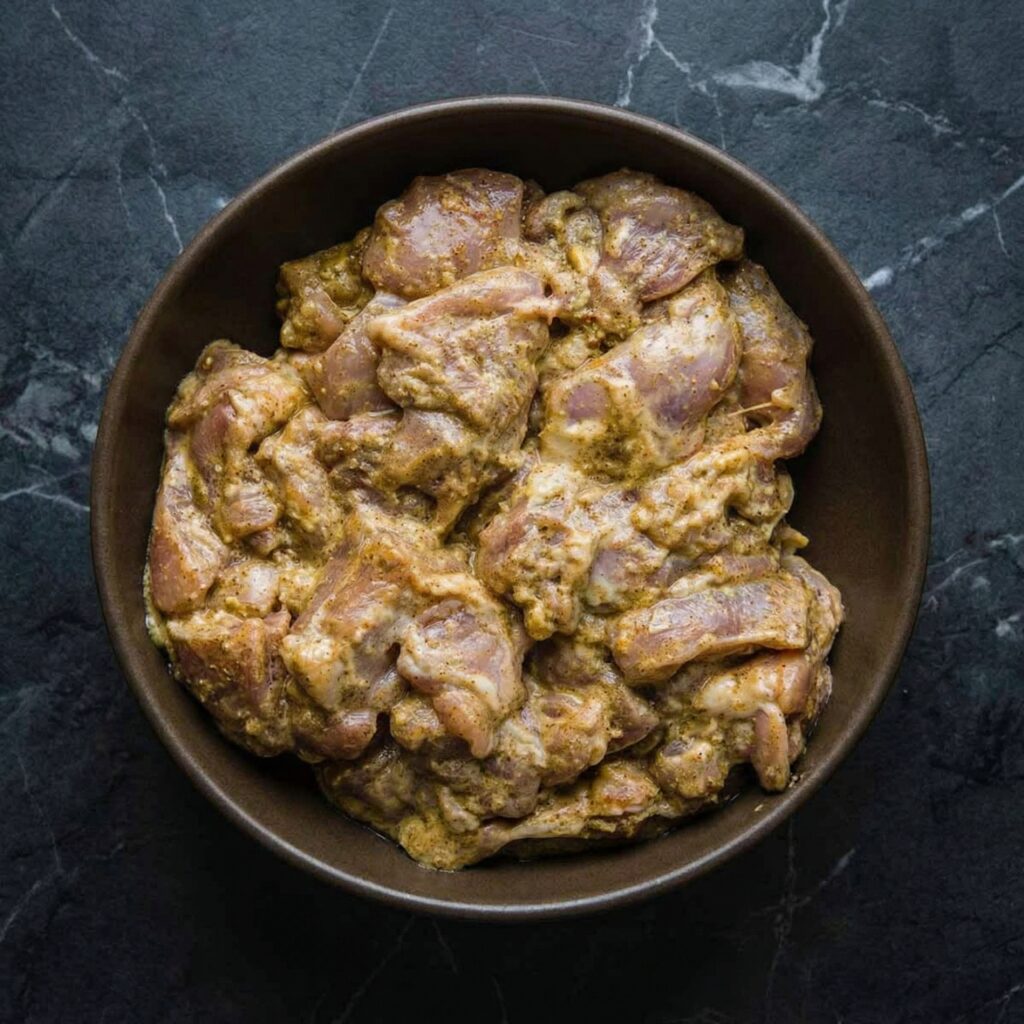
Step 2: Marinate the Chicken
In a bowl, combine harissa paste, olive oil, smoked paprika, cumin, salt, and black pepper.
Pat the chicken dry with paper towels. This helps the marinade adhere and encourages crisping.
Rub the harissa mixture evenly over the chicken, making sure it’s well coated on all sides. If time allows, let it marinate for 20–30 minutes at room temperature or refrigerate for up to 4 hours.
Even a short marinade infuses bold flavor.
Step 3: Prepare the Vegetables
In a separate bowl, toss the cubed sweet potatoes, red onion wedges, and bell pepper with olive oil, salt, and pepper.
Spread the vegetables in an even layer on the sheet pan.
Spacing is important—crowded vegetables will steam rather than roast.
Step 4: Add the Chicken to the Pan
Nestle the marinated chicken pieces among the vegetables, skin-side up if using skin-on.
Make sure the chicken is not overlapping the vegetables too heavily. Proper airflow ensures crisp skin and evenly roasted vegetables.
Step 5: Roast to Perfection
Place the sheet pan in the oven and roast for 35–45 minutes.
Halfway through cooking (around 20 minutes), toss the vegetables gently to promote even browning.
The chicken is done when:
- Internal temperature reaches 165°F (74°C)
- Skin is crisp and golden
- Sweet potatoes are fork-tender
If needed, switch to broil for the last 2–3 minutes to crisp the chicken skin further.
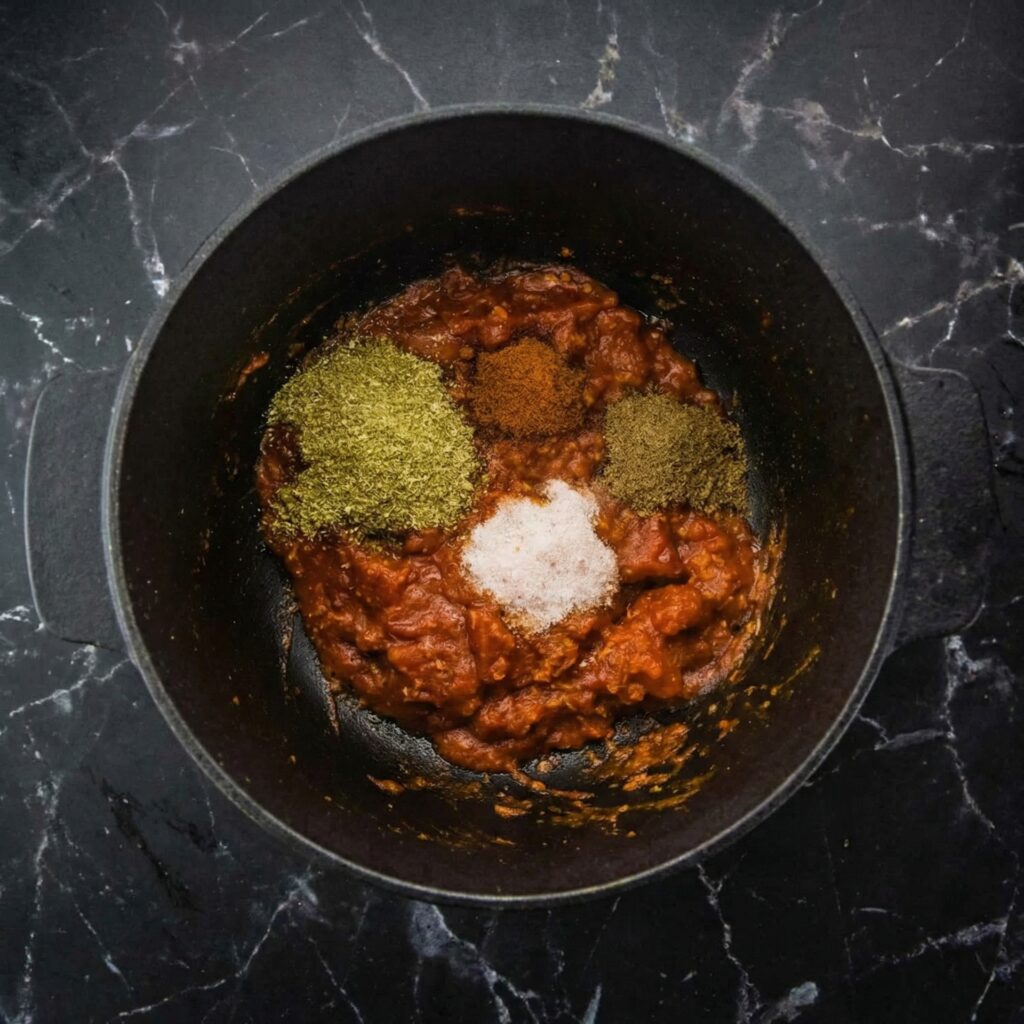
Step 6: Brighten the Flavors
Remove the pan from the oven.
Squeeze fresh lemon juice over everything. The citrus brightens the smoky spice and balances the sweetness of the potatoes.
Let the dish rest for 5 minutes before serving.
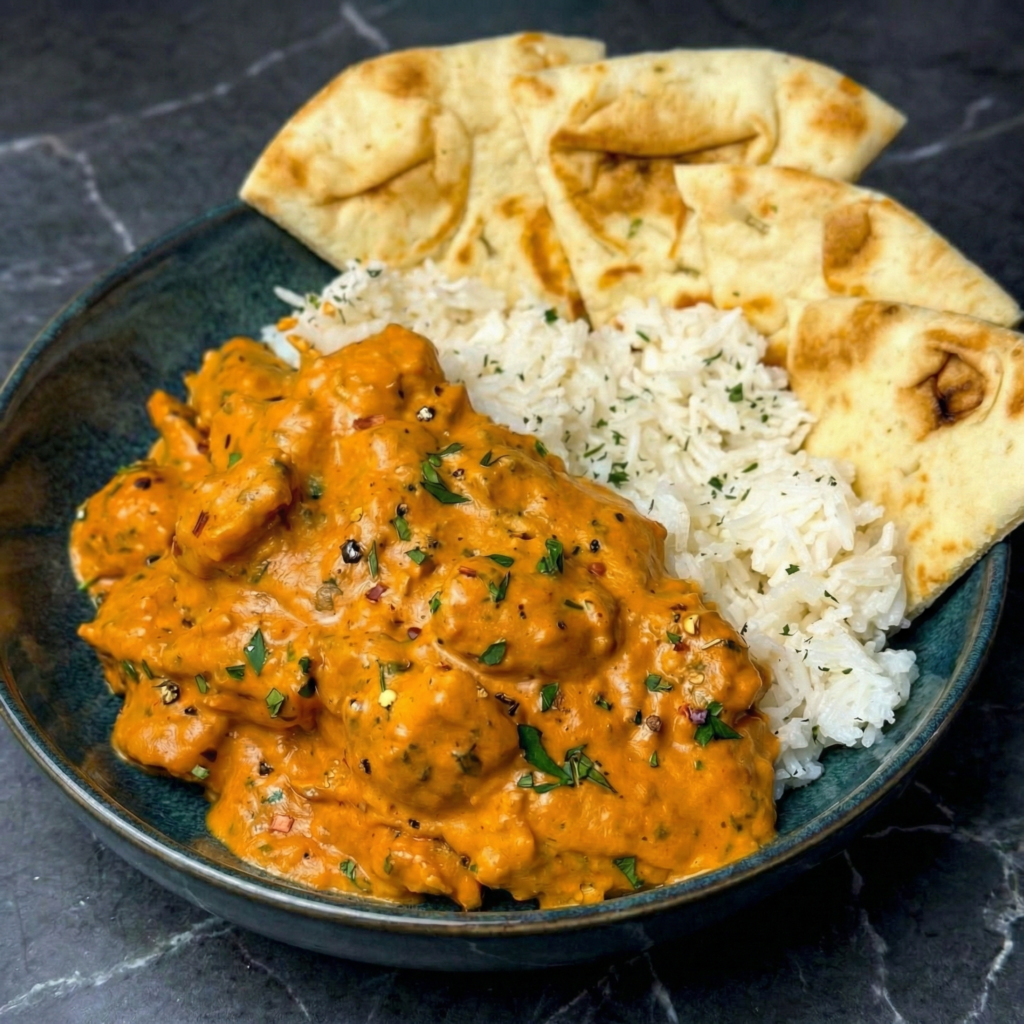
Step 7: Garnish and Serve
Sprinkle freshly chopped cilantro or parsley over the top.
For a creamy contrast, serve with a dollop of plain Greek yogurt or a drizzle of yogurt mixed with lemon and a pinch of salt.
Serve directly from the pan for a rustic presentation, or plate individually with extra herbs on top.
Tips for the Best Results
Use bone-in thighs for extra flavor. They stay juicier and develop crispier skin.
Don’t skip high heat. 425°F ensures caramelization.
Cut vegetables evenly. Uniform pieces cook at the same rate.
Taste your harissa first. Some brands are spicier than others—adjust quantity accordingly.
Easy Variations
This recipe is highly adaptable:
- Add zucchini or cherry tomatoes for extra color.
- Swap sweet potatoes for carrots or butternut squash.
- Use chicken breasts (reduce cook time slightly).
- Add chickpeas for extra protein and texture.
- Serve over couscous or quinoa for a heartier meal.
You can even add a drizzle of honey before roasting for a subtle sweet-spicy finish.
Storage and Meal Prep
Store leftovers in an airtight container in the refrigerator for up to 4 days.
Reheat in a 350°F oven for about 10–15 minutes to maintain crispness, or microwave for convenience.
This dish is excellent for meal prep—portion into containers with vegetables and chicken for easy lunches.
Final Thoughts
Sheet-Pan Harissa Chicken & Sweet Potatoes proves that bold, vibrant flavors don’t require complicated techniques. With just one pan and a handful of ingredients, you can create a meal that feels exciting, balanced, and deeply satisfying.
The smoky heat of harissa, the natural sweetness of roasted sweet potatoes, and the freshness of lemon and herbs come together in perfect harmony.
Preheat your oven, grab your sheet pan, and get ready for a colorful, flavor-packed dinner that’s as easy as it is impressive.