Author: user

  • Pierogis (Golden, Buttery, and Stuffed with Good Decisions)

    Pierogis (Golden, Buttery, and Stuffed with Good Decisions)

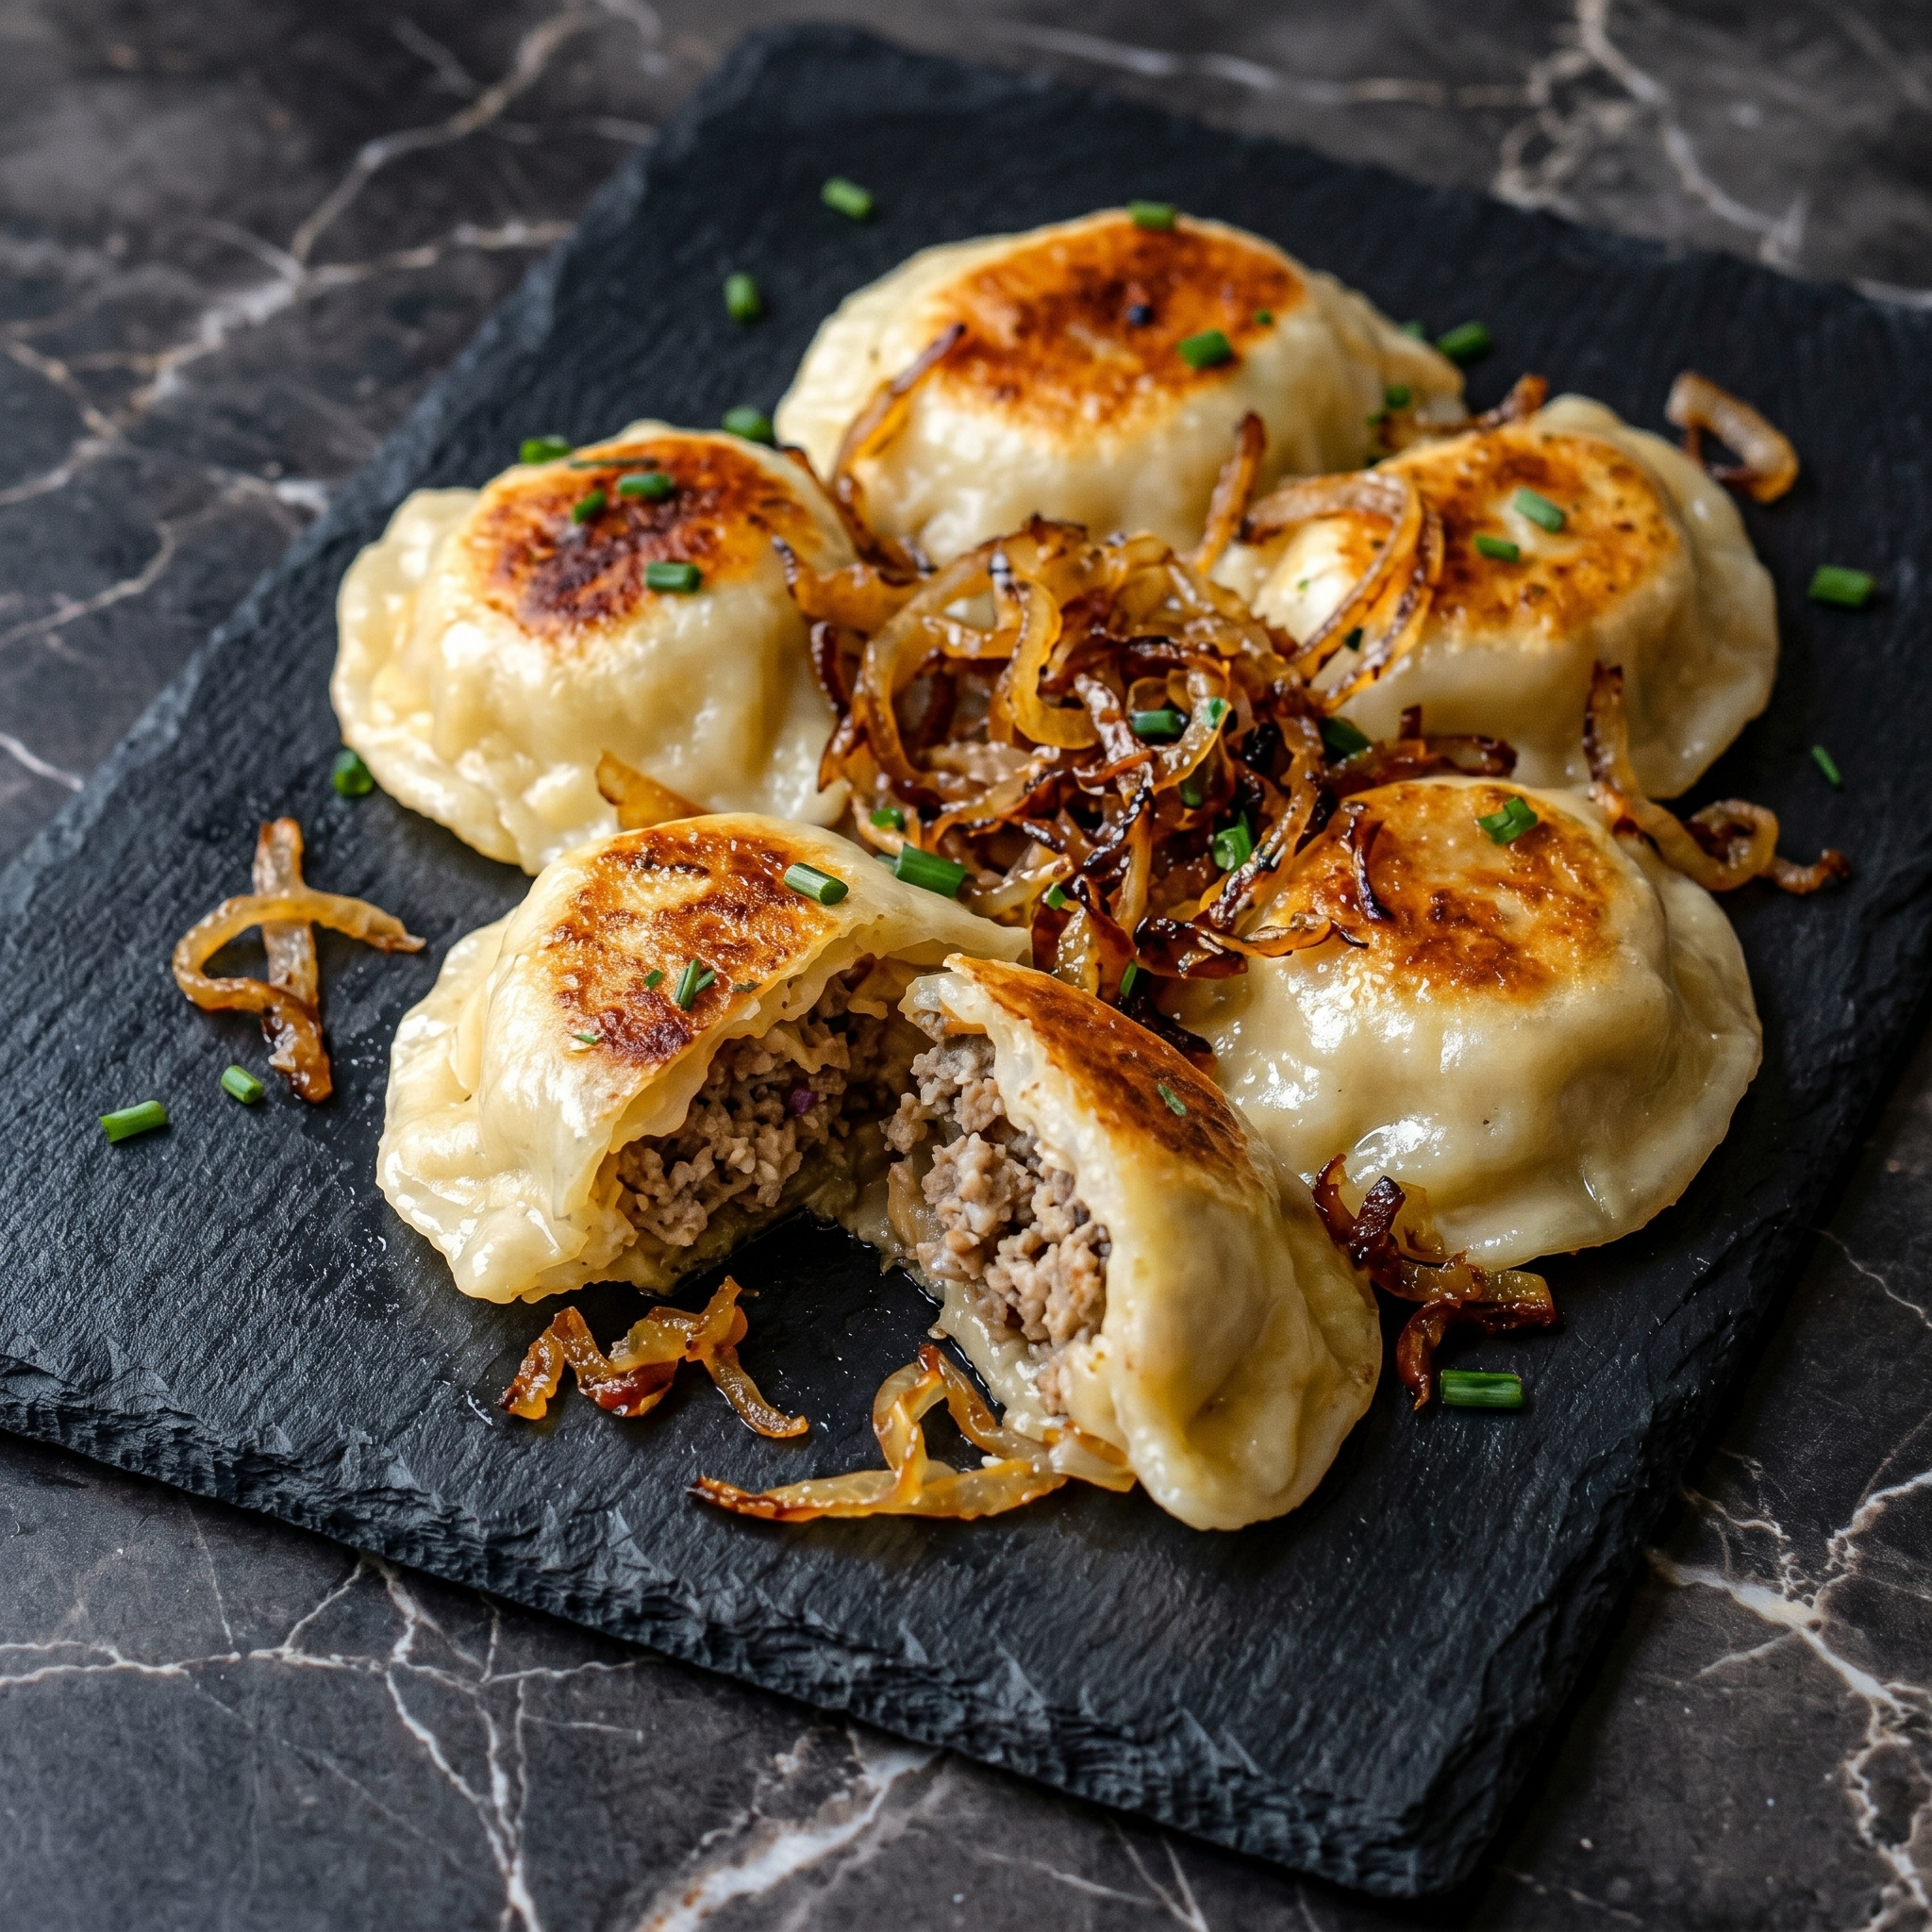
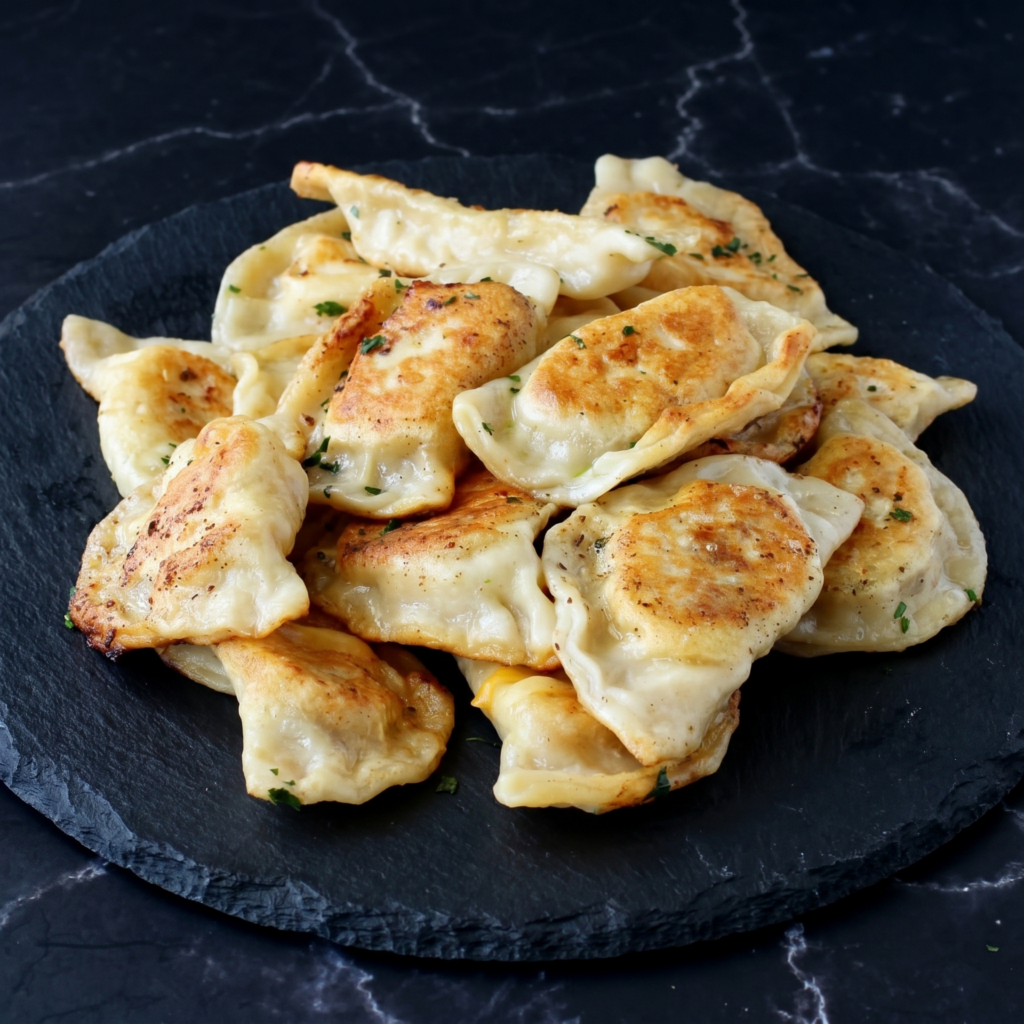
    Pierogis are Poland’s greatest gift to carbs. Pillowy dough wrapped around creamy potato and cheese, then pan-fried in butter until golden and crispy. Yes, they take a little work. Yes, they’re worth every minute. Make a double batch. Freeze half. Thank yourself later.

    Ingredients

    Makes about 30 pierogis.

    For the Dough:

    • 3 cups (375g) all-purpose flour
    • 1 tsp salt
    • 1 large egg
    • ¾ cup (180ml) warm water
    • 2 tbsp sour cream or Greek yogurt (optional but tender)

    For the Filling:

    • 2 cups mashed potatoes (about 2 medium potatoes)
    • 1 cup (4 oz) shredded cheddar or farmer’s cheese
    • 1 small onion, finely chopped (optional, sautéed)
    • Salt and pepper to taste

    For Frying:

    • 4 tbsp butter
    • 1 onion, sliced (optional, for serving)
    • Sour cream for dipping

    Step-by-Step Instructions

    Step 1: Make Dough

    1. Mix flour and salt. Add egg, warm water, and sour cream. Knead until smooth (about 5 minutes). Cover and rest 30 minutes.

    Step 2: Make Filling

    1. Mix mashed potatoes, cheese, and sautéed onion (if using). Season with salt and pepper. Let cool.

    Step 3: Assemble

    1. Roll dough thinly (⅛ inch). Cut into 3-inch circles.
    2. Place 1 tsp filling in center. Fold into half-moons. Press edges firmly with a fork.

    Step 4: Boil

    1. Drop pierogis into salted boiling water. Cook 2–3 minutes until they float. Drain well.

    Step 5: Fry

    1. In a large skillet, melt butter over medium heat. Add boiled pierogis and sliced onion (if using).
    2. Fry 2–3 minutes per side until golden and crispy.

    Step 6: Serve

    1. Serve hot with sour cream. Prepare to fall in love.

    Summary

    Prep Time: 45 min | Cook Time: 15 min | Total: 1 hour

    Yield: 30 pierogis | Difficulty: Medium

    Storage Notes

    Fridge (boiled only): 3 days. Fry before serving. Freezer (uncooked): Freeze on a tray, then bag. Cook from frozen (boil +2 minutes). Best make-ahead dumpling ever.

  • Beef Enchiladas (Cheesy, Saucy, and Gone in 10 Minutes)

    Beef Enchiladas (Cheesy, Saucy, and Gone in 10 Minutes)

    Enchiladas are supposed to be easy. No rolling drama. No falling apart. No bland filling. These beef enchiladas come together in 30 minutes, use one pan for the filling, and taste like they simmered all day. Let’s make dinner happen.

    Ingredients

    Serves 4–6. Makes 8–10 enchiladas.

    • 1 lb (450g) ground beef
    • 1 small onion, diced
    • 2 cloves garlic, minced
    • 1 packet taco seasoning (or 2 tbsp homemade)
    • ½ cup water
    • 10 small corn or flour tortillas
    • 2 cups (8 oz) shredded cheddar or Mexican blend cheese
    • 2 cups red enchilada sauce (canned or homemade)
    • Optional toppings: cilantro, sour cream, diced onion, jalapeños

    Step-by-Step Instructions

    Step 1: Preheat & Prep

    1. Preheat oven to 375°F (190°C). Spread ½ cup enchilada sauce on the bottom of a 9×13 baking dish.

    Step 2: Cook Filling

    1. In a skillet, cook ground beef and onion over medium heat until beef is browned. Drain fat.
    2. Add garlic, taco seasoning, and water. Simmer 2–3 minutes until thickened. Remove from heat.

    Step 3: Assemble

    1. Warm tortillas (microwave 30 seconds between damp paper towels) so they don’t crack.
    2. Place 2–3 tablespoons of beef filling down the center of each tortilla. Top with a pinch of cheese. Roll tightly and place seam-side down in the baking dish.

    Step 4: Sauce & Cheese

    1. Pour remaining enchilada sauce over the rolled tortillas. Sprinkle remaining cheese on top.

    Step 5: Bake

    1. Bake uncovered for 15–20 minutes until bubbly and cheese is melted.

    Step 6: Serve

    1. Top with cilantro, sour cream, or whatever you love. Dig in.

    Summary

    Prep Time: 15 min | Bake Time: 20 min | Total: 35 min

    Yield: 8–10 enchiladas | Difficulty: Easy

    Storage Notes

    Fridge: 4 days. Freezer: 3 months (assemble without baking, wrap tightly). Bake from frozen at 375°F for 30–35 minutes. Reheat leftovers covered with foil to prevent drying.

  • Cacio e Pepe (3 Ingredients, 10 Minutes, Pure Italian Magic)

    Cacio e Pepe (3 Ingredients, 10 Minutes, Pure Italian Magic)

    Three ingredients. One pot. Ten minutes. Cacio e Pepe (cheese and pepper) is the ultimate proof that simple is better. The secret? It’s all in the technique—turning pecorino and pasta water into a silky, creamy sauce without a single lump. Master this, and you’re basically Roman.

    Ingredients

    Serves 2 as a meal, 4 as a side.

    • 6 oz (170g) spaghetti, tonnarelli, or any long pasta
    • 1½ cups (120g) finely grated Pecorino Romano cheese (freshly grated—pre-shredded won’t melt)
    • 1½ tbsp whole black peppercorns, coarsely crushed (not pre-ground)
    • Salt (just for pasta water)

    Note: No parmesan. No cream. Pecorino or nothing.

    Step-by-Step Instructions

    Step 1: Boil Water

    1. Bring a large pot of water to a boil. Salt it well (tastes like the sea).

    Step 2: Toast Pepper

    1. In a cold pan, toast crushed pepper over medium heat for 1–2 minutes until fragrant. Set aside.

    Step 3: Cook Pasta

    1. Add pasta to boiling water. Cook until al dente (1 minute less than box says).
    2. Reserve 1½ cups of starchy pasta water before draining.

    Step 4: Make the Sauce

    1. Return toasted pepper to the pan. Add drained pasta plus ½ cup reserved water.
    2. Cook on medium heat, tossing vigorously.
    3. Off heat, gradually sprinkle in cheese while tossing constantly. Add more pasta water a splash at a time until a creamy, glossy sauce forms (not clumpy).

    Step 5: Serve Immediately

    1. Twirl into warm bowls. Extra pepper and cheese on top. Eat now. Pasta waits for no one.

    Summary

    Prep Time: 2 min | Cook Time: 10 min | Total: 12 min

    Yield: 2 main servings | Difficulty: Medium (technique matters)

    Storage Notes

    Don’t. Cacio e Pepe does not reheat (cheese seizes, sauce breaks). Make only what you’ll eat immediately. Leftovers? Cold pasta salad with a drizzle of olive oil is your only rescue option.

  • Southern Hush Puppies (Golden, Crunchy, and Impossible to Stop Eating)

    Southern Hush Puppies (Golden, Crunchy, and Impossible to Stop Eating)

    Why are they called hush puppies? Legend says cooks tossed fried dough to quiet barking dogs. One bite of these crispy, golden cornmeal nuggets and you’ll understand—they silence everything except your chewing. Perfect with fried fish, BBQ, or just your hungry face.

    Ingredients

    Makes about 20 hush puppies.

    • 1 cup (125g) yellow cornmeal
    • ½ cup (65g) all-purpose flour
    • 1 tbsp baking powder
    • 1 tbsp sugar
    • 1 tsp salt
    • ½ tsp onion powder
    • ¼ tsp garlic powder
    • 1 large egg, beaten
    • ¾ cup (180ml) buttermilk (or regular milk)
    • ¼ cup finely diced onion (optional but authentic)
    • Oil for frying (vegetable or peanut)

    Step-by-Step Instructions

    Step 1: Mix Dry

    1. In a bowl, whisk cornmeal, flour, baking powder, sugar, salt, onion powder, and garlic powder.

    Step 2: Mix Wet

    1. In another bowl, whisk egg and buttermilk.
    2. Pour wet into dry. Stir until just combined. Fold in diced onion if using. Batter should be thick (like cookie dough).

    Step 3: Heat Oil

    1. Heat 2 inches of oil to 365°F (185°C).

    Step 4: Fry

    1. Use a small cookie scoop or two spoons to drop 1-tablespoon balls into hot oil.
    2. Fry 2–3 minutes, turning occasionally, until deep golden brown and puffed.
    3. Drain on paper towels.

    Step 5: Serve

    1. Serve hot with honey butter, tartar sauce, or just plain. They vanish fast.

    Summary

    Prep Time: 10 min | Cook Time: 10 min | Total: 20 min

    Yield: 20 hush puppies | Difficulty: Easy

    Storage Notes

    Best fresh and hot. Leftovers? Refrigerate 2 days. Reheat in air fryer at 375°F for 3–4 minutes or oven at 400°F for 5 minutes. Do not microwave (rubbery tragedy).

  • Crab Rangoon (The Crispy, Creamy, Disappears-First Appetizer)

    Crab Rangoon (The Crispy, Creamy, Disappears-First Appetizer)

    Let’s be real: you order Chinese takeout for the crab rangoon. Those crispy, creamy, salty-sweet little triangles that vanish in 60 seconds. This homemade version is faster than delivery, way crispier, and you can stuff them as full as you want. No skimping here.

    Ingredients

    Makes 24 rangoon.

    • 8 oz (225g) cream cheese, softened
    • 6 oz (170g) lump crab meat (fresh or canned, drained well)
    • 2 green onions, finely chopped
    • 1 tsp Worcestershire sauce
    • ½ tsp garlic powder
    • 24 wonton wrappers
    • Oil for frying (vegetable or canola)
    • Sweet chili sauce or duck sauce, for dipping

    Step-by-Step Instructions

    Step 1: Make Filling

    1. In a bowl, mix cream cheese, crab, green onions, Worcestershire, and garlic powder until combined. Don’t overmix (keep crab chunks intact).

    Step 2: Fill Wontons

    1. Place a wonton wrapper like a diamond. Add 1 teaspoon of filling to the center.
    2. Wet edges with water. Fold into a triangle, pressing out air. Seal well.
    3. For the classic shape, wet the two long corners and fold them together.

    Step 3: Fry

    1. Heat 1 inch of oil to 350°F (175°C).
    2. Fry 4–5 rangoon at a time for 1–2 minutes, flipping once, until golden brown.
    3. Drain on paper towels.

    Step 4: Serve

    1. Serve hot with sweet chili sauce. They wait for no one.

    Summary

    Prep Time: 20 min | Cook Time: 10 min | Total: 30 min

    Yield: 24 rangoon | Difficulty: Easy

    Storage Notes

    Make ahead: Assemble uncooked rangoon and freeze on a tray. Once frozen, transfer to a bag. Fry from frozen (add 1 minute). Leftovers? Reheat in air fryer at 375°F for 3 minutes. Never microwave (soggy sadness).